
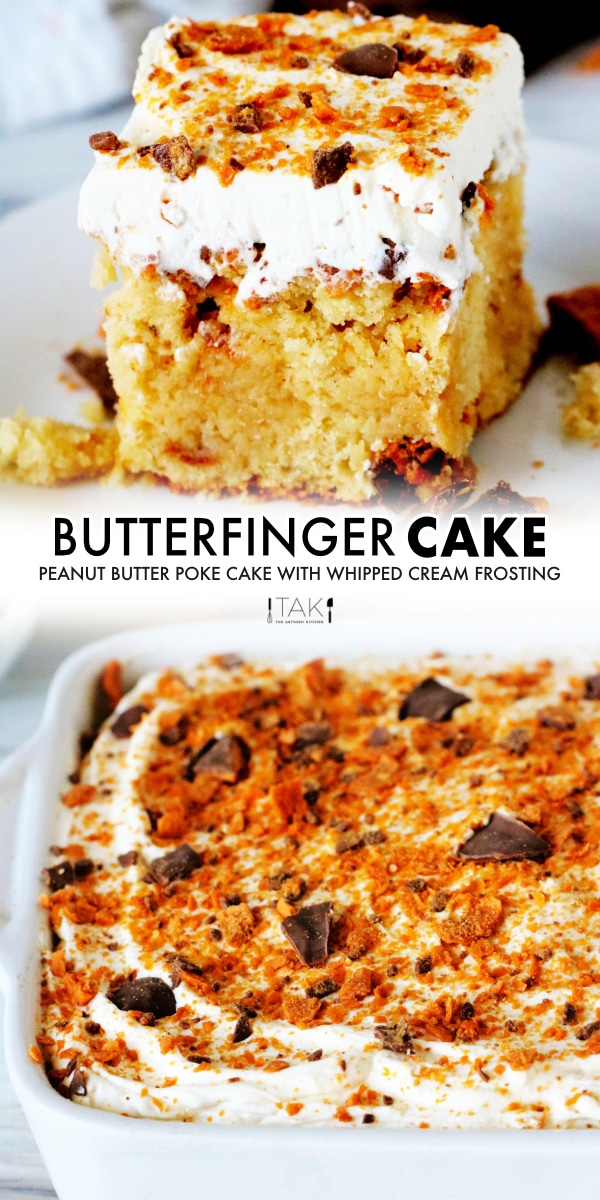

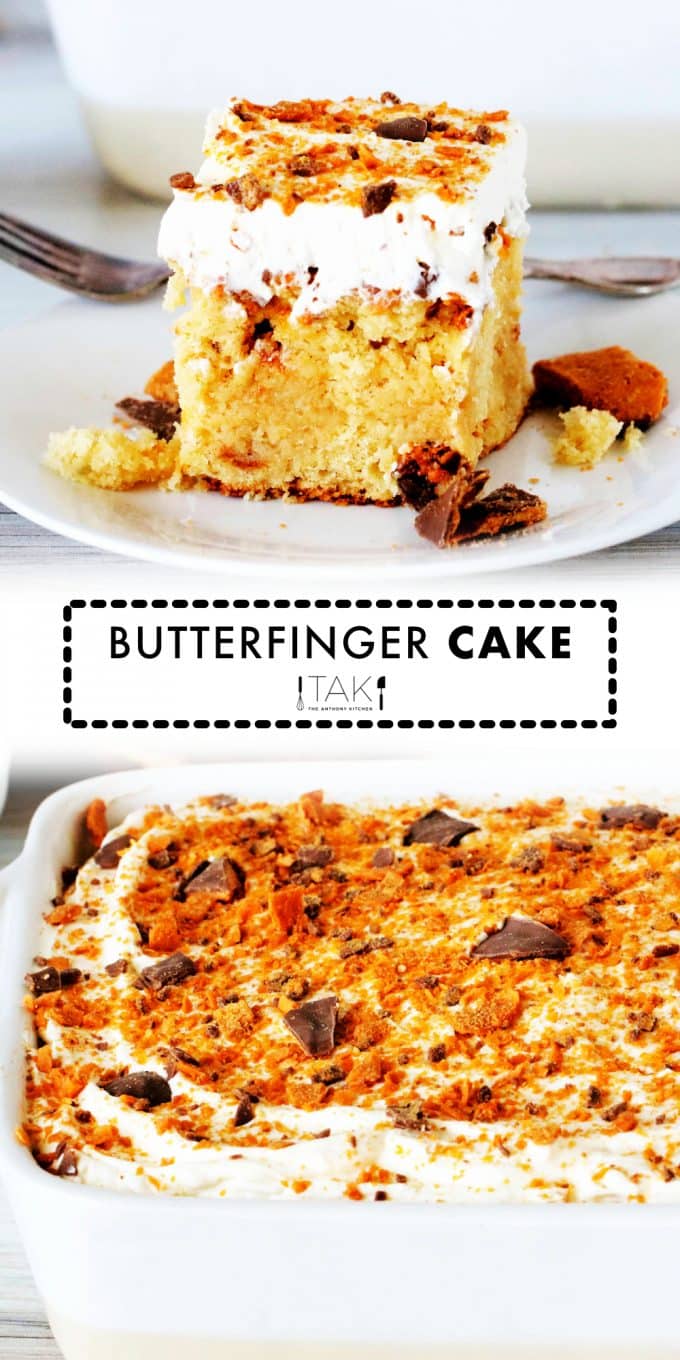


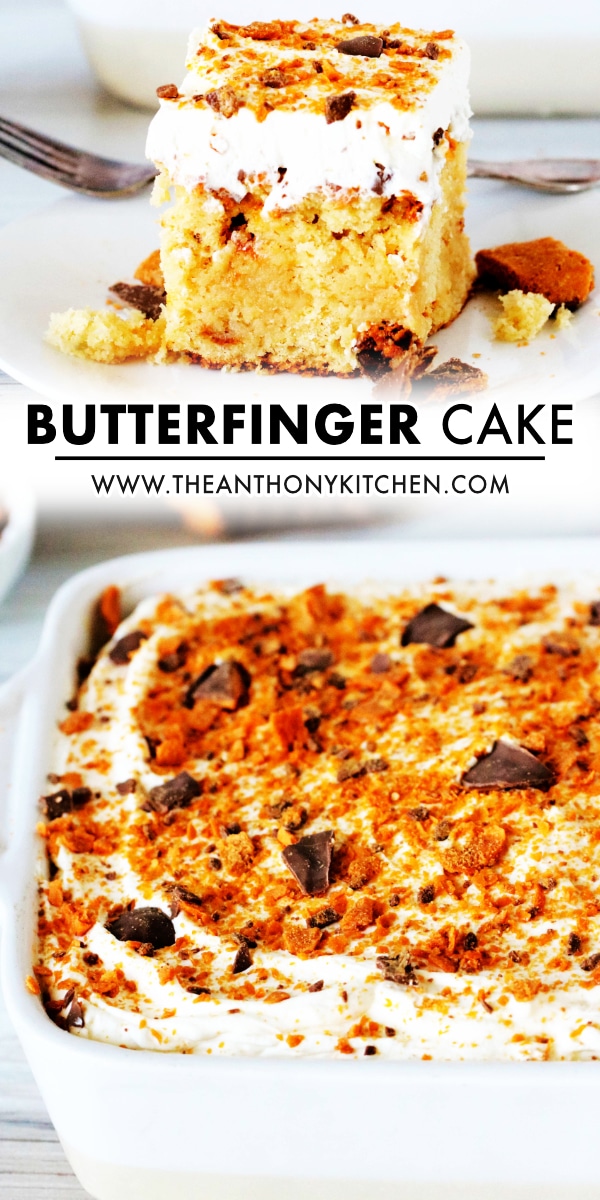
Bakers, start your engines. We put a made-from-scratch spin on a poke cake favorite, and the results are going to exceed your sweet tooth's wildest dreams. This Butterfinger Cake is absolutely phenomenal, and the batter comes stacked with a duo of peanut buttery goodness thanks to creamy peanut butter and chopped Butterfinger candy bars!
A drizzle of sweetened condensed milk and salted caramel sauce make it irresistibly moist, and the decadent hits just keep on coming with a dreamy whipped cream topping and a bonus sprinkle of Butterfinger on top.

After first bite, expect immediate gratification.
This cake is proof: made from scratch is indeed better. This Butterfinger Poke Cake is perfect for celebrating any peanut butter lover's bday, and it's an all-out show-stopper at holiday parties, potlucks, and more! And, if peanut butter desserts are your thing, bookmark this easy Peanut Butter Chocolate Sheet Cake for your next baking extravaganza!
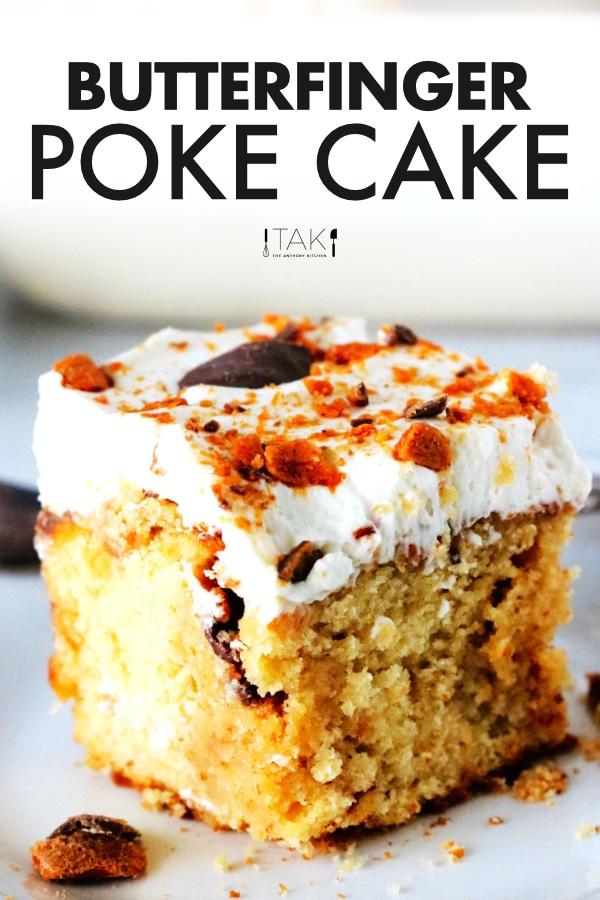
THE BEST BUTTERFINGER POKE CAKE
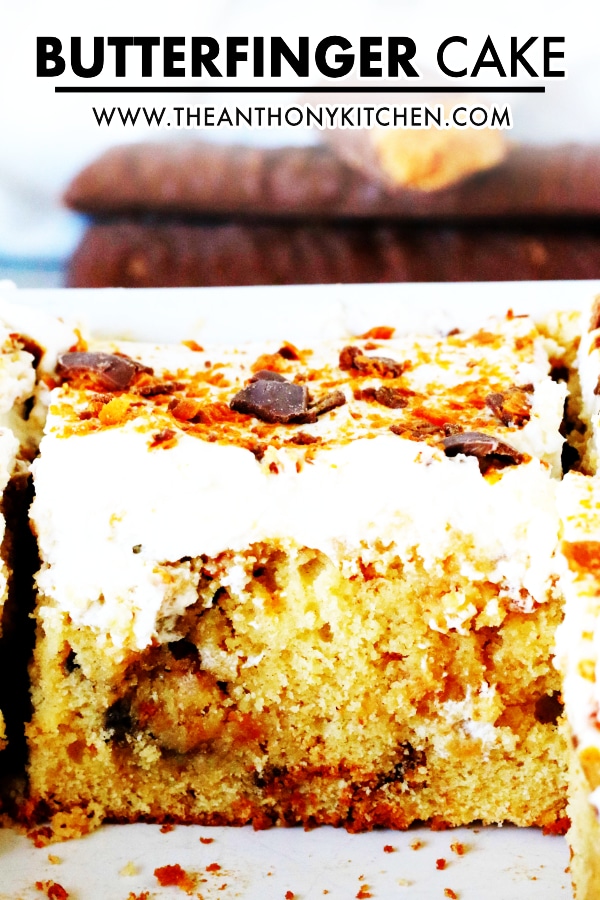
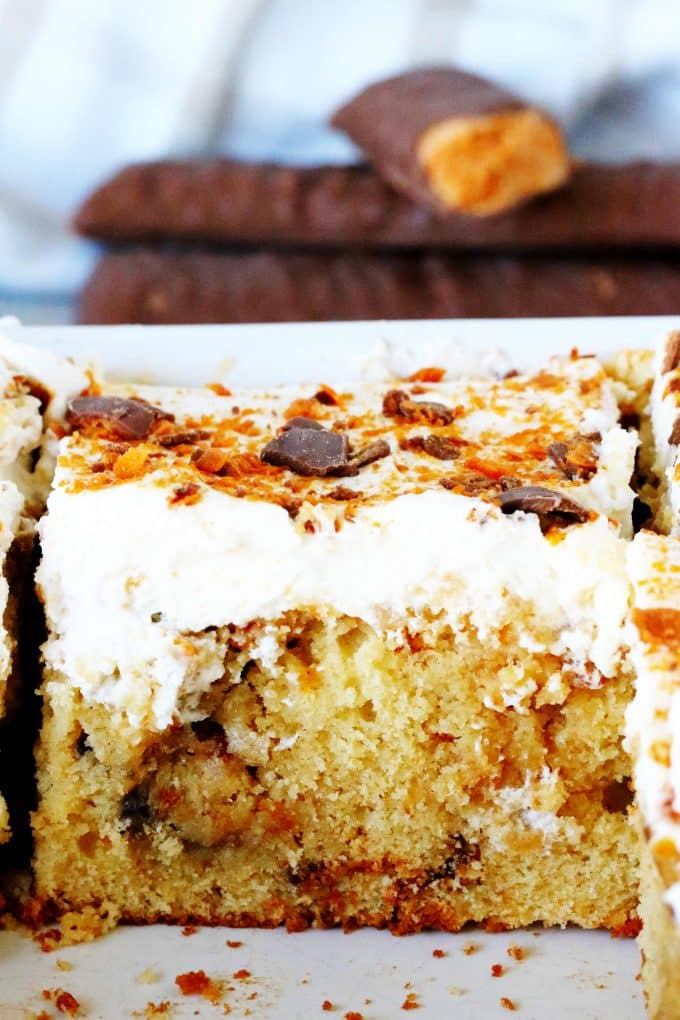
Bar none, this Butterfinger Cake outshines the rest. It bakes up soft, tender, and comes equipped with all kinds of delicious peanut butter vibes. Making a peanut butter cake batter from scratch makes all the difference in the world. Not to mention those delectable little nibbles of crushed Butterfinger candy bars speckled throughout the cake base.
This poke cake gets a double dose of delicious thanks to sweetened condensed milk and salted caramel sauce. Not only does this mixture keep your cake from drying out (yes -- even if you overbake it), but it adds a nice balance to the dessert as well thanks to the salty nature of the salted caramel.
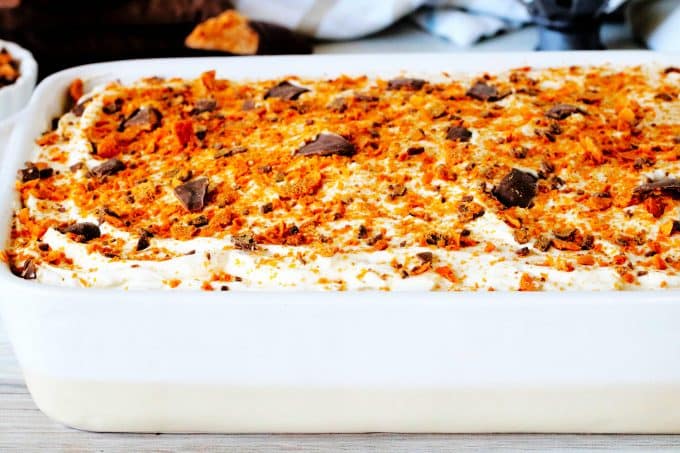
Last, but not least, that creamy, dreamy whipped cream topping. You just can't get this kind of flavor out of the freezer aisle. A homemade whipped cream topping and a finishing garnish of chopped Butterfinger are quite literally the icing on the cake.
CAN I USE BOXED CAKE MIX?
If you just can't conjure up the energy (or the time) to make the peanut butter cake batter from scratch, you can use a yellow box cake mix in its place. If using a box cake mix, do not add any peanut butter to the batter, but you can certainly sprinkle in that crushed Butterfinger candy if you'd like!
Once your cake is baked, proceed with the recipe as directed.
CAN I USE COOL WHIP FOR THE TOPPING?
If homemade whipped cream frosting isn't in your wheelhouse today, Cool Whip it is. Just be sure you have it thawed out before it comes time to ice the cake.

WHAT IS A POKE CAKE?
The poke cake is a trendy innovation of the 1970s, and they're making quite the comeback. This retro cake gets poked all over to create holes that are typically about a ¼" in diameter (right about the size of the skinny end of a wooden spoon).
The idea of a poke cake is very similar to cakes brushed with sweetened/flavored syrups, only the liquid that is poured over the holes is typically thicker than simple syrup. Liquids like jello, pudding, pureed fruits, sweetened condensed milk, and more, can be used to add both moisture and flavor into poke cakes!
In the case of this Butterfinger cake, it is the combination of salted caramel and sweetened condensed milk that adds both flavor and moisture to the cake.
HOW TO MAKE A BUTTERFINGER CAKE
- Make the Cake Batter
- Bake the Cake
- Poke Holes All Over
- Add the Caramel Drizzle
- Make the Frosting
- Top With Frosting and Butterfinger Candy
1. MAKE THE CAKE
You'll kick off this Butterfinger Cake by first mixing the dry ingredients (the flour, baking powder, baking soda, and salt) in a medium-sized mixing bowl. Next, combine room temperature butter and granulated sugar in a large mixing bowl and mix on medium-high speed until fluffy and pale yellow in color. You could also use a stand mixer fitter with a paddle attachment.
Add the peanut butter to the butter-sugar mixture, followed by the eggs, and vanilla. With the mixer on low, add the dry ingredients in three rounds, rotating with the buttermilk. The last items going into the batter are 2 chopped Butterfinger candy bars. Add them in and mix once more!
2. BAKE
Transfer the cake batter to a greased, 9x13" cake pan and bake at 350°F for 35-40 minutes.
HOW TO KNOW WHEN THE CAKE IS DONE
You’ll know the cake is done when a toothpick inserted in the center comes out clean or with just a few crumbs clinging to it.
3. POKE
Allow the cake to set for about 10-15 minutes, then while it is still warm, use the skinny end of a wooden spoon to poke holes all over, about 1 ½ to 2 inches apart.
4. ADD THE CARAMEL DRIZZLE
In a small mixing bowl, mix together the salted caramel sauce and the sweetened condensed milk for the Butterfinger Cake topping. Pour the mixture all over the warm cake, allowing it to fall into the holes and be absorbed.
5. MAKE THE WHIPPED CREAM FROSTING
Once the cake has completely cooled, it's time to make the whipped cream frosting. In a large, clean mixing bowl, combine the heavy cream, powdered sugar, vanilla, and salt. Begin mixing on low, and gradually increase the speed to high. Mix for about 2 minutes, or until medium peaks have formed.
6. FROST AND GARNISH
Add all of the frosting to the top of the Butterfinger Cake and spread to the edges. Finish it off by sprinkling the last bit of chopped Butterfinger candy across the top, and refrigerate until ready to serve!
ABOUT THE INGREDIENTS
Cake Flour | Be sure to use cake flour for this recipe. All-purpose flour will negatively effect both the softness and tenderness of the cake.
Leaveners | You will need both baking soda and baking powder for this recipe. Make sure to measure each correctly and note, they are not interchangeable.
Butter | This recipe was developed with unsalted butter, and it is best if you can use that. Another thing to note about the butter is it should be at room temperature before you begin mixing it in with the sugar. Otherwise, it will not cream properly.
Sugar | This recipe calls for both granulated and powdered sugar. You will need granulated sugar for the base of the cake, and powdered sugar to sweeten the whipped cream frosting.
Peanut Butter | The addition of creamy peanut butter makes a huge difference in the flavor of this cake! Be sure to use good, old-fashioned, full-sugar peanut butter. This is not the time for the healthy stuff.
Eggs | You'll need three large eggs. Make sure you have enough!
Vanilla | Never underestimate the power of pure vanilla extract. It will add a great deal of flavor to your cake!
Butterfinger Candy Bars | We certainly can't have a Butterfinger Cake without Butterfinger candy, now can we?! You will need three full-sized Butterfinger candy bars for this recipe. If you wanted to give this cake a little extra chocolate flair, you can also add chocolate chips into the batter like we did with our Chocolate Chip Cake. So yummy!
Buttermilk | Buttermilk is king when it comes to adding moisture to cakes, and will truly make a difference when it comes to how soft and tender it bakes up!
Sweetened Condensed Milk | Take care not to confuse sweetened condensed milk (which is a thick, sweet, syrupy milk product) with evaporated milk. They are not interchangeable!
Salted Caramel Sauce | The salted caramel takes this cake to a whole 'nother level, folks! We used Smucker's Salted Caramel Sauce. You can typically find it alongside the ice cream toppings at the grocery store.
Heavy Whipping Cream | You'll need heavy whipping cream to make the whipped cream topping. Make sure it is good and chilled before you begin!

5 MORE CAKE RECIPES YOU’LL LOVE
Butterfinger Cake
Ingredients
For the Cake:
- 2 ½ cups cake flour
- ½ teaspoon baking powder
- ¼ teaspoon baking soda
- 1 ¼ teaspoon fine sea salt
- 1 ¼ cup unsalted butter, room temperature
- 1 ½ cup granulated sugar
- ½ cup creamy peanut butter
- 3 large eggs, room temperature
- 1 tablespoon pure vanilla extract
- ¾ cup buttermilk
- 3 Butterfinger candy bars, chopped (about 1 cup) -- separated
For the Topping:
- 1 (14-ounce) can sweetened condensed milk
- ⅓ cup salted caramel sauce
- 2 cups heavy whipping cream
- 1 cup confectioners sugar
- 1 teaspoon vanilla extract
- ¼ teaspoon salt
Instructions
To Make the Cake:
- Preheat the oven to 350°F and have ready a greased, 9x13" cake pan, preferably aluminized steel.
- Whisk the cake flour, baking powder, baking soda, and salt over a medium-sized mixing bowl. Set aside until ready to use.
- Add the butter and sugar to a large bowl and using a handheld mixer, mix until fluffy and pale yellow in color (about 3-5 minutes). You could also use a stand mixer fitted with a paddle attachment for this task. Add in the creamy peanut butter and mix to combine.
- Add the eggs, one at a time, mixing well after each addition. Add the vanilla and mix again. Scrape down the sides and the bottom of the bowl using a silicone spatula and mix once more.
- With the mixer on low, add the dry ingredients in 3 rounds, alternating with the buttermilk (adding it in 2 rounds). Scrape the sides and the bottom of the bowl, and mix once more.
- Fold in about ⅔'s of the chopped Butterfinger candy and add it to the cake pan (reserve the rest for the topping). Bake for about 35-40 minutes. See below for testing the doneness of your cake.
For the Topping and Frosting:
- Allow the cake to set out about 10-15 minutes, then, while it is still warm, poke deep holes all over it with the skinny end of a wooden spoon, about 1-1 ½" apart.
- In a small bowl combine the sweetened condensed milk and salted caramel. Pour the mixture evenly over the cake and allow it to soak in. Then, set it aside and allow to cool completely.
- Add the whipped cream, powdered sugar, vanilla, and salt to a large mixing bowl. Begin mixing on low, and gradually increase the speed to high. Mix for about 2 minutes, or until medium peaks have formed. You could also use a stand mixer fitted with a whisk attachment for this task.
- Spread the whipped cream frosting across the cake, and sprinkle the remaining Butterfinger over the top. Refrigerate until ready to serve.
Video
Notes
HOW TO KNOW WHEN THE CAKE IS DONE:
The cake is ready when the center of it springs back ever so slightly after a gentle poke or a toothpick inserted in the center comes out with only a few crumbs clinging to it.Nutrition
Leave a Reply