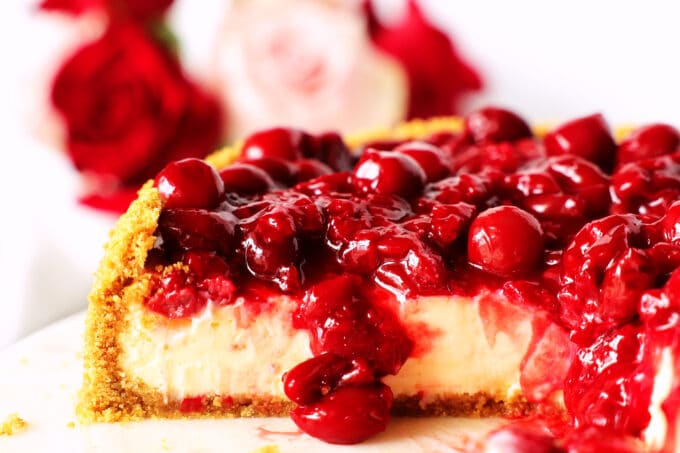
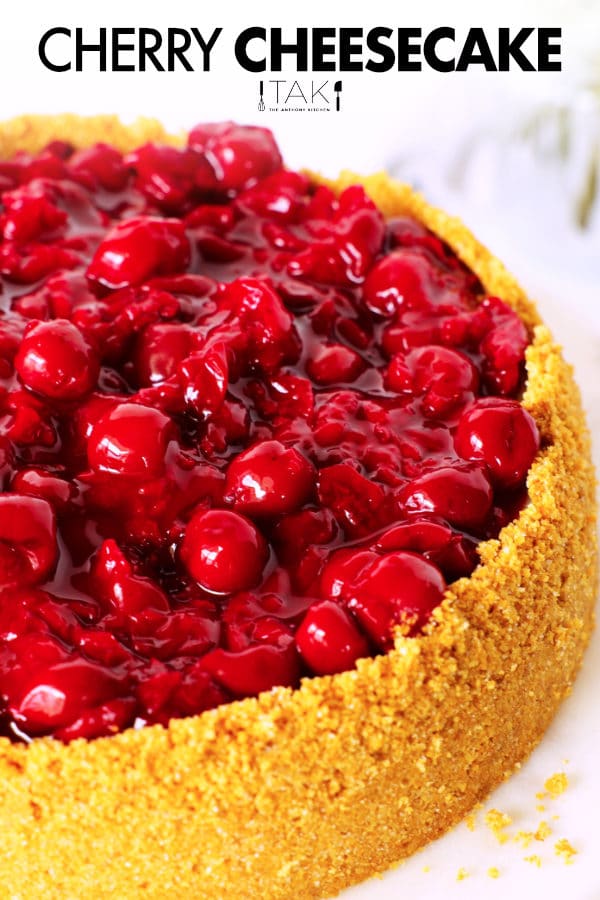
This is no one-bite-and-done kind of dessert. When it comes to this Cherry Cheesecake you are going to want the entire slice. It's incredibly smooth, crazy creamy, and super decadent. The buttery graham cracker crust is to-die-for and the sweet and tart cherry topping makes it addictively delicious.
If you are a big fan of cheesecakes, we've got you covered with even more options. Try our Sour Cream Cheesecake or Banana Pudding Cheesecake next! And if you are really here more for the cherries, don't worry, we've got a crowd-pleasing Cherry Crisp recipe that will knock your socks off!
HOW TO MAKE CHERRY CHEESECAKE
The first thing you want to do is get your oven preheating and prepare a 9" springform pan. Because this cherry cheesecake recipe calls for a water bath, you want to take the time to wrap the pan in a few layers of aluminum foil.
Wrapping the pan in foil is an extra precaution that ensures no water from the water bath will leak through, making your crust wet and soggy.
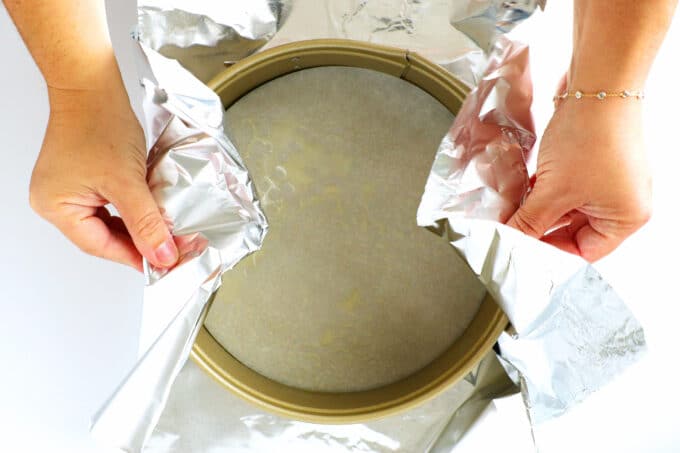
After you have the bottom and sides of your springform pan wrapped in a couple of layers of aluminum foil, spray the pan with nonstick cooking spray and add a round of parchment paper to fit the bottom of the pan. The parchment paper will help you to remove the cheesecake from the springform pan and transfer it to the final serving vessel.
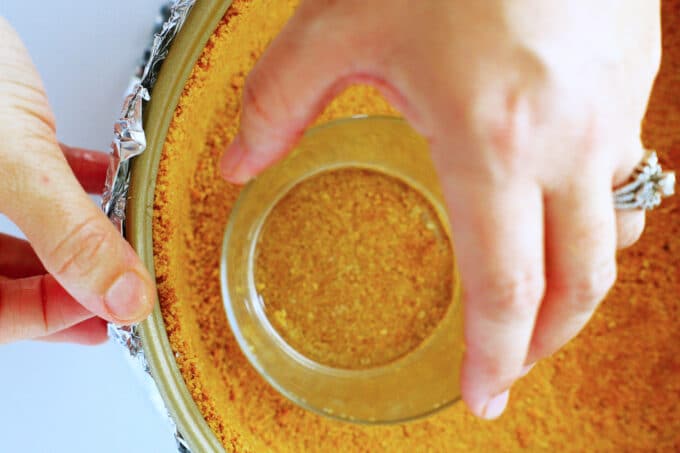
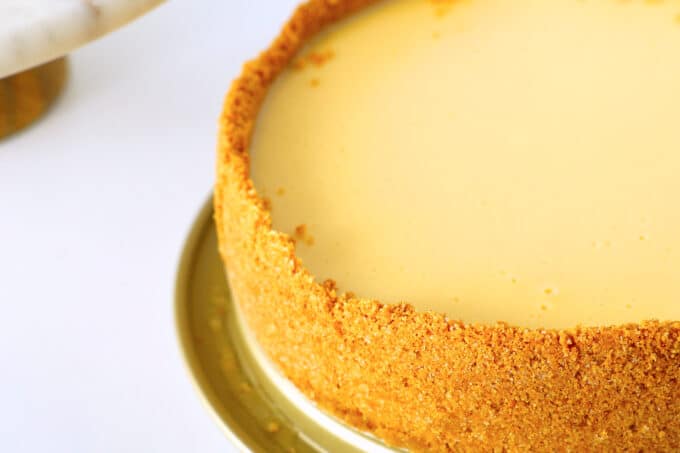
The Cherry Cheesecake crust comes together quickly and easily! You'll combine graham cracker crumbs, melted butter, granulated sugar, and salt in a large mixing bowl. Stir until all of the ingredients are evenly moistened, and then transfer the mix to the prepared pan. At this point, you'll use a flat-bottomed measuring cup or drinking glass to press down across the bottom of the pan and up the sides.
Once you've got your crust looking great, transfer the pan to the center rack of a preheated 350°F oven and bake for 10 minutes. Remove the pan from the oven and allow it to cool completely.
Now is a good time to prep the water for the water bath! A water bath may initially seem to overcomplicate the recipe, but the difference between a cheesecake baked with one versus without is almost night and day. Not only does the water bath protect the cheesecake's delicate structure while baking in the oven and prevent cracking on top, but it also ensures a perfectly silky-smooth and creamy texture.
For the water bath, you will need to add about 3 ½ cups of water to a large saucepan and bring it to a roaring boil. In the meantime, whip up your Cherry Cheesecake filling!
For the cheesecake filling, it is extremely important that your cream cheese is easily spreadable, at room temperature... or just a tad warmer. If needed, you can quickly take the chill off of your cream cheese by unwrapping it and placing it on a microwave-safe plate. Then, use your microwave to heat it in small, 15-second increments. Just take care that you don't overdo it to the point of melting the cream cheese.
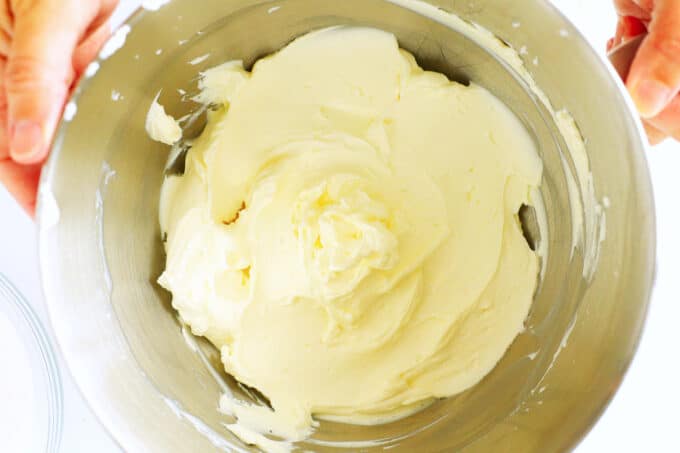
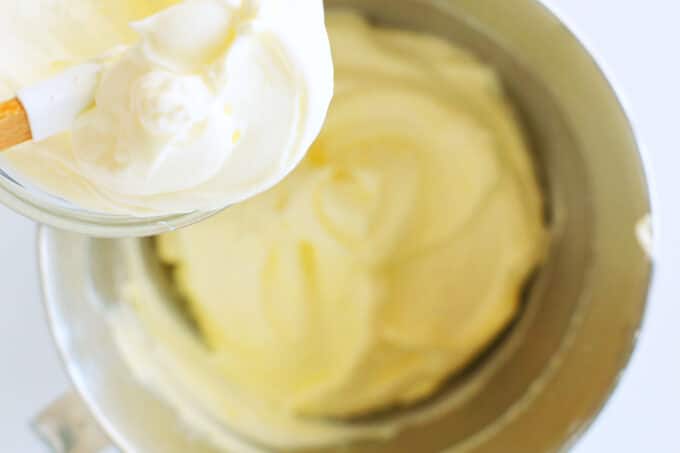
Add your softened cream cheese and granulated sugar to a large bowl or the bowl of a stand mixer fitted with a paddle attachment. If you do not have a stand mixer, use an electric mixer on medium-low speed and mix for about 2 to 3 minutes. Then, you'll add the sour cream and mix until smooth.
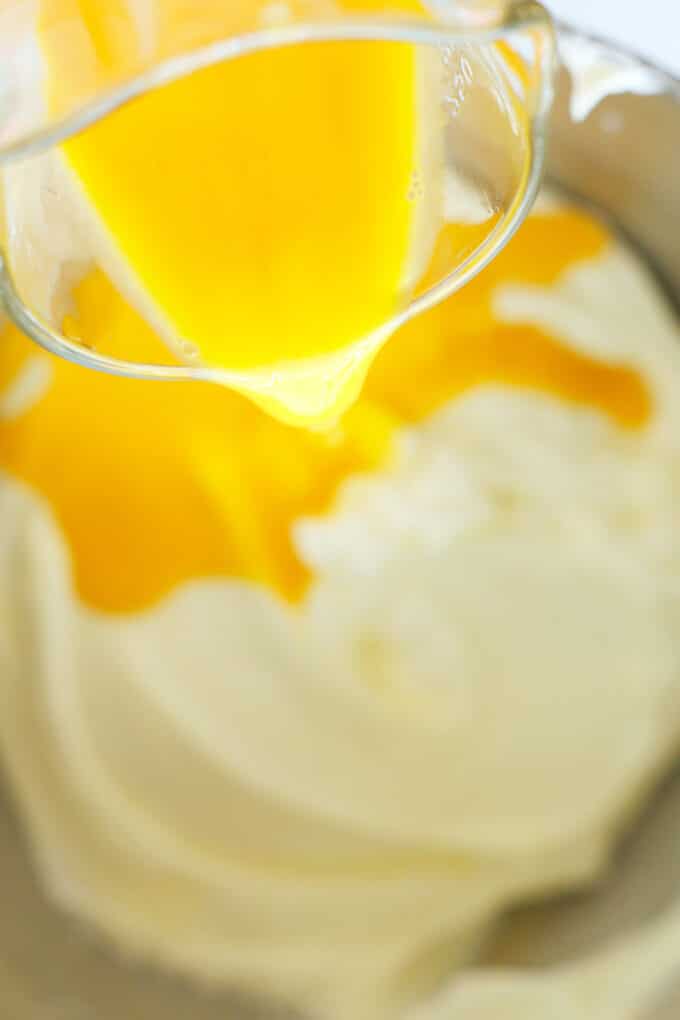
For the rest of the filling ingredients, you will need eggs, egg yolks, vanilla extract, and salt. Mix all of these ingredients in a measuring cup, and then transfer them to the bowl housing the cream cheese. Mix to combine on medium-high speed, scrape down the sides of the bowl, and mix once more until smooth.
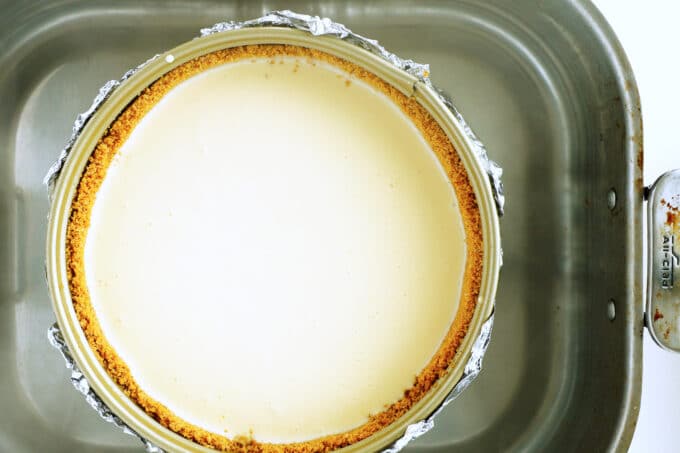
Pour the cheesecake filling over the crust and place the pan in a large roasting pan or a pan large enough to house your springform pan. If you don't have a roasting pan, you can typically find large, roaster-sized, disposable aluminum pans in the food storage aisle of your grocery store.
Transfer the pans to the center rack of your oven and very slowly pour the hot water into the roasting pan, taking care not to splash any water into your cheesecake. Close the oven door and bake for 1 hour and 40 minutes. Your Cherry Cheesecake is ready when the sides are set and the center has just a little bit of jiggle to it.
Remove the cheesecake from the water bath and transfer it to a cooling rack until completely cooled. After your cheesecake has cooled completely, you can refrigerate it for up to three days.
To make the cherry topping, we will be using canned, tart cherries in water. Be sure that before you strain the water from the cans, you reserve 3 tablespoons in a small bowl. We will use that water later on to make a cornstarch slurry that will thicken our Cherry Cheesecake topping.
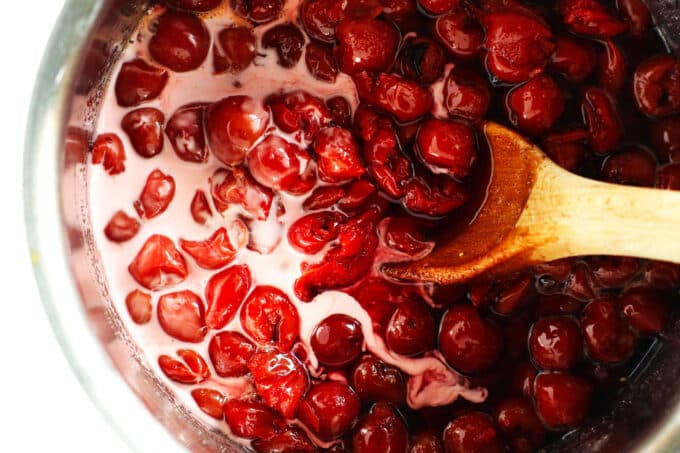
After your cherry water is reserved, strain the canned cherries and transfer about ⅔ of the cherries to a small saucepan. Then, you'll add granulated sugar, lemon juice, and fine sea salt to the pan as well, and transfer to the stovetop over medium heat.
Cook for about 3 to 5 minutes, stirring often until the sugar appears to have liquefied completely. Now, you'll make your cornstarch slurry. Add cornstarch to the reserved cherry water and stir until smooth. Then add the cornstarch mixture to the cherries and stir until well combined.
Allow the mixture to come to a simmer, and simmer for another 2 to 3 minutes, just until thickened.
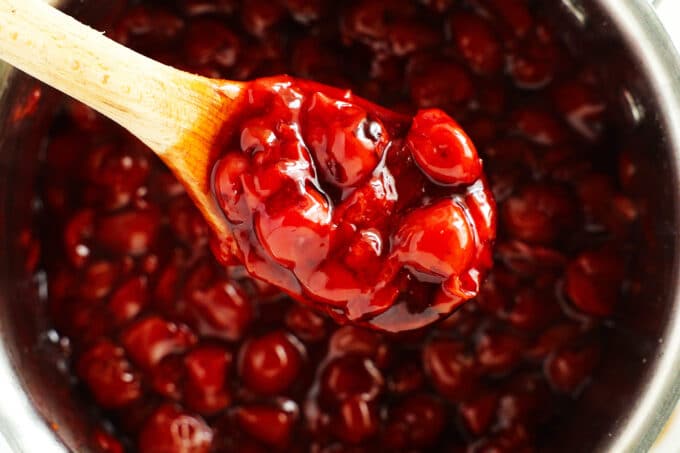
Now, you'll add in the remaining cherries, the almond extract, and the red food coloring. Stir and set the cherries aside to cool completely. You definitely do not want to add hot cherries to the top of your cheesecake! It will most definitely melt. Your cherry topping can be stored in an airtight container and refrigerated for up to three days.
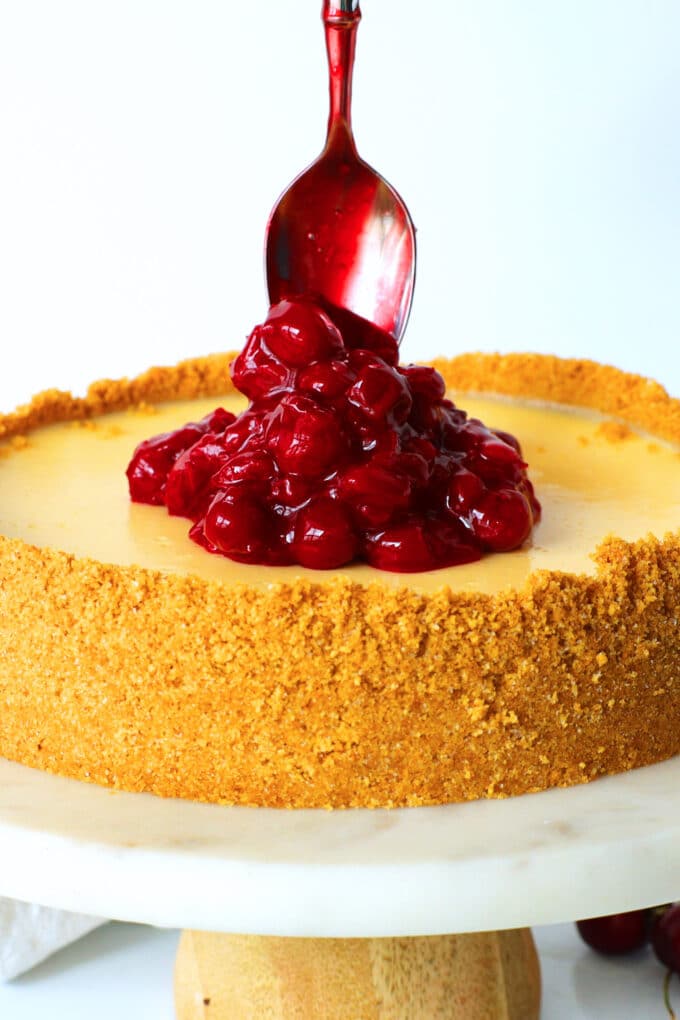
To serve, remove the cheesecake from the refrigerator about 30 minutes before serving. Then you'll remove the band from your springform pan and you can serve directly from the pan or transfer the cheesecake to another serving vessel.
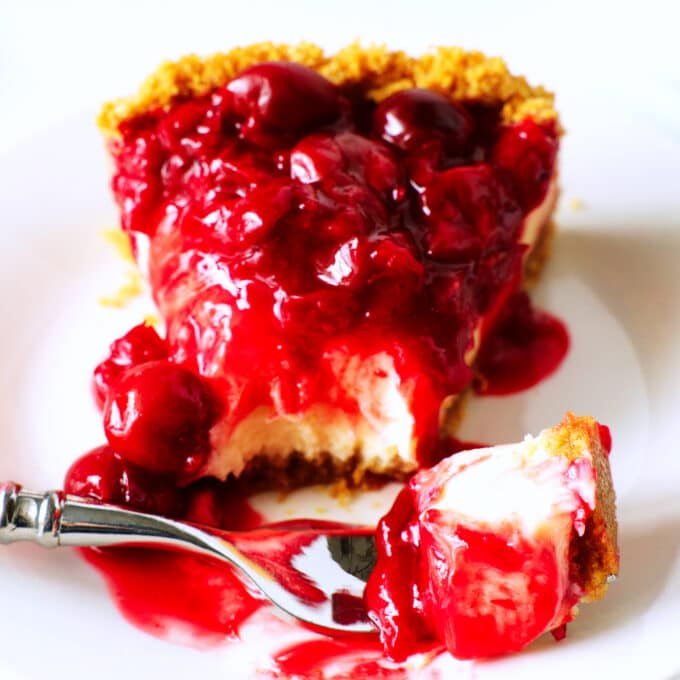
Top with your cold or chilled cherry topping, serve, and enjoy! If your family loves desserts made from scratch check out our Desserts to add to your "must-make" list! If you are searching for more fruit-inspired desserts, check out our Fruit Dessert Recipes!
6 MORE DESSERTS YOU’LL LOVE
- Key Lime Cake
- Strawberry Shortcake Cupcakes
- Peach Cobbler Pound Cake
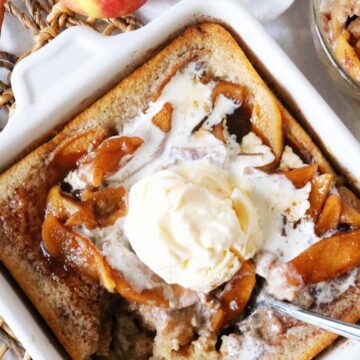
- Pear Cobbler
- Apple Pie From Scratch
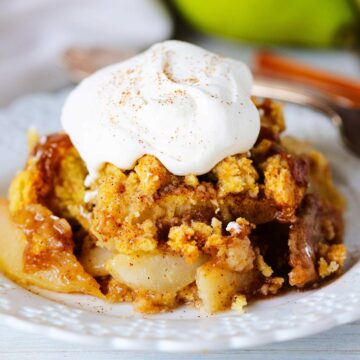
- Apple Pudding Cake

Strawberry Shortcake Cupcakes
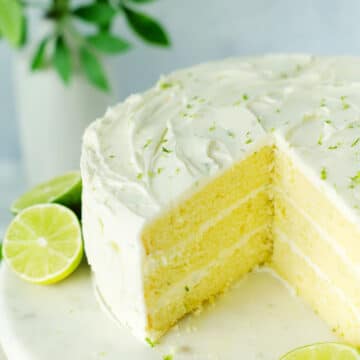
Key Lime Cake

Peach Cobbler Pound Cake
Pear Cobbler
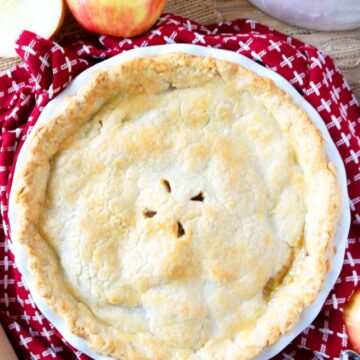
Apple Pie Recipe From Scratch
Apple Pudding Cake

Cherry Cheesecake
Ingredients
FOR THE CRUST:
- 14 graham cracker sheets crushed into crumbs
- 6 tablespoons melted unsalted butter
- 6 tablespoons granulated sugar
- ¼ teaspoon salt
FOR THE FILLING:
- 3 (8-ounce) bars cream cheese, softened to room temperature
- 1 ⅓ cup granulated sugar
- ⅔ cup sour cream
- 3 whole eggs
- 2 egg yolks
- 2 teaspoons pure vanilla extract
- ½ teaspoon sea salt
FOR THE CHERRY TOPPING:
- 3 (14.5 ounce) cans red tart cherries in water
- 1 cup granulated sugar
- Juice of a lemon
- ¼ teaspoon fine sea salt
- ¼ cup corn starch
- ½ teaspoon almond extract
- 1 tablespoon red food coloring
Instructions
PREP THE PAN:
- Preheat the oven to 350°F and have ready a 9" springform sprayed with nonstick cooking spray. Add a round of parchment paper to the bottom of the pan, if desired. Cut 2 large pieces of foil and lay them down in a cross shape on a work surface. Then, wrap the foil up the sides of the pan.
MAKE THE CRUST AND PAR BAKE:
- In a large bowl, combine the graham cracker crumbs, melted butter, sugar, and salt and stir until evenly moistened. Transfer the mix to the prepared pan and using a flat-bottomed measuring cup, press down to form the crust.
- Bake on the center rack for 10 minutes. Then, remove from the oven and allow to cool completely.
REDUCE OVEN TEMP AND PREP THE WATER BATH:
- Reduce the oven temperature to 250°F and once the crust has cooled, it's almost time to make the cheesecake filling. Also, have ready about 3 cups of boiling hot water and a roasting pan or casserole dish large enough to fit the springform pan inside.
MAKE THE FILLING:
- Add the cream cheese and granulated sugar to the bowl of a stand mixer fitted with a paddle attachment. If you do not have a stand mixer, use a large mixing bowl and a handheld mixer. Mix on medium-low speed for 2-3 minutes.
- Scrape down the sides of the bowl and mix once more. Add the sour cream and mix just to combine.
- In a small separate bowl, whisk the eggs and the egg yolk together and add to the cream cheese mixture along with the vanilla extract and salt. Mix to combine, then scrape down the sides of the bowl, and mix once more. Do not overmix the filling.
BAKE IN WATER BATH:
- Pour the contents of the bowl over the crust and set the springform pan inside of the roasting pan. Add hot water to the roasting pan (taking care not to splash into any onto the cheesecake) -- you only need about an inch of water. Transfer to the center rack of the oven to bake.
- Bake for about 1 hour and 40 minutes; the cheesecake is done when the sides are set, but the center still jiggles (like Jell-O) when gently nudged.
COOL AND CHILL:
- Remove the cheesecake from the oven and transfer to a cooling rack. Once the sides of the pan are cool to the touch, remove the foil from the sides of the pan, cover the cheesecake with plastic wrap or aluminum foil and transfer it to the refrigerator to cool completely, at least 4 hours or up to 3 days.
MAKE THE CHERRY TOPPING:
- In a small bowl, reserve 3 tablespoons of water from the cherry cans, and strain the rest. Add ⅔'s of the cherries to a small saucepan and set the remaining cherries aside.
- Add the sugar, lemon juice, and salt to the pan and stir. Transfer to the stovetop and place over medium heat and bring to a simmer. Reduce the heat to maintain a simmer and simmer for 3-5 minutes.
- Add the cornstarch to the reserved cherry water, stir to combine, and add to the pan. Stir and simmer for about 2-3 minutes more, until thickened.
- Remove from the heat and stir in the remaining cherries, almond extract, and food coloring. Set aside to cool completely or store in an airtight container in the refrigerator for up to 3 days.
REMOVE FROM THE PAN AND ASSEMBLE:
- Remove the cheesecake from the refrigerator about 30 minutes prior to serving. Remove the band from the pan. Serve directly from the pan, or use a sharp knife or large metal spatula to gently unstick the crust from the pan. Then, using two large offset spatulas, carefully transfer it to a serving dish.
- Once the cheesecake is chilled and out of the pan, add the cherry topping. Serve and enjoy!
Nutrition
Leave a Reply