Any dessert that can earn you this much applause and only requires 20 minutes of prep time deserves the number-one spot on your spring/summer baking lineup! This Cherry Crisp is perfect for your next barbecue, potluck, or holiday gathering!
Cherry Crisp is crazy easy to make, but it is by no means a dessert cop-out. This recipe has all the delicious qualities of any scratch-made dessert, because it is one! It's just a super quick and simple one!
From its buttery, oat and brown sugar topping to the perfectly balanced flavors of the cherry filling, this recipe absolutely will not disappoint. Check out our Desserts and add them to your "must-try" list!
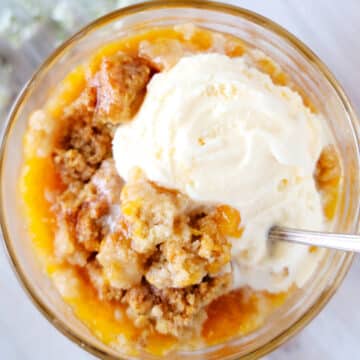
If you love crisp recipes as much as we do, give our Peach Crisp a try next time. Just like this cherry rendition, it's perfect for warm weather entertaining!
HOW TO MAKE A CHERRY CRISP
You will need either an 8 x 8" square baking dish or a small rectangular (or au gratin baking dish) with a 1.5- to 2-quart capacity for your Cherry Crisp.

If you use a square baking dish, you'll end up with more of a deep-dish crisp. On the other hand, if you use a rectangular or au gratin-shaped baking dish, the layer of cherry filling will be thinner, increasing that crust to fruit filling ratio.
Once you've decided on your baking vessel, grease the pan, and preheat your oven to 375°F. While waiting for the oven to preheat, you can prepare your topping and filling!
HOW TO MAKE A CRISP TOPPING
To start your crisp topping, you will need brown sugar, flour, ground cinnamon, old-fashioned oats, and salt.
Add all of these ingredients to a large bowl and whisk to combine. Then, scatter room temperature butter cubes across the top of the mix. Use the tips of your fingers to rub the butter and the dry ingredients together.

Continue doing this for about 2 minutes until the butter and dry ingredients appear as though they have become one, and there are no more dry, sandy-looking patches of white throughout your crisp dough.

You know your crisp topping is ready when you can pinch clumps together in your hands, and it holds together.
If you enjoy this recipe, you should definitely check out this easy Blueberry Crisp and our Crumble Topping that can be used on a huge variety of desserts!
PREPARING CHERRIES FOR A CHERRY CRISP
Time to move on to making the cherry filling! As for your cherries, you can use either fresh or frozen cherries, sweet cherries, tart cherries -- doesn't matter. If it's a cherry, you can use it in this easy Cherry Crisp Recipe!

IF USING FRESH CHERRIES
If you use fresh cherries, you must pit them before dressing them up for their Cherry Crisp Filling debut. A cherry pitter is ideal for this task, but you can always reach for a pastry tip if you don't have one!
To pit a cherry using a pastry tip, place the tip on your work surface tip-side up. Then push the cherry firmly on top of it until the pit comes out of the other end!
If I'm being honest, this is a lot of cherries to pit. And while we do mostly live by a fresh-is-best mentality at The Anthony Kitchen, frozen cherries will be a much easier route to take.
Love a Fruit Dessert? Be sure to try our Cherry Cheesecake next!
IF USING FROZEN CHERRIES:
Frozen cherries are easier to use than fresh ones; they come already pitted for you! However, you cannot add frozen cherries to this crisp recipe. They must be thawed and drained of excess juices/water first.

If you were to use frozen cherries in this recipe, your crisp would be too watery. The extra water content from the fruit would vastly affect the bake time and the texture of your Cherry Crisp topping.
To thaw frozen cherries, you can either place them in your refrigerator overnight or leave them out on the counter for about 4 hours at room temperature.
The next thing you'll want is to drain the excess juices away from the bag. Just pour your cherries into a colander over the sink and allow the leftover juices to drain.
MIX UP THE CHERRY PIE FILLING
Once your cherries are prepped, it's time to make that irresistible homemade cherry pie filling!
Add the cherries to a medium bowl with sugar, cornstarch, salt, lemon juice, lemon zest, and almond extract. If you do not have almond extract, feel free to sub in a pure vanilla extract in its place!

Gently stir the contents of the bowl together until the cherries are evenly coated in the sugar-cornstarch mixture.
ASSEMBLE AND BAKE
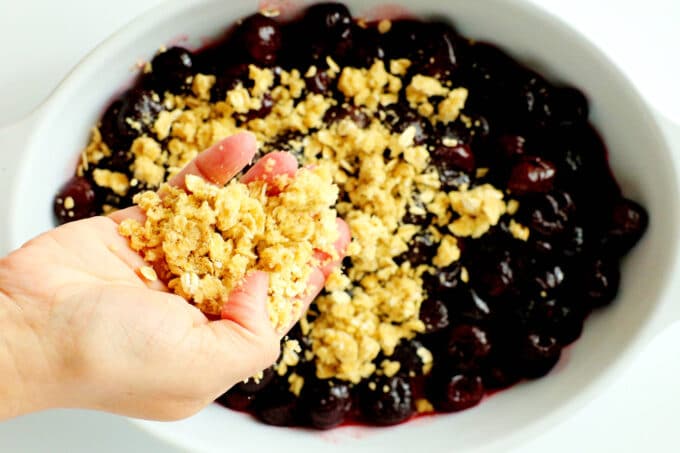
Pour the cherry pie filling into the prepared baking dish and crumble the crisp topping across the top. Transfer the Cherry Crisp to the oven and bake, uncovered, for about 30 minutes.
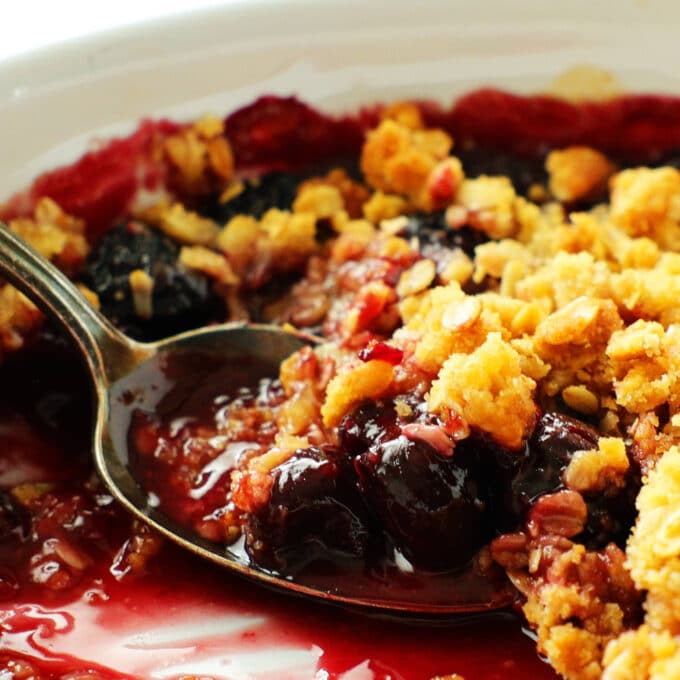
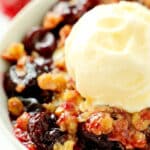
Your Cherry Crisp is ready once the topping has reached a deep golden brown and the filling is bubbly on the sides!
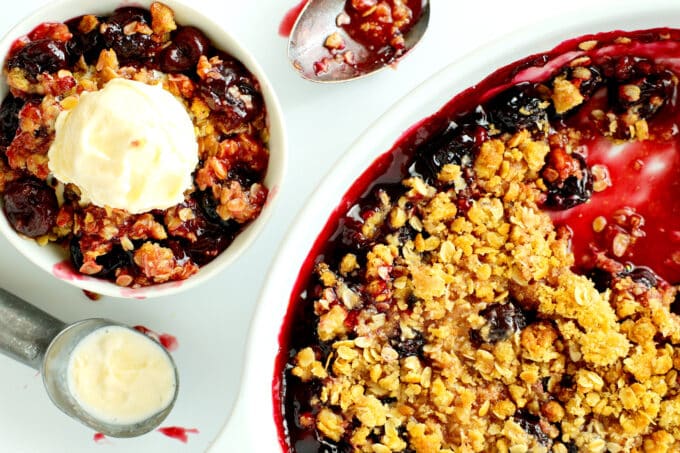
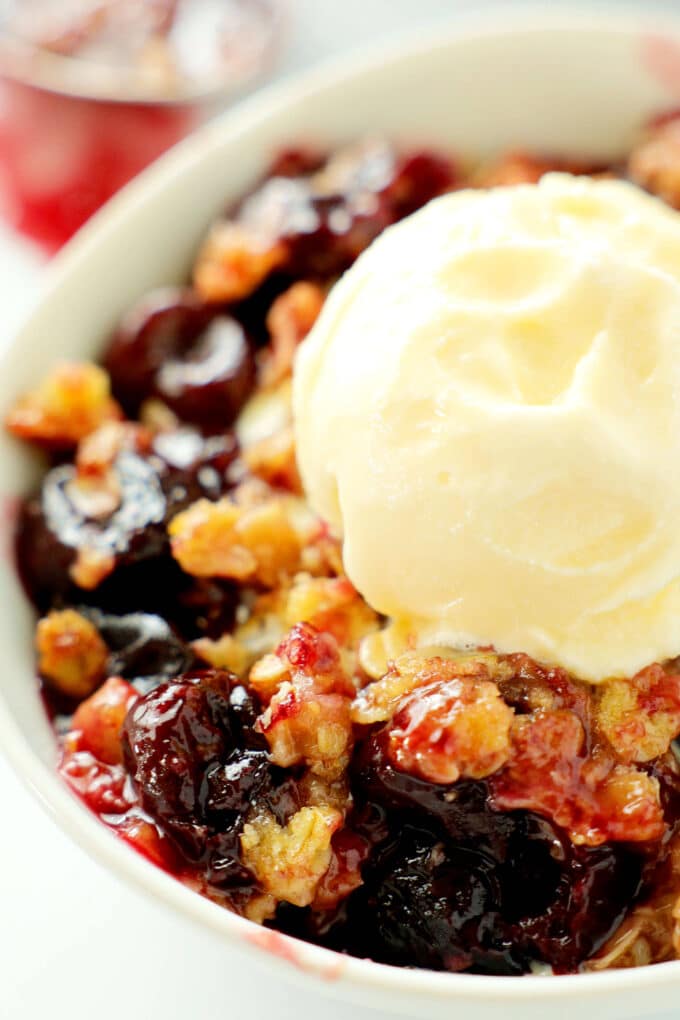
Remove the crisp from the oven and allow it to cool for about 20 minutes. The longer you let your Cherry Crisp cool, the less runny it will be, come serving time. Serve your crisp with a great, big scoop of vanilla ice cream or a dollop of whipped cream, and enjoy!
6 MORE DESSERTS YOU’LL LOVE
- Key Lime Cake
- Strawberry Shortcake Cupcakes
- Peach Cobbler Pound Cake
- Peach Cobbler
- Lemon Blueberry Pound Cake
- Strawberry Brownies

Strawberry Shortcake Cupcakes
Key Lime Cake

Peach Cobbler Pound Cake
Old Fashioned Peach Cobbler

Lemon Blueberry Pound Cake Recipe

Strawberry Brownies
Cherry Crisp
Ingredients
For the Crisp Topping:
- ¾ cup packed light brown sugar
- ½ cup all-purpose flour
- ½ teaspoon ground cinnamon (optional)
- ¾ cup old-fashioned rolled oats
- Scant ½ teaspoon fine sea salt
- ⅓ cup room temperature, unsalted butter, cut into ½" cubes
For the Cherry Filling:
- 2 pounds pitted cherries* (about 4 cups)
- ¾ cup granulated sugar
- 2 tablespoons cornstarch
- ½ teaspoon fine sea salt
- ½ teaspoon lemon zest
- Juice of a lemon
- ¾ teaspoon pure almond or vanilla extract
Instructions
- Preheat the oven to 375°F and have ready greased a 1 ½ to 2-quart capacity baking dish, such as an 8x8" baking dish or small au gratin/casserole dish.
To Make the Crisp Topping:
- Add the brown sugar, flour, ground cinnamon (if using), oats, and salt to a large bowl. Whisk to combine.
- Scatter the butter across the top of the mixture. Rub the butter into the flour mixture using your fingertips until it is well-mixed and no longer appears dry.
To Make the Cherry Filling:
- Add the cherries, sugar, cornstarch, salt, lemon zest, lemon juice, and almond or vanilla extract to a medium-sized mixing bowl. Stir until the cherries are coated, and everything is evenly distributed.
Assemble, Bake, and Cool:
- Pour the cherry filling into the prepared dish. Sprinkle the crumble across the top and bake for 30 minutes, until the topping is a deep golden brown and the edges are bubbly.
- Remove the crisp from the oven and allow to cool for about 20 minutes. Serve and enjoy!
Notes
Nutrition

Leave a Reply