

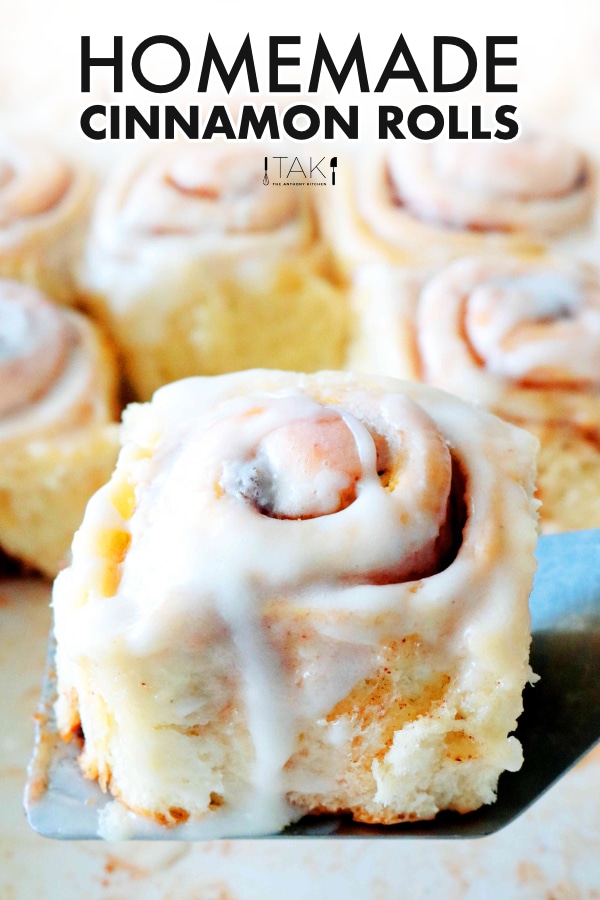
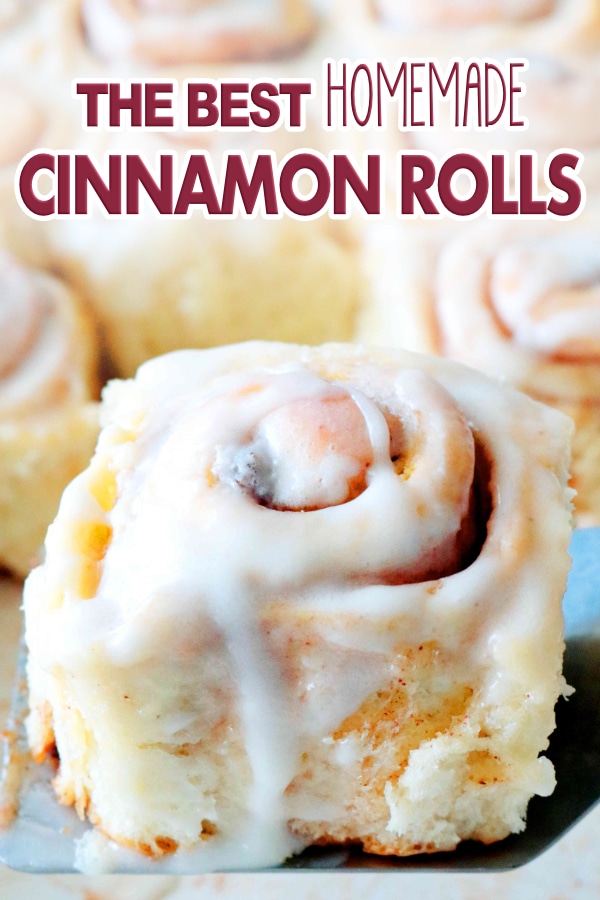
How to make soft, fluffy cinnamon rolls from scratch! A step-by-step tutorial showing you everything you need to know for perfectly gooey cinnamon rolls dripping with icing.
This fool-proof guide will take you through the process of making the best batch of cinnamon rolls you've ever had. With the help of pictures and crystal clear instructions, you're guaranteed success. Bonus alert -- no need to get up before dawn to whip these beauties up. You'll also find instructions for how to make overnight cinnamon rolls below!
Want more sweet, classic breakfast recipes to add to your morning line-up? Bookmark our easy recipe for Homemade Pancake Mix and this foolproof Banana Bread Recipe for next time!
HOW TO MAKE CINNAMON ROLLS FROM SCRATCH
- Grow the Yeast
- Make the Dough
- Knead the Dough
- First Rise (1 ½ - 2 hours)
- Form the Rolls
- Second Rise (40-60 minutes)
- Bake the Cinnamon Rolls
- Make the Icing
GROW THE YEAST

The first thing you'll need to do is grow the yeast. Yeast needs a warm environment to grow, so make sure the milk is very warm to the touch, but not scalding hot.
Sprinkle with the yeast over the warm milk, and stir to moisten. Allow to stand until foamy, about 5-7 minutes. The yeast is ready when it looks like the photo above.
MAKE THE DOUGH
Next, begin making the dough for the cinnamon rolls. Take note, all of your ingredients should be at room temperature.
You'll add the ingredients (the flour, eggs, butter, and salt) to the bowl of a stand mixer fitted with a paddle attachment, mix just until combined, and then move on to kneading. Double-check to make sure you have added all the ingredients before moving on to the kneading stage. Once you knead, there is no going back. Only starting over.
KNEAD THE DOUGH
Replace the paddle attachment with the dough hook. Begin kneading the dough on low speed (e.g. speed 2 if using a KitchenAid stand mixer), and continue for 5-7 minutes. As dough begins to stick to the sides, you'll add reserved flour that has been set aside a tablespoon at a time to prevent it from sticking to the sides of the bowl.
If you don't have a stand mixer, you can knead the dough by hand.
WHAT IS THE WINDOWPANE TEST?

The Windowpane Test will help you to determine if the dough is properly kneaded, and ready to move on to the next step. To perform the test, pinch off a portion of the dough. Hold it up against a light source, and gently pull on it to see if it forms a translucent window. If the dough remains intact as you pull and you can see a small amount of light pass through it, the dough is ready.
If the dough tears and is shaggy in appearance, continue kneading. Continue to knead for 2-3 minutes longer adding flour as needed. Keep with this process until dough is no longer shaggy and does not easily tear when gently stretched.
FIRST RISE (1-½ to 2 HOURS)
After your cinnamon roll dough is properly kneaded, it is formed into a ball and transferred to an oiled bowl to undergo its first rise.
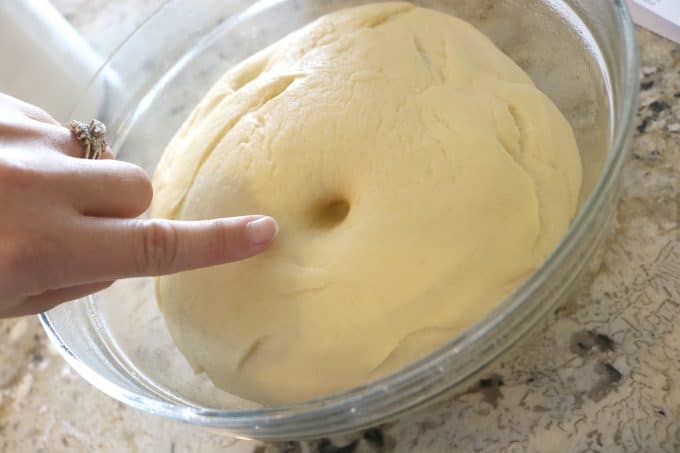
For the first rise, the bowl is covered and kept in a warm, draft-free spot in the kitchen. I usually turn my oven on a low temperature and place the bowl on the counter somewhere near the oven. After 1-½ to 2 hours, the dough should have doubled in size.

To determine if the dough is ready for the next step, poke it with your finger. If the indentation remains, proceed. If the finger-mark fills back in, cover and check again in 15-20 minutes.
FORM THE CINNAMON ROLLS
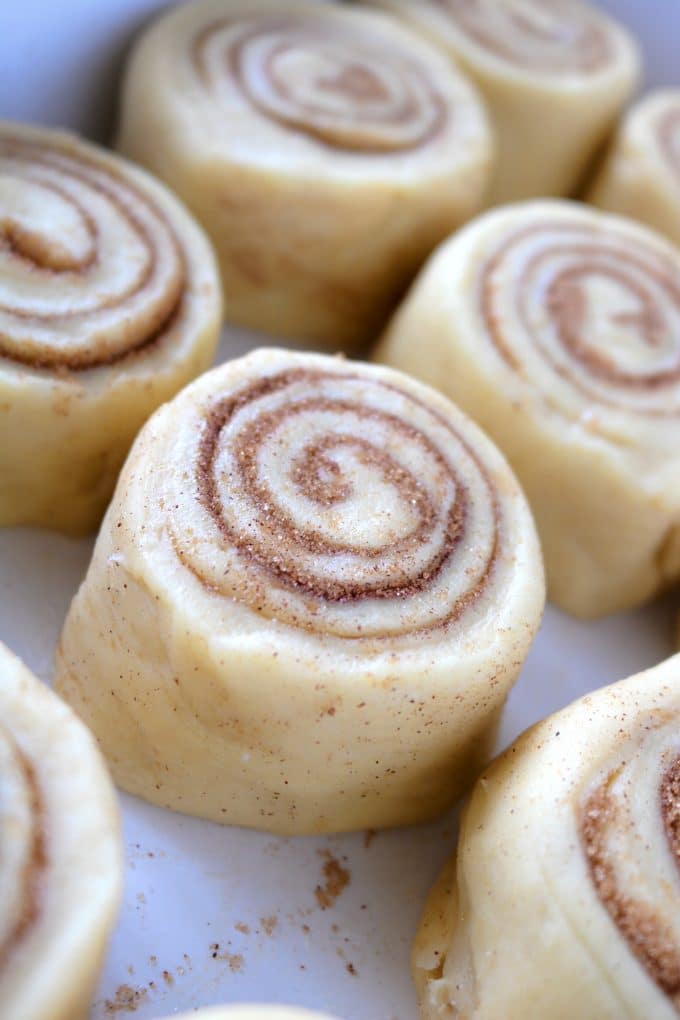
After the first rise, it's time to turn that dough into homemade cinnamon rolls! The dough is punched down, and divided into two balls. Then, working with one dough ball at a time, each is rolled out, coated with butter, and the cinnamon filling is slathered on.

Roll into a log, pinch together to form a seam, and place seam-side down on your work surface. Each log is then cut into rolls and staggered across a greased baking dish.
SECOND RISE (40 MINUTES)
Now for the second rise! Once the rolls have been assembled, they'll need to double in size just one more time.
To do this, cover loosely with a kitchen towel, and place them in a warm, draft-free spot. After about 40 minutes, poke the dough with your finger, and if the indention springs back just ever so slightly, you are ready to bake. If the dough is not ready, cover and proof for 15-20 minutes more.
BAKE THE CINNAMON ROLLS

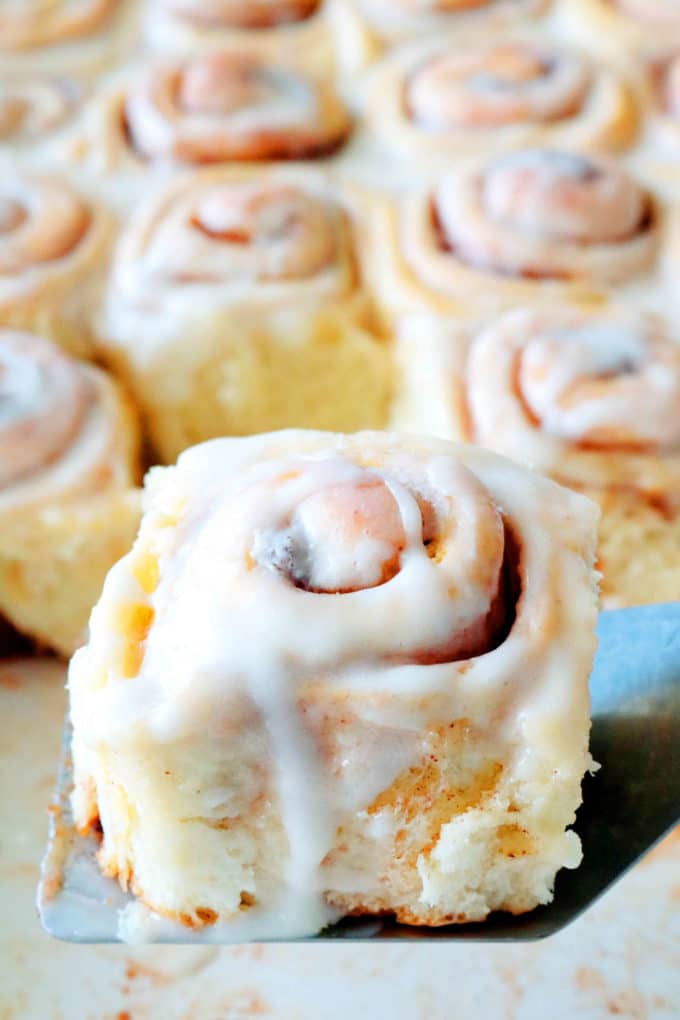
For a beautifully golden batch of homemade cinnamon rolls, brush the tops with an egg wash before baking. Then, bake the cinnamon rolls for 25-30 minutes, until golden and cooked through, and set aside to cool while you mix up a seriously easy, seriously perfect cinnamon roll frosting.
If you love these, you should definitely check out our Cinnamon Roll Pancakes next or do a complete pivot and whip up some homemade burger buns for dinner!
HOW TO MAKE CINNAMON ROLL FROSTING

Cinnamon roll frosting is extremely easy to make! It's a simple mixture of powdered (confectioners) sugar, cream, vanilla, and salt. It all get's whisked together in a bowl, and then poured across the top of the homemade cinnamon rolls.
You can use a pastry brush or offset spatula to spread the frosting evenly across each roll.

HOW TO MAKE OVERNIGHT CINNAMON ROLLS
Did you know you can prepare the cinnamon rolls from scratch...ahead of time? Yes! To do this, cover the rolls loosely with plastic wrap, and rather than letting them undergo the second rise on the counter at room temperature, you can allow the assembled rolls rise in the refrigerator overnight.
However, if the dough was refrigerated overnight, be sure to set out the rolls about one hour before baking!

5 MORE CINNAMON TREATS YOU'LL LOVE
- Apple Strudel with layer upon layer of flaky crust and a flavorful apple filling is a dessert that could conjure the whole family just by scent alone!
- Chocolate Chip Muffins are moist, fluffy, loaded with chocolate chips and the perfect hint of cinnamon! Ideal for make-ahead breakfasts and mornings on the go!
- Baked Cinnamon Apples require only a few ingredients, come together in just one bowl, and bake up perfectly every time.
- Cinnamon Scones are a buttery, delectable treat loaded with cinnamon chips and topped off with a dusting of sparkling cinnamon-sugar, just like America’s beloved cookie, the Snickerdoodle!
- Apple Crumble Cake is a soft, tender cake speckled with warm notes of cinnamon, cloves, and nutmeg. It’s topped off with a crunchy, buttery streusel and ends with a sweet drizzle of vanilla glaze.

Homemade Cinnamon Rolls
Ingredients
FOR THE DOUGH
- 1 cup whole milk warmed (105-140°)
- 2 packages (or 5 teaspoons) active dry yeast
- ½ cup granulated sugar
- 5 cups all-purpose flour separated (plus extra for rolling out the dough)
- 3 large eggs room temperature
- ½ cup unsalted butter room temperature, cut into chunks
- 2 teaspoons fine sea salt
FILLING and GLAZE
- 1 egg, room temperature, slightly beaten
- ¾ cup firmly-packed light brown sugar
- 1 tablespoon ground cinnamon
- ¼ teaspoon fine sea salt
- ¼ cup unsalted butter, room temperature, separated
FOR THE ICING
- ¾ cup confectioners powdered sugar
- ¼ cup heavy cream
- 1 teaspoon pure vanilla extract
- Pinch of fine sea salt
Instructions
GROW THE YEAST
- Add the warmed milk to the bowl of a stand mixer fitted with a paddle attachment. The milk should feel very warm to the touch, but not scalding hot. Use a thermometer to gauge exact temperature if desired. Sprinkle over the yeast, and stir to moisten. Allow to stand until foamy, about 5-7 minutes.
MAKE THE DOUGH
- Add sugar, 4 ½ cups of flour, eggs, butter and salt to the yeast. Place remaining ½ cup of flour in a small bowl. Mix on low just until the contents of the stand mixer come together. Do not over mix. Double check to makes sure you have added all of the aforementioned ingredients before moving on to the kneading stage.
KNEAD THE DOUGH
- Remove the paddle attachment and attach the dough hook. Knead the dough on low speed (e.g. speed 2 if using a KitchenAid® stand mixer), and continue to so for 5-7 minutes, adding in the reserved flour 1 tablespoon at a time, as needed, to prevent the dough from sticking to the sides of the bowl. Alternatively, knead the dough by hand.
FIRST RISE (1 ½ - 2 HOURS)
- Have ready a large oiled bowl.
- Once the dough is properly kneaded, appearing smooth and elastic in texture, transfer to the oiled bowl and turn to coat. Cover the bowl loosely with plastic wrap, and allow to proof in a warm, draft-free spot until it doubles in size, 1 ½ - 2 hours.
MAKE THE ROLLS
- Have ready a greased 9x13” baking dish, and prepare the egg wash by beating together the egg with 1 tablespoon of water. Set aside until ready to use.
- To make the filling, in a small bowl, combine brown sugar, cinnamon and salt. Set aside until ready to use.
- Punch down the dough and turn it out onto a lightly floured work surface. Cut in half with a sharp knife. Set one half aside, and begin working with the other. Lightly dust the dough with flour. Pat out the dough into the shape of a rectangle. Using a rolling pin dusted with flour, roll out the dough into a rectangle, measuring close to 12 x 14”.
- Rotate the dough (if necessary) so that one of the short sides is in front of you. Spread half of the butter across the surface of the dough, stopping about 1” from the short side opposite of you. Sprinkle with half of the cinnamon sugar mixture, and rub across with the butter, patting to adhere and taking care to leave cleared space at end for egg wash.
- Brush the clear area lightly with the egg wash. Set aside egg wash and reserve. Starting on the short side closest to you, begin rolling into a log. Once rolled, pinch together the seam and place seam-side down on your work surface.
- Using a sharp serrated knife, cut off the tapered ends and discard. Cut the log into 6 equal pieces. Stagger the rolls evenly across half of the greased baking dish. Repeat with the remaining log, and proceed to fill the dish. You should have 12 cinnamon rolls total.
SECOND RISE (40 - 60 MINUTES)
- Cover the rolls loosely with a kitchen towel, and allow them to rise in a warm, draft-free spot until they have doubled in size, about 40 minutes.
BAKE
- Place a rack in the center of your oven and preheat to 350°.
- Brush the reserved egg mixture across the top of the cinnamon rolls. Bake the cinnamon rolls for 25-30 minutes, until golden and cooked through. Set aside and allow to cool slightly.
MAKE THE ICING
- In a medium-sized mixing bowl, whisk together confectioners sugar, cream, vanilla and salt until thoroughly mixed.
- Pour the glaze across the tops of the cinnamon rolls and using a pastry brush, spread across the surface of each roll. Serve and enjoy.
Notes
Nutrition
Sarah says
I'm so impressed! For some reason it never even occurred to me that cinnamon rolls could happen without a tin of pre-made ones LOL. Send some to meeeee
Kelly Anthony says
Ha! Thanks Sarah 🙂
Donna says
Hi there;
I’m donna and I am rating this recipe as perfect just because I have made cinnamon rolls many times in my life and I already know by this recipe that these are fool proof if you follow these directions. I especially appreciate the easy and relaxed way the recipe provides you with the how and the why.
Only I little thing I would add and that would be a little lemon juice to the icing. I have found that cuts the sweet just right and adds that refreshing taste. Your guests will be wondering why it is so special.
I will include a picture and comments when I make these. It will be soon.
Kelly Anthony says
Donna! Wow 🙂 Thank you! I am so grateful for your feedback. Like I said in the blog post, I have been working this recipe out for a long time, and wanted to cover all the bases and make sure the things that confused me, or messed me up in the past, wouldn't be an issue for people working from this recipe 🙂 And yes, please let me know how the lemon in the icing turns out!! Blessings!
Lauren says
Hi Kelly! Can these cinnamon rolls be frozen at any point? Want to make them ahead of time and travel with them to Dallas.
Thanks for your help! ~ Lauren
Kelly Anthony says
Hi Lauren! I'm not 100% positive I would recommend freezing the cinnamon rolls before baking them. However, after you bake them would be completely fine. If you want to bake them fresh in Dallas, I would recommend making them the night before, and allowing them to proof overnight...but only if you planned to bake them the day you arrive in Dallas! Sorry I couldn't be of more help!!
Marnie says
Lauren, did you end up freezing them? Anxious to see how it turned out!
PJ Miller says
Kelly, I’m preparing to make these tomorrow but I have a question. A packet of yeast is equal to 2.25 teaspoons so am I correct that this recipe calls for 9.25 tsps of yeast? I don’t use the packets; I use the yeast in the jar.
Thanks in advance,
PJ
Kelly Anthony says
Oh no! No, you would use 2 packages, which is equal to 5 teaspoons 🙂 Happy baking!
PJ Miller says
Whew! I thought that was a lot of yeast but the way it looks in the recipe is confusing. Can’t wait to make these.
Amber Paschall says
I made these today and they were AMAZING and delicious! I added cinnamon to my icing and they were a hit!! Perfect Recipe..
Kelly Anthony says
Amber, that is so wonderful to know! Thank you so much for sharing that 🙂 It's a day-maker!! XOXO
audg says
These were really good, but I felt like they needed more filling to make them that much gooier. Also, I used a cream cheese frosting instead.
Fenella Mae Daclis says
Hi, I only have instant dry yeast at home. Can I use it instead of active dry yeast?
Kelly Anthony says
I've not personally experimented with it, but I did a little research and most findings suggest you can skip the proofing stage (where you dissolve the yeast in the recipe), and instead, add it to your dry ingredients and proceed with the recipe as normal 🙂 Hope this helps!
Mandy M says
Ho do you grow the yeast? I sprinkled the yeast over the warm milk but nothing happened. I have read on other recipes to add sugar to activate the yeast. This is my first time using so I apologize for such an amateur question!
Mandy M says
I did use active dry yeast.
Kelly Anthony says
Hi Mandy! No worries. It can so frustrating when ingredients don't cooperate! There could have been two issues -- (1) the milk was either too hot or too cold, and not a "stable" environment for the yeast to grow, or (2) the yeast might have been old/expired. So it could have been temperature-related or the yeast might have been too close to the expiration date. Does that make sense? I hope this helps! Keep trying! You will get it!!!
Alifia says
This was a great recipe, thank you for being very detailed and for explains each step perfectly. Ive tried, unsuccessfully, to bake with yeast. These rolls were wonderful and easy.
Kelly Anthony says
That makes me so happy! Great job, Alifia! Thank you so much sharing that 🙂
Katie says
I never leave comments on recipes...but I can’t resist leaving one here (much like I couldn’t resist eating two rolls as soon as they were out of the oven)!
This recipe is amazing! I am an experienced hobby baker but have never really gotten the knack of cinnamon rolls. This recipe was easy to follow and I was rewarded with perfectly flavoured, soft cinnamon buns. I had to use instant yeast instead of active dry as it was all I could get my hands on (pandemic buying in Canada has left the shelves empty of yeast) - but the substitution was easy enough in altering the recipe.
Thanks for such a delicious recipe - will be using this for years to come.
Kelly Anthony says
Katie, I'm so glad you left this comment! Thank you so much, and I'm thrilled you loved them!
Cambria says
I love this recipe so much, I would just add a 1\4 teaspoon almond extract and a 1\2 teaspoon vanilla extract. But other than that, these are amazing!
Tamisha says
This worked exactly as written, thanks!
Rosa says
Hi I will liked to know exactly at what temperature the milk should be ? Between 105 and 140 is a big gap