


Making Halloween Cake Pops at home should be easy, fun, and without any hiccups along the way. These spooky cake pops are especially simple to make, keeping the whole process a breeze, just as it should be!
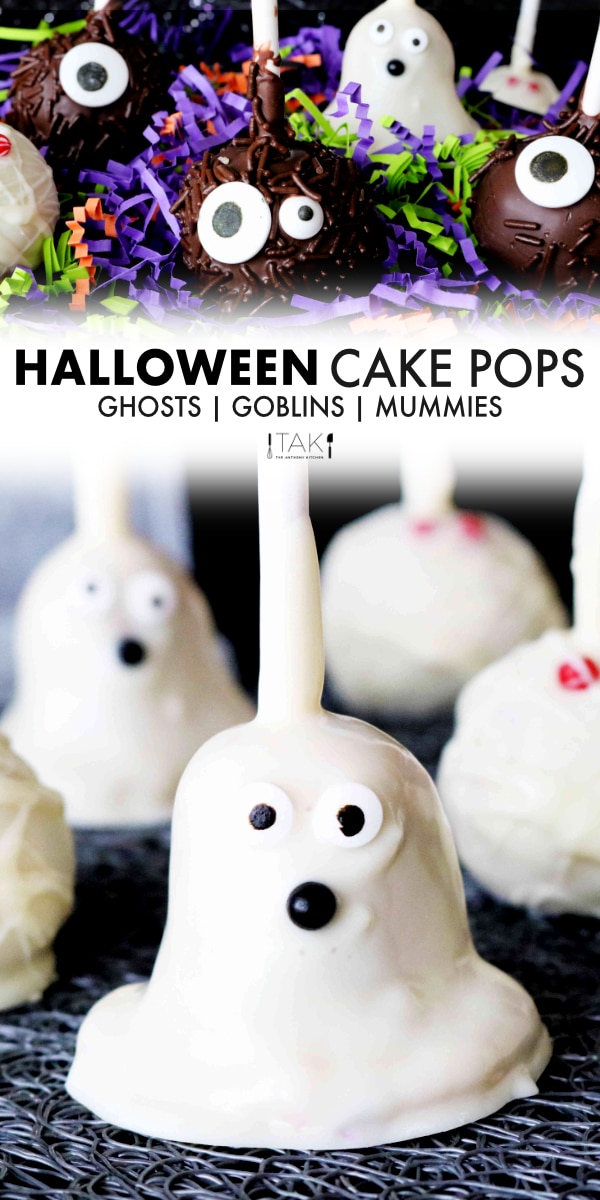
Choose from three Halloween Cake Pop decorating ideas -- Ghosts, Mummies, or Little Monsters -- to add an especially festive touch to your Halloween party! In addition to the spookiest, cutest pops on the block, we'll also be covering a little Cake Pop 101, and gathering up some great info with tips like how to make boxed cake mix taste homemade, how to get surprise sprinkles inside, how to go from cake ball to cake pop...and make it stay there, a hack for easily "frosting" cake pops, plus, storage and freezing tips!

QUICK RECIPE OVERVIEW | HOW TO MAKE CAKE POPS
- Bake a cake and break up into crumbles.
- Add icing and mix well.
- Form into balls (or indicated shape) and place in freezer for 1 hour.
- Add lollipop sticks, dip in melted wafers, and decorate.


PUTTING THE CAKE IN CAKE POPS
Cake pops aren't necessarily difficult to make, but because they're decorative, they do require more steps than most desserts. This, in addition to the fact that the cake is going to be demolished into crumbs, is the reason I use a boxed cake mix for cake pops. It cuts back on the workload and keeps the process fun.
However, you can make your boxed-cake cake pops taste homemade with a just a couple of simple additions. The difference a teensy bit of salt and pure vanilla extract can make is almost unbelievable.
HERE'S HOW IT WORKS
Bake the cake according to package directions. Then, once the cake has cooled, add it to the mixing bowl in large pieces, and crumble it up with your hands. Add some buttercream frosting (I also opt for store-bought here), along with a generous pinch of salt and a helping of pure vanilla extract. If you want to add an extra special touch, now's the time to add some festively colored Jimmies Sprinkles! Mix it all up until well combined using either your hands or a sturdy wooden spoon.
FAQ| THE TEXTURE OF A CAKE POP
Because you're adding icing to your cake pops (which is essentially a "wet ingredient"), you can expect the texture to be very moist, and almost sticky. This is completely normal...and delicious.
Once you've got your cake ball mix ready to rock, it's time to roll them into balls, which will eventually go into the freezer. Scoop up about 2 scant tablespoons of the mix, and roll into a ball using cupped hands. Cupping your hands while rolling into balls will help it to round out nicely.
I use an OXO medium-sized cookie scoop to help keep the cake balls of uniform size.
FAQ| HOW MANY CAKE POPS DOES ONE BOX OF CAKE MIX MAKE?
One box of cake mix will make about 30 cake pops.

FROM CAKE BALL TO CAKE POP
Once the balls have been formed, it's time to transfer them to the freezer. This is an important step in undergoing the transformation from cake ball to cake pop. The cake balls will need to stay in the freezer for at least 1 hour. It's best if you can freeze them on a flat surface, such as a baking sheet lined with wax paper, however, if you can't fit a baking sheet in your freezer, you can use a food-safe storage container. Just be sure you use wax paper in between the layers of the cake balls to keep them from sticking to one another.
Once the cake balls have hardened in the freezer, it's time to add the lollipop sticks! But wait -- there's something you should consider first! How are you going to display your cake pops? Will the cake pops be upright? Or will the cake ball itself be placed on a flat surface?
Dip the tip of the lollipop stick in melted wafers, and insert it directly in the center of the cake pop about ¾ of the way into the depth of the cake ball.
FAQ | WHY ARE MY CAKE POPS FALLING OF THE STICK?
- The cake balls had not spent enough time in the freezer and were not hardened enough prior to dipping them into the melting wafers.
- Not dipping the tip of the lollipop stick in the melting wafers prior to inserting it into the cake ball.
- Not inserting the lollipop stick deep enough into the cake ball.
- The lollipop stick was too skinny to uphold the weight of the cake ball.
DIPPING YOUR CAKE POPS
This is the really easy part. Candy melting wafers are what is used for the exterior of cake pops. I always use Ghirardelli Melting Wafers because of the superior taste and quality, but you can find other, less expensive brands at specialty craft stores like Hobby Lobby and Michaels.
Melt your candy wafers according to package directions and it's time to dip. Dip the cake pop in the melted wafers, and allow as much excess to drip off as possible before decorating. Be sure to set them on a nonstick surface after they've been dipped. Wax paper works best!
CAKE POP DIPPING HACK
When I dip my cake pops, I do it in a Pyrex measuring cup. Its slender form makes it much easier to fully submerge the cake pop, much more so than a wide, shallow bowl.
WARNING! Don't wait until all of your cake pops have been dipped to begin decorating! Melting wafers harden fast, so dip, decorate, and repeat.
FAQ | HOW MANY CAKE POPS PER BAG OF CANDY MELTS
It's best to judge by weight as different brands of melting wafers come in different sizes. 36 ounces of melting wafers will coat up to 30 cake pops.

CAKE POP STORAGE
Your cake pops will stay good for 3-4 days at room temperature in a sealed, airtight container, but they'll stay good for 6-8 weeks in the freezer! To make cake pops ahead of time and freeze them, simply place them in a freezer-safe container large enough to house them without crowding, and separate each layer with a sheet of wax paper. Seal them, and freeze!
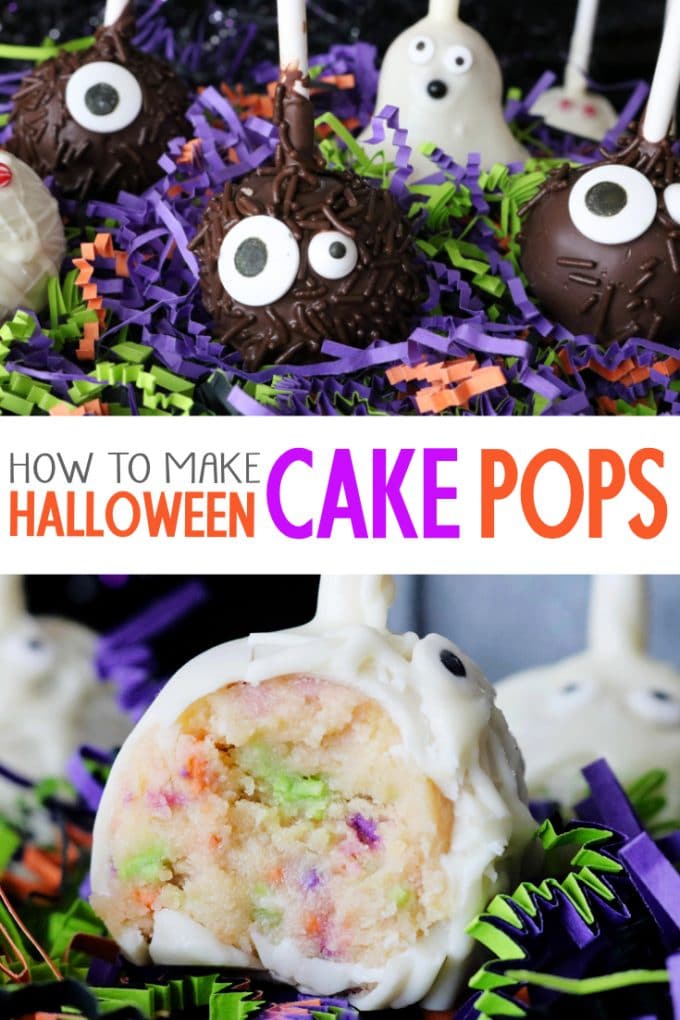
3 HALLOWEEN CAKE POPS TO DIE FOR

Now for the really fun part -- the decorating! All three of these Halloween Cake Pop decorating ideas were designed to be easy, fun, and completely doable for a first-time cake pop maker! They require minimal extra ingredients and steps, and they are decorating techniques that the children could easily get in on.
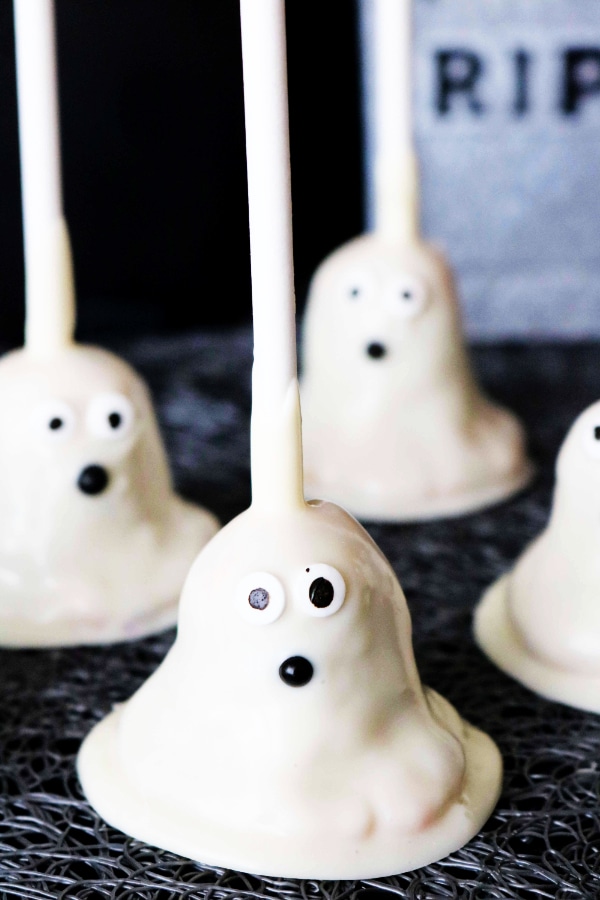
GHOST HALLOWEEN CAKE POPS
Ghost Halloween Cake Pops are a monster party hit, and if you choose to go with this decorating method, you'll soon see, the kids go wild for them!

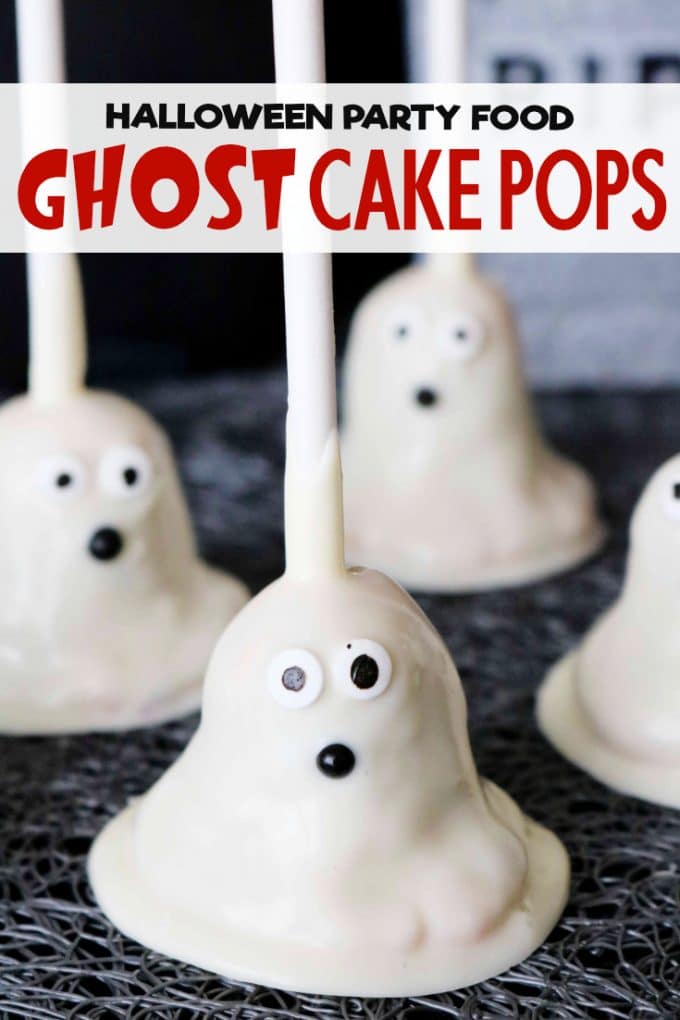
FOR DECORATING GHOSTS, YOU WILL NEED:
- Halloween Cake Pop Recipe Ingredients
- White Candy Melting Wafers
- Small Candy Eye Decals
- Large Black Nonpareils
After you've formed the cake ball, you'll begin to taper one end, forming it into a bell shape. This will be the head of the ghost. Then, gently pinch the bottom all around to form the "skirt" of the ghost. From there, processed with the recipe as directed.
The cake pop will take a dip in the melted wafers, and is finished off by the simple addition of two candy eye decals and one black nonpareil for the mouth. If you love the Ghost Cake Pops, you'll also adore these Ghost Halloween Brownie Bites made with marshmallows and candy melting wafers!
MUMMY HALLOWEEN CAKE POPS
Mummy Halloween Cake Pops are especially fun to make, and my number one pick for making with kids.

FOR DECORATING MUMMIES, YOU WILL NEED:
- Halloween Cake Pop Recipe Ingredients
- White Candy Melting Wafers
- Large, Red Nonpareils or Small Candy Eye Decals
Once the cake pops are coated in melted wafers, you simply add either two red nonpareils or candy eye decals. Then, once all of the decals have been added to all the cake pops, you'll take scant spoonfuls of melted wafers and quickly drizzle back and forth, across the top, and all across the sides.
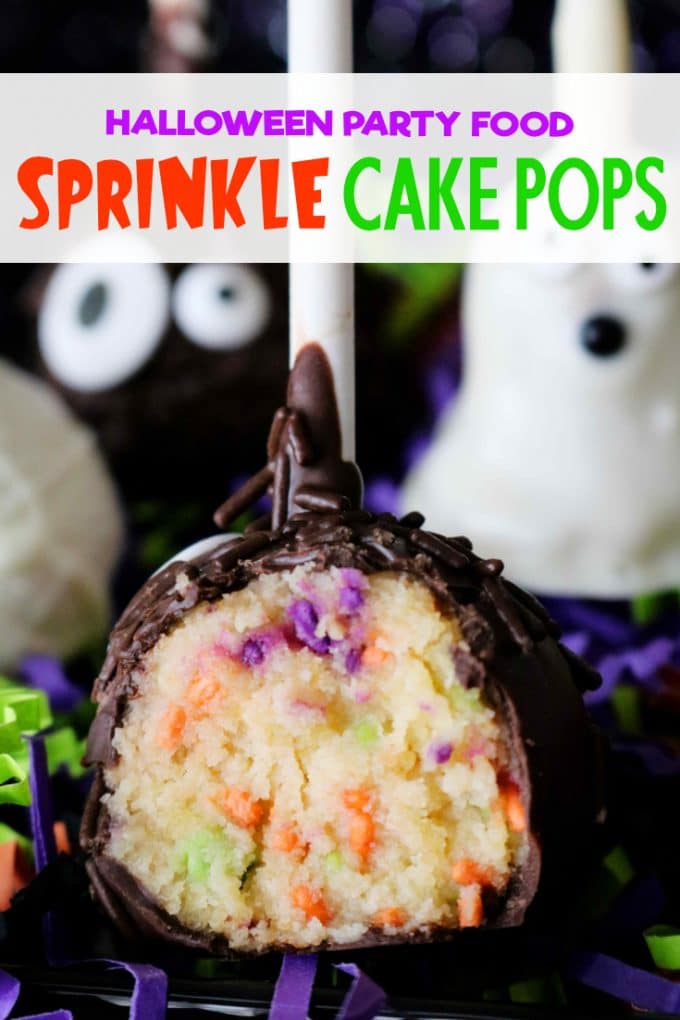
LITTLE MONSTER HALLOWEEN CAKE POPS
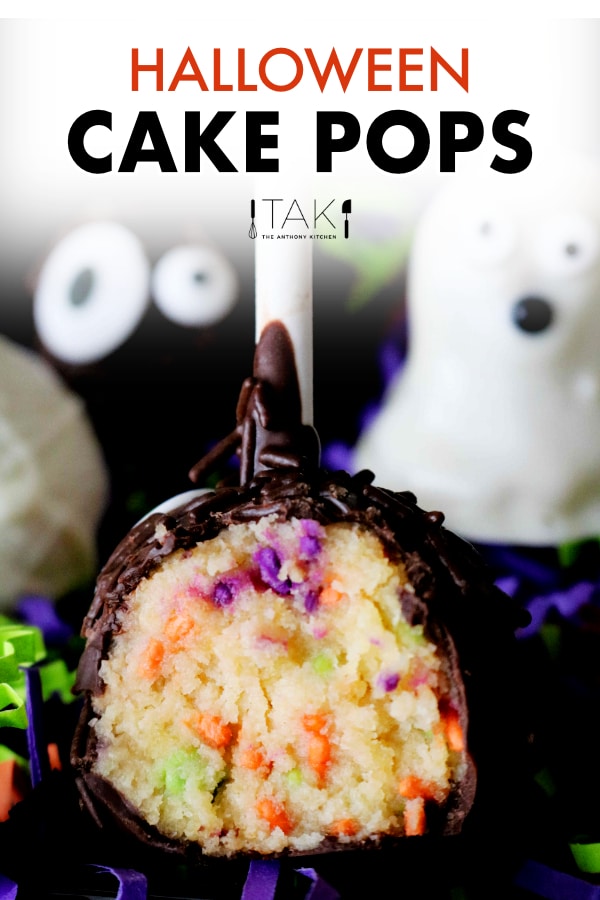
Monster Halloween Cake Pops were made for all the chocolate lovers out there, and you could easily swap out the yellow cake mix for a chocolate cake mix to make it even more chocolatey. However, this would make it difficult to see all of those festive, colorful sprinkles inside!

FOR DECORATING MONSTER HALLOWEEN CAKE POPS, YOU WILL NEED:
- Halloween Cake Pop Recipe Ingredients
- Chocolate Melting Wafers
- Candy Eye Decals (Assorted Sizes)
- Chocolate Jimmies Sprinkles
After the cake pops have been coated in chocolate wafers, you'll add the eye decals (as many as you'd like or just one for a Cyclops monster), followed by a generous helping of chocolate Jimmies sprinkles! If you end up with leftover decor from this recipe, put them to good use making Cousin It Brownie Bites or Halloween Rice Krispie Treats!

Halloween Cake Pops are delicious, festive handheld treats you could easily take down with one bite, making them the perfect addition to this year's Halloween party!
5 MORE SPOOKY HALLOWEEN DESSERT IDEAS
- Halloween Brownies taste amazing, feed a crowd, and make decorating fun! Three spooky, yet adorable, ways to dress up your brownies for Halloween straight-ahead.
- Halloween Sugar Cookies with Royal Icing come equipped with tips for easy decorating and a bonus Hanging Sugar Cookie addition. Yes! How to make your ghost or bat-shaped sugar cookies look as though they are suspended in air. How's that for spooky?
- Halloween Peanut Butter Butterfinger Blondies are loaded with flavor and perfectly decorated for Halloween with crushed, orange Butterfinger candy and a dark chocolate drizzle!
- Halloween Cocoa Krispie Treats are easy to make and perfect for those with gluten-allergies! Made with rice cereal, marshmallows, candy corn, and festive sprinkles, these treats are perfect for cooking with kids!
- Chocolate Covered Pretzel Worms are another seriously easy treat to make! All you need is melted chocolate wafers, pretzel rods, and sprinkles. They're perfect for adding a little height to your Halloween grazing station and great for class parties!

Halloween Cake Pops
Ingredients
- 1 box of yellow cake mix, baked according to package instructions
- 1 cup creamy white frosting, storebought
- 1 teaspoon pure vanilla extract
- ¾ teaspoon Kosher salt
- ¼ cup purple Jimmies sprinkles (optional)
- 3 tablespoons green Jimmies sprinkles (optional)
- 3 tablespoons orange Jimmies sprinkles (optional)
- 30 lollipop sticks
- 36 ounces melting candy wafers white for Mummies and Ghosts and chocolate for Monsters
For Ghost Halloween Cake Pops:
- 2 (1 ounce) package mini candy eye decals
- 1 (1 ounce) package large, black non pareils
For Mummy Halloween Cake Pops:
- 1 (1 ounce) package large, red non pareils
For Little Monster Halloween Cake Pops:
- 2-3 (1 ounce) packages candy eye decals (an assortment of sizes, if possible)
- 1 (2.5 ounce) bottle chocolate Jimmies sprinkles
Instructions
- Have ready a sheet pan lined with wax paper or a large food storage container, plus a few sheets of wax paper (to be used for separating layers) -- whichever will fit best in your freezer.
- Once the cake has cooled, transfer it to a large mixing bowl in large chunks and break up into crumbles with your hands.
- Add the frosting, vanilla, salt, and sprinkles if using, and either mix with your hands or a sturdy wooden spoon until well-combined.
- With cupped hands, roll about 2 tablespoons of the mix into a ball and set on the wax paper. Use a medium-sized cookie scoop to make your cake balls perfectly uniform in size. Repeat until all of the mix has been prepared.
- If making Ghost Halloween Cake Pops, taper the top of each cake ball like a bell, and gently pinch the bottom outward to form the "skirt" of the ghost.
- Transfer all of the cake balls to a sheet pan lined with wax paper or the storage container. If using the storage container, separate each layer of cake balls with a sheet of wax paper. Freeze for 1 hour. Do not stack Ghost shaped cake balls.
- Remove from the freezer, and melt the candy wafers according to package instructions. If you'd like, transfer some of the melted wafers to a Pyrex measuring cup to make dipping easier.
- Have your work surface and decorations ready. Dip the tip of the lollipop in the melted wafers, and then gently insert it into the center of the cake ball, about ¾ of the way down.
- Submerge the cake ball completely in the melting wafers, and allow the excess to drip off before transferring to the work surface.
- Decorate the cake ball as desired (see blog post if needed), right away, before the coating hardens. Repeat with the remaining cake balls.
- Allow the candy shell to harden completely before serving, 25-30 minutes.
Video
Nutrition


MORE HALLOWEEN PARTY FOOD IDEAS:
Halloween Chocolate Cherry Hand Pies
Halloween Cinder Cake
Halloween Rice Crispy Treats
Spooky Spider Chocolate Cheese Ball
Puking Pumpkin Dessert Dip
Donut Spiders
Halloween Popcorn Bars
Chocolate Peanut Covered Caramel Apples
Candy Corn Truffle Bark
Mini Frankenstein Cheesecakes
Halloween Polka Dot Cupcakes
Ghost Munch
Deb @ Cooking on the Front Burner says
These are so fun and perfect for Halloween!
Cookilicious says
Halloween treats are so much fun to make!!! Love your post!
Bec says
These are simply ADORABLE cake pops, and I love how easy they are to make!
Kelly Anthony says
Thank you so much, Bec!!
Gloria says
These are super cute. I know my grandkids would love these as a treat. Great for Halloween parties too.
Becky Tarala says
Oh my goodness, I just love these. Awesome tutorial!
Annissa says
These are perfect for a quick and easy Halloween treat fix. Eye candies!
Claudia Lamascolo says
these are adorable I know my grand kids will love them and they all look so perfect for Halloween parties!
Lauren Vavala @ DeliciousLittleBites says
Oh my goodness! All of your cake pops are absolutely adorable! I love to make my kids special treats like this for holidays and I know they will LOVE these!
Lucy @ Supergoldenbakes says
These are gorgeous and you have given so many useful tips - thanks.
Kelly Anthony says
Thank you so much, Lucy!
Lisa | Garlic & Zest says
#CutestCakePopsEver! These are absolutely beautiful - I've never made cake pops before, but now I want to.
Melinda Caldwell says
LOVE LOVE LOVE these! All are adorable. Perfect for Halloween favor bags. Thanks for sharing.
Kelly Anthony says
Thank you so much, Melinda!!!
Holly says
These cake pops are super spooky and soooo adorable! They would be fun to make with the kiddos!
Kelly Anthony says
Thank you, Holly! I totally agree 🙂
Anna Hettick says
These cake pops are so adorable! I know my kiddos would love them!