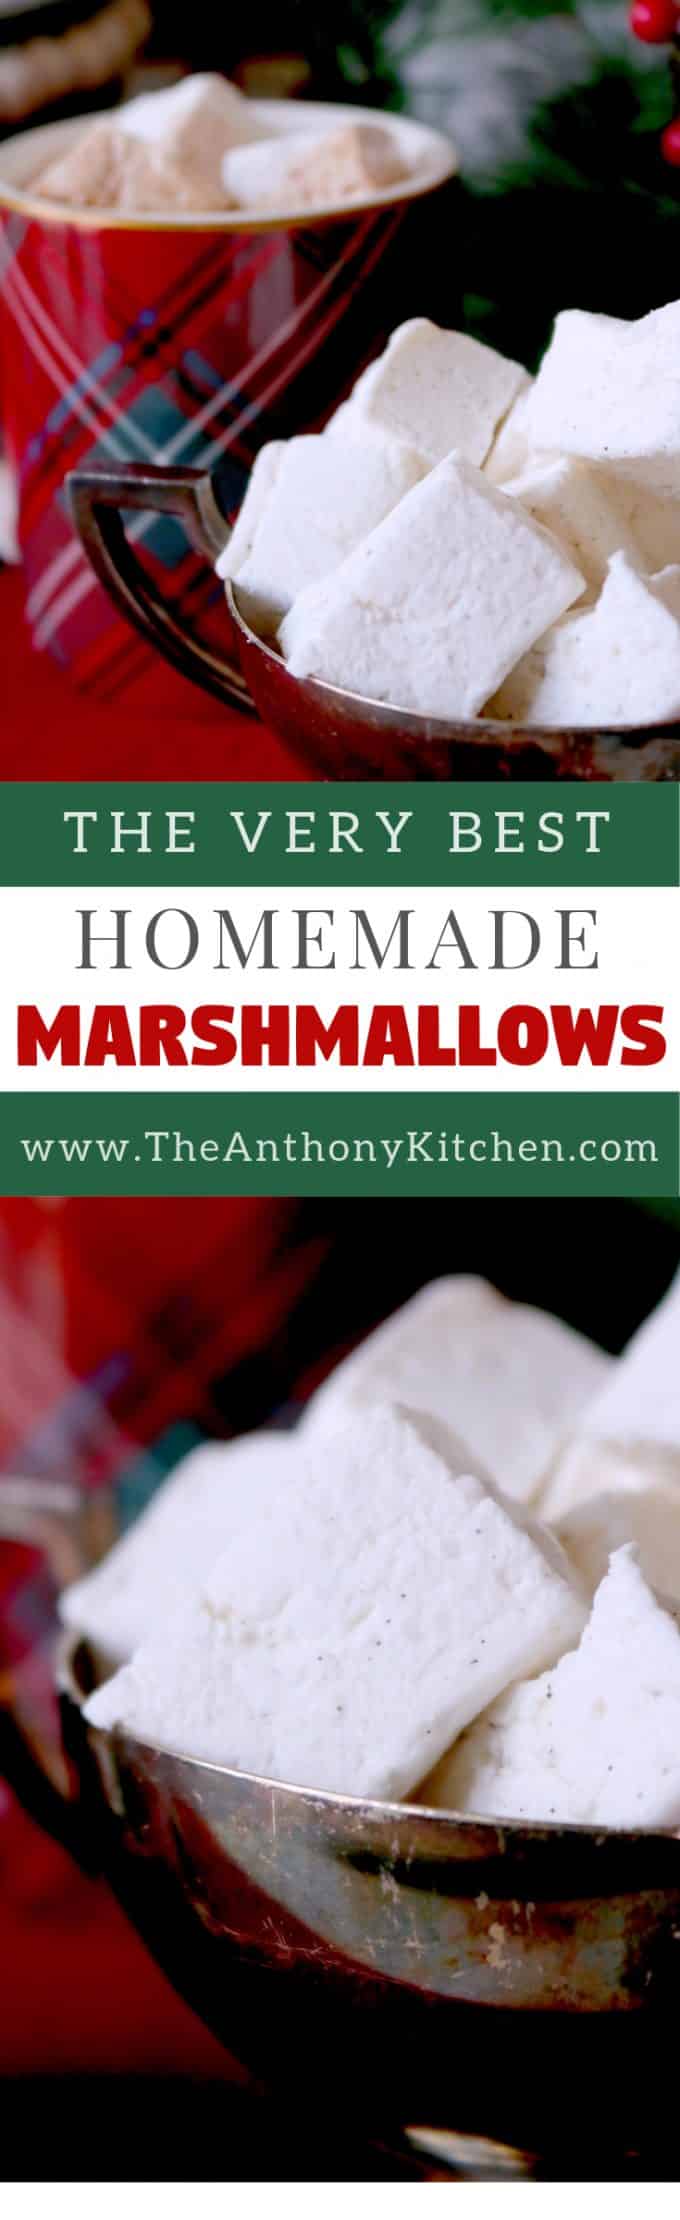
A recipe for perfect, homemade marshmallows.
Before stepping into The Chocolate Gallery in Bryan, TX for a little marshmallow 101, I had only ever laid tastebuds on the store-bought, pre-packaged marshmallows you scoop up when headed down the baking aisle. And, I always watched in wonder (like, literal "wonder," not to be confused with "awe") as to why my children wanted to get in on those jet-puffed sugar bombs before they were melted down into something much more edible.
No, in truth, I never really cared for store-bought marshmallows on their lonesome. Melt them down and add them to s'mores, hot chocolate, or krispie treats? I can totally dig on that. But, there was just something about the texture of a stand-alone, jet-puffed marshmallow that was less than desirable to me. Too much chew, not enough flavor, one dimensional and an eternal mouth-full -- store-bought marshmallows have just never been my bag.
I went in for a little Marshmallow 101 with Chef Joshua Neubauer, curious as to how homemade marshmallows would differ from those found in the baking aisle. As I watched Chef Joshua measure, pour, stir, and whisk, I felt quite confident any product made with such attention to detail, consisting of quality ingredients would undoubtedly make a marshmallow lover out of me. And, I was right.

[All Chocolate Gallery Photos by Rachel Driskell|
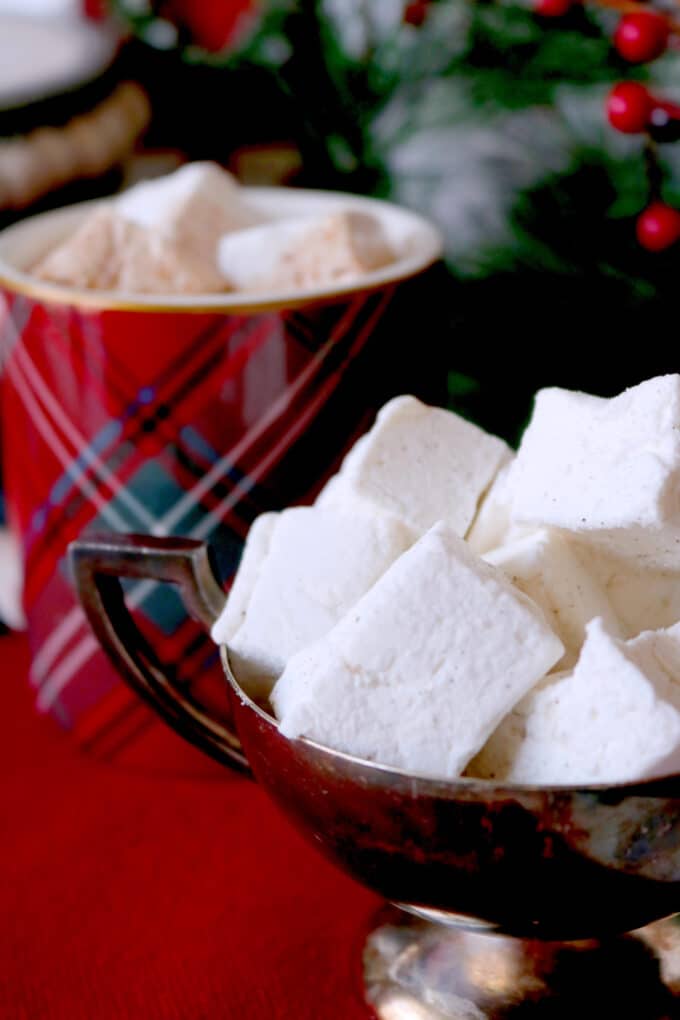
Homemade marshmallows are not the same product as those you snag on your way down the baking aisle. Homemade marshmallows are somehow soft and airy, yet melt in your mouth when bitten, and they are a heavenly confection I could eat, stand-alone, any day of the week. However, I certainly wouldn't deny them accompanied by a steaming, hot cup of hot chocolate on a cold winter day.
HOW TO MAKE MARSHMALLOWS AT HOME
Marshmallows are candy, and making candy at home requires attention to detail. Before you gear up in the kitchen, I highly recommend you read through the recipe, including both the ingredient and method portion. Make sure you have a clear understanding of all aspects of the recipe.
Note that temperature is important when it comes to making candy. Chef Joshua recommends using a probe thermometer for this recipe.
RECIPE OVERVIEW
To help you along the way, I've provided a Cliff notes version of Chef Joshua's Homemade Marshmallow recipe.
THE PAN AND OIL
Before you begin making your marshmallows you'll need to prepare the pan. For this task, you will need a quarter sheet pan, parchment paper, and oil.
Cut two sheets of parchment paper to fit inside the pan. Lay one sheet of parchment inside the pan, and oil it, and the sides of the pan, liberally. Lay the second sheet on top of the oiled sheet.
THE GELATIN
The gelatin will involve three steps. Note that you will need a double boiler for the gelatin. This means that you will need to use a heatproof bowl that would fit snugly within the rim of a small saucepan to mix the gelatin in.

Step 1: In preparation for the double boiler, water is brought to a boil in a small saucepan. Then removed from the heat and set aside until ready to use.
Step 2: Gelatin and cold water are whisked together, and the mixture is set aside to allow the gelatin granules to soften up.
Step 3: Once the sugar mixture (see below) is ready, the gelatin bowl is placed over the prepared saucepan, until the mixture is no longer solid and begins to melt.
THE SUGAR
According to Chef Joshua, when it comes to the sugar, there are two important temperature to keep in mind: 252°F and 212°F.
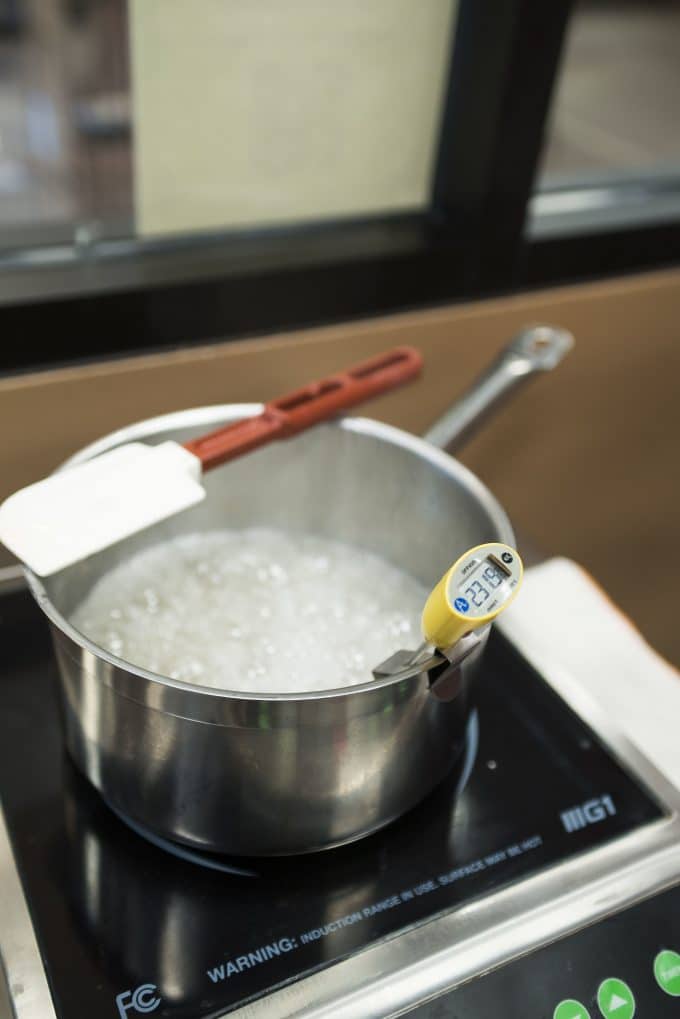
Sugar, corn syrup and water are mixed together in a saucepan until the mixture resembles wet sand. Then, the mixture is transfered to the stovetop where it will heat up and boil until it reaches 252°F.
The sugar is then transferred to a the bowl of a 5-quart stand mixer fitted with a whisk attachment.
Once the temperature cools to 212°F, the gelatin mixture is added.
TWO ROUNDS IN THE STAND MIXER
Round 1: BEGIN MIXING ON LOW! You do not want to get burned by flying sugar. Gradually increase the speed until the stand mixer is on the highest setting, and allow the mixture to whisk for 4 minutes.
Round 2: Add the vanilla and cream of tartar and continue whisking for 4 more minutes.
MARSHMALLOWS ARE STICKY
Y'all. Marshmallows are so, so, SO sticky before they set. Oiled utensils, oiled hands, and even oiled latex gloves are your friends in this here scenario.
ALLOW MARSHMALLOWS TO SET OVERNIGHT
For best results, plan ahead and allow your marshmallows to set overnight.
POWDER, CUT AND EAT!
Now, remember that whole "marshmallows are sticky" thing? Well, homemade marshmallows are sticky even after they set as well.
To avoid a messy situation, have on standby a mixture of powdered sugar and cornstarch. Coating the marshmallows in this concoction will keep them from sticking together...and from sticking to you.

Chef Joshua noted that these confections, in particular, will last up to two months stored in an airtight container, making them a make-ahead treat wonderful for both entertaining and gifting!
Making marshmallows at home may take a little planning ahead and some focus in the kitchen, but overall, the hands-on work is minimal and the payoff is huge. Homemade marshmallows are more than just a decadent, little bite-sized snack. Homemade candies are special -- they're treats that carry with them the ability to make just about every and any occasion all the merrier. Please, enjoy.
Homemade Marshmallows
Ingredients
- ¼ cup vegetable oil
- 3 packs (20 grams) unflavored gelatin powder
- ½ cup (115 grams) cold water
- 1 ¾ cup (340 grams) granulated sugar
- 1 cup (340 grams) light corn syrup
- ⅓ cup (85 grams) water
- 1 tablespoon (15 grams) vanilla bean paste or extract
- Pinch of cream of tartar
- ½ cup corn starch
- ½ cup powdered sugar
- Seeds of 1 vanilla bean (optional)
Instructions
- Line a quarter sheet pan with parchment paper. Using vegetable oil, liberally and evenly oil parchment paper and edges of the sheet pan with vegetable oil. Place a second sheet of piece of parchment paper on top of the oiled sheet. Set aside until ready to use.
- Boil 2-3 cups of water in a small saucepan, and set aside until ready to use.
- Pour cold water into small, heatproof bowl. Bowl will eventually be used as a double boiler.
- Add gelatin powder into a ½ cup cold water, and whisk to avoid any clumping. Set a timer for 8 minutes, and set aside.
- In a medium-sized saucepan, pour granulated sugar, light corn syrup and ⅓ cup of water. Mix ingredients with a spatula until the mixture resembles wet sand.
- Transfer the pot to the stovetop and place over high heat. Stir occasionally until boiling. Closely monitor the temperature of the sugar mixture until it reaches 252°F.
- Carefully pour sugar mixture into the bowl of a stand mixer fitted with a whisk attachment, and continue monitoring the temperature as it decreases.
- Once the gelatin timer is up, place the bowl with the gelatin mixture over a small pot of hot water to create a double boiler, and allow the mixture to melt.
- When the sugar mixture has cooled to 212°F and the gelatin is fully melted, add the gelatin mixture to the bowl of the stand mixer, taking care to scrape any remaining gelatin from the sides of the bowl.
- Begin mixing the gelatin and sugar mixture on low (to avoid splattering hot sugar), and slowly increase the speed to high, and mix for 4 minutes.
- Add the vanilla and cream of tartar, and resume mixing on high for an additional 4 minutes. Turn off mixer, and remove the bowl and whisk.
- Separate the top sheet of parchment paper from the sheet pan, and set aside.
- Coat a spatula and your hands with vegetable oil to avoid sticking, and transfer the marshmallow onto the oiled parchment spreading the marshmallow out evenly. Once the marshmallow is spread evenly, place the top sheet of parchment paper, oil-side-down on the marshmallows, and wrap the pan in plastic wrap. Set marshmallows aside until fully cooled and fully set, optimally 24 hours.
- The next day, whisk together powdered sugar, corn starch, and seeds from 1 vanilla bean (if using) in a small bowl.
- Sprinkle enough of the powdered sugar mixture to coat a cutting board. Unwrap the marshmallows, remove the parchment paper from the marshmallows, and transfer to the board.
- Cut marshmallows into desired shape with a large chef’s knife, continuously coating the cut edges with the powdered sugar mixture to avoid sticking. Carefully, clean the knife when necessary between cuts.
Notes
Nutrition
Leave a Reply