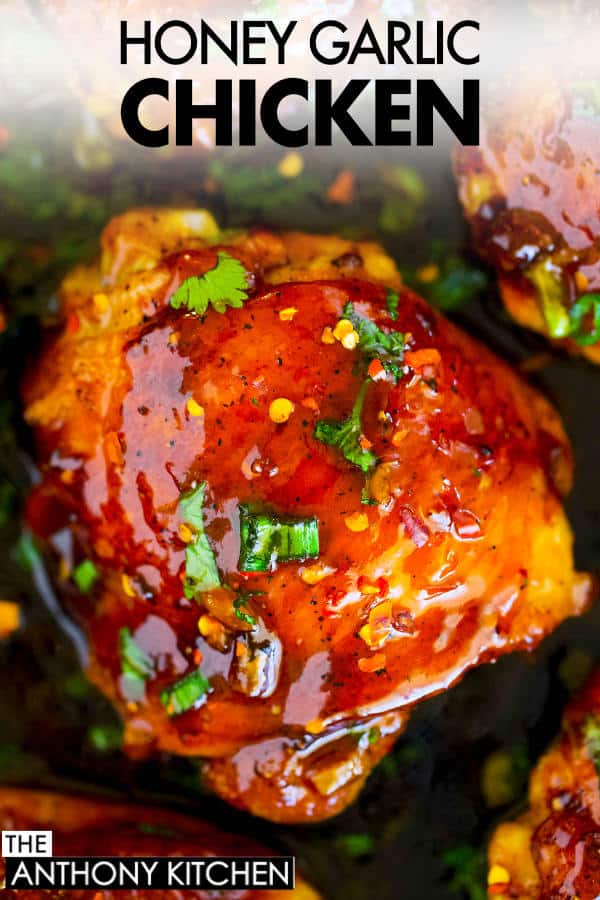
Got 15 minutes to spare? Then you have time to make this insanely delicious Honey Garlic Chicken. This is a big-time family favorite around here and it's seriously so easy to make. The recipe was developed for bone-in chicken thighs, but can easily be adapted for chicken breasts or boneless thighs... Bottom line? If you've got chicken in the fridge, you can put this recipe to good use.
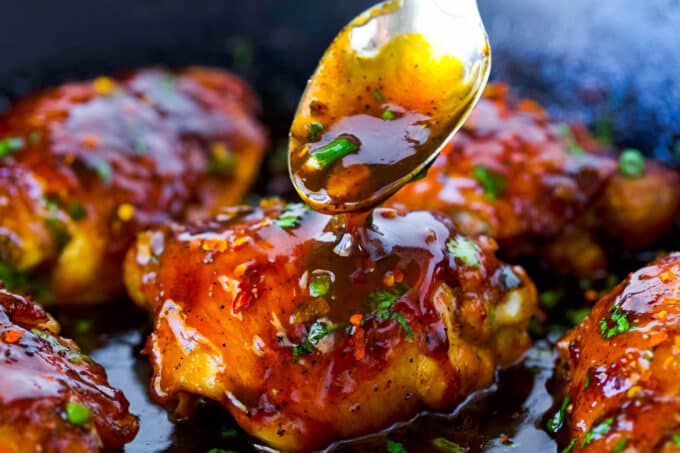
Let's talk about this sauce. It's a gourmet flavored, sweet and savory honey garlic sauce with the perfect, sticky consistency and it's incredibly easy to make. Need I say more? This dish is excellent served alongside some steamed rice and broccoli. The sauce is delicious on veggies as well!
We love an easy dinner around here, but we are not about sacrificing flavor or deliciousness. Here at The Anthony Kitchen, we believe you can have the best of both worlds. For another easy, garlicky protein that packs a flavor punch, we highly recommend you give our Lemon Garlic Salmon a try. We have tons of dinner recipes that will leave you entire family wanting more. Check them out and add them to your dinner lineup!
HOW TO MAKE HONEY GARLIC CHICKEN
This chicken starts on the stovetop and ends up in the oven, so the first thing you want to do is preheat your oven to 375°F. It's also easiest if you have a large, oven-safe skillet. That way, you are dirtying fewer dishes- yes, please! However, you can still make this recipe if you don't have an oven-safe skillet. But we'll get to that down below.
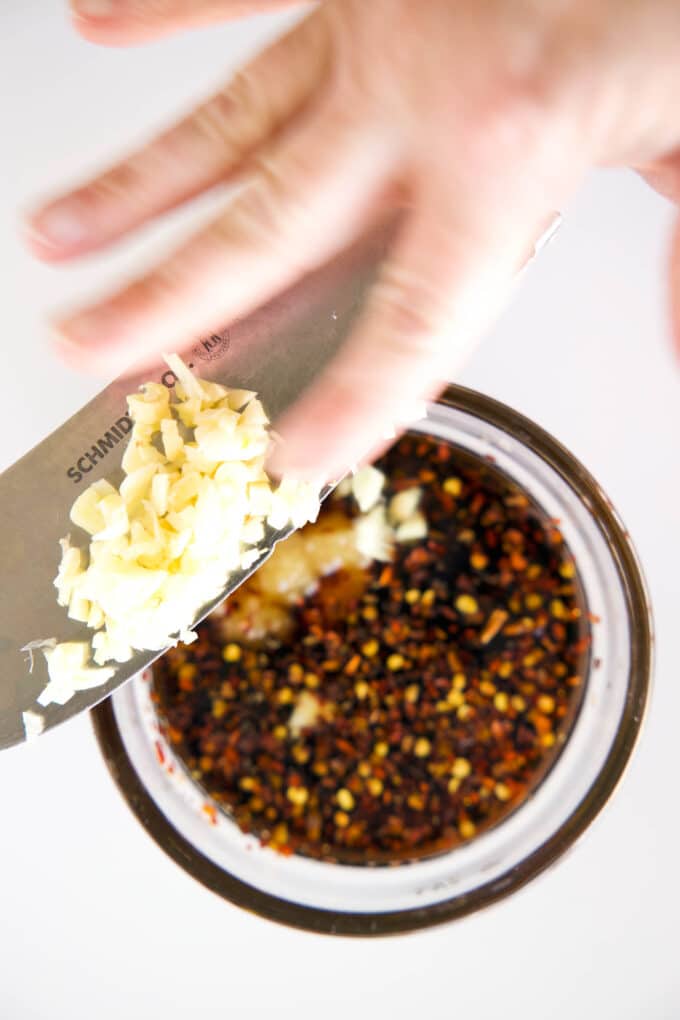
Go ahead and get your honey garlic sauce ingredients mixed up. You will need soy sauce, honey, sesame oil, red pepper flakes, four (yes, four) cloves of chopped garlic, plus some grated ginger.
Nine out of 10 times, we're going to call for fresh ingredients. However, in the case of ginger, I grab the bottled, pre-grated stuff. Fresh ginger takes forever to grate. It's a bit of a prep cheat, but it most definitely gets the job done flavor-wise!

One more thing to note about the sauce: this recipe calls for a ¼ cup of soy sauce. If you are sensitive to salt or want your Honey Garlic Chicken especially sweet, we recommend cutting the soy sauce back to 3 tablespoons.

Combine the honey-garlic sauce ingredients in a small bowl, whisk them together, and set aside.
Now, it's on to the chicken! For this recipe, we will use skin-on, bone-in chicken thighs over boneless, skinless chicken thighs! Searing that chicken skin will deliver a punch of flavor and there's just something extra hearty about a bone-in piece of chicken. Bring. On. The. Comfort.
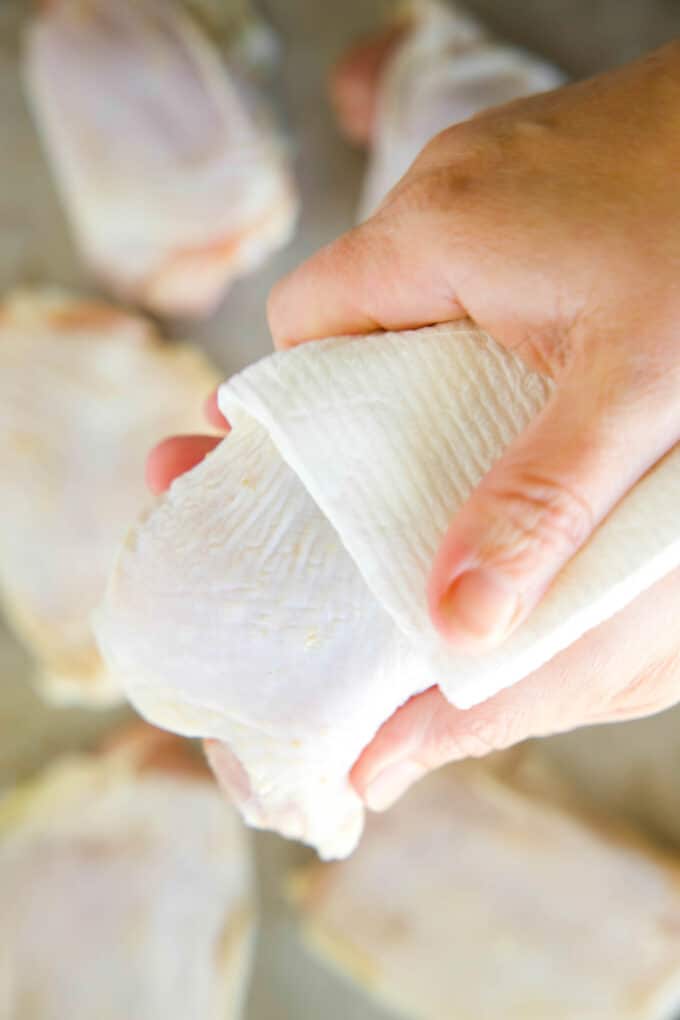
Pat your chicken thighs dry with a paper towel. Removing the excess moisture from the chicken will help the chicken to sear better.
Place your chicken on a work surface and drizzle it with about a tablespoon of either canola or olive oil. Then, sprinkle the chicken with garlic powder, onion powder, kosher salt, and pepper. Rub the oil and the spices all over the chicken, and we'll move it on over to the stovetop!

Drizzle a couple of tablespoons of oil into your large pan and allow it to come to temperature over medium-high heat. As soon as your pan is good and hot, place your chicken, skin side down, and sear for about 3 minutes. Take care not to jostle or move the chicken around. If you want that skin to get really good and crispy, keep it still!

You also want to make sure that you're not overcrowding your pan. If your chicken thighs are stuffed tight in the pan, with no room between each thigh, your Honey Garlic Chicken Thighs will steam rather than sear. It's best to sear chicken thighs in batches if needed.
Turn the chicken and allow it to sear on the other side for about two minutes.
If you do not have an oven-safe pan, transfer your chicken thighs to a casserole dish. If you do have an oven-safe pan, transfer them to a plate and set them off to the side for the time being.
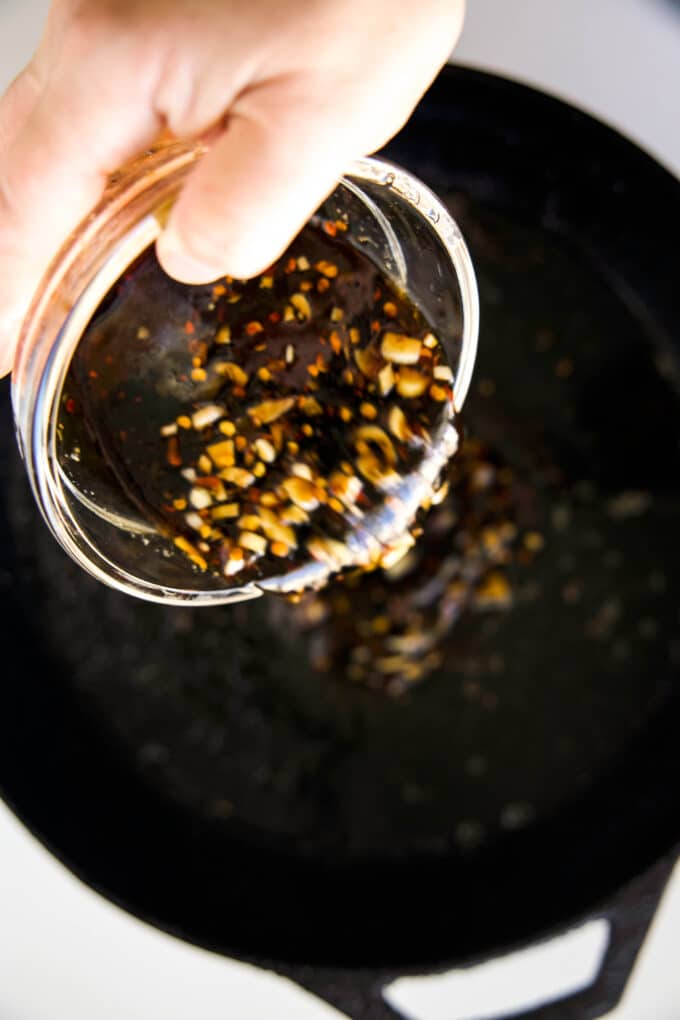
Remove the chicken from the pan and add the honey soy sauce mixture. Use a wooden spatula to scrape up any browned bits from the bottom of the pan, and allow that to come to a simmer.
Next, it's time to whip up a cornstarch slurry.

A cornstarch slurry is just a simple mixture of water and cornstarch, often used in Asian cooking to help thicken up sauces. The honey combined with the cornstarch makes this honey garlic sauce so perfectly sweet and sticky!
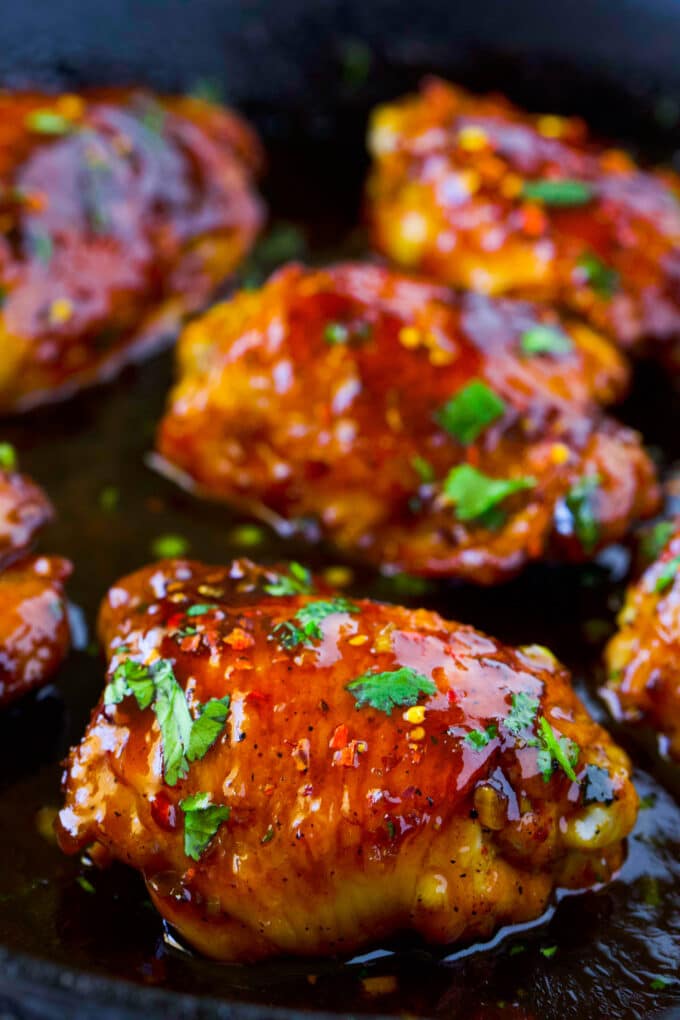
Just a few minutes after that sauce begins to bubble, it should be perfectly thick, and you will add your chicken thighs back into the pan. Turn the chicken thighs to coat in the sauce, and transfer to the oven to bake for about 30 minutes.

Your chicken thighs are fully cooked and ready to eat once the internal temperature registers at 165 degrees Fahrenheit.
Serve your Honey Garlic Chicken Thighs with an extra spoonful (or three) of honey garlic sauce, alongside fresh green beans or steamed broccoli and rice. If your family loves chicken dishes, check out our Chicken Recipes and add them to your dinner-time lineup!
CAN I USE CHICKEN BREASTS OR BONELESS THIGHS?
Using chicken breast or boneless chicken thighs will speed up the process for this Honey Garlic Chicken Thighs recipe fairly significantly. You don't have to worry about pan-searing chicken; you can get straight to business with the garlic and ginger in the pan. To alter the recipe for breasts or boneless thighs, you'll whisk together the honey garlic sauce, just as directed above. In the same fashion, you'll also oil and season the chicken... just as directed above.
However, instead of beginning with chicken in a hot pan, we'll kick it off with the sauce in the pan. As soon as it's simmering, you'll make the cornstarch slurry, add it in, and let it bubble and thicken.
Once the sauce is thickened and ready to go, add your seasoned thighs or breasts, turn to coat, and transfer to the oven to bake at 375 degrees Fahrenheit for 30 minutes. That's all there is to it!
HOW TO KNOW WHEN CHICKEN IS COOKED THROUGH
Regardless of the chicken you're cooking, determining doneness is pretty much the same all across the board.
To check the doneness of your Honey Garlic Chicken using a thermometer, insert it into the center of the thickest part of the meat. Be careful not to let the thermometer touch the bone, as it is a heat conductor and can throw off your reading. Chicken is fully cooked once the internal temperature reaches 165 degrees Fahrenheit.
Another way to check doneness is by paying attention to the color of the juices that come out if you press on or cut into one of the pieces of chicken. If the juices are red or pink at all, your chicken probably needs to do some more oven time. If the juices are clear, you should be good to go.

6 MORE ASIAN RECIPES YOU’LL LOVE
- Shrimp Chow Mein
- Honey Garlic Shrimp
- Baked Teriyaki Chicken
- Chicken Chow Mein
- Brown Sugar Garlic Chicken
- Chicken Lo Mein
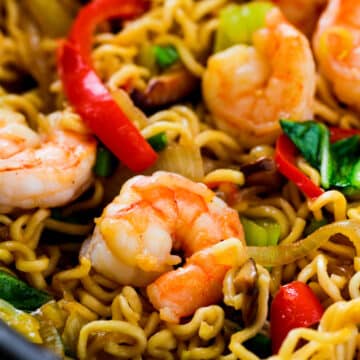
Shrimp Chow Mein
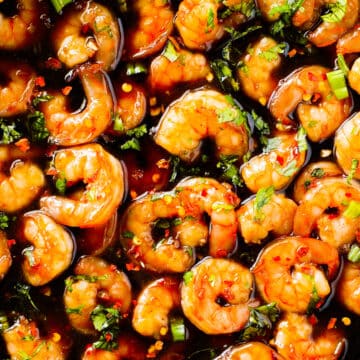
Honey Garlic Shrimp

Baked Teriyaki Chicken

Chicken Chow Mein Recipe

Brown Sugar Garlic Chicken

Easy Chicken Lo Mein | Recipe

Honey Garlic Chicken
Ingredients
- ¼ cup soy sauce
- ½ cup honey
- 2 teaspoons sesame oil
- 1 teaspoon red pepper flakes
- 4 cloves garlic, minced
- 1 teaspoon grated ginger
- 6 bone-in, skin-on chicken thighs
- 3 tablespoons olive or avocado oil, separated
- 1 ½ teaspoons Kosher salt
- 1 teaspoon garlic powder
- ½ teaspoon black pepper
- ½ teaspoon onion powder
- 2 teaspoons cornstarch
- 1 tablespoon water
- Chopped cilantro and green onions for garnish, if desired
Instructions
- Preheat the oven to 375°F.
- Mix soy sauce, honey, sesame oil, red pepper flakes, garlic, and ginger in a small bowl. Set aside and prep the chicken.
- Pat the excess moisture away from the chicken using a paper towel. Place the chicken on a work surface and drizzle with 1 tablespoon of oil. Sprinkle with Kosher salt, garlic powder, black pepper, and onion powder. Rub oil and spices all over both sides of the chicken.
- Add 2 tablespoons of oil to a large, oven-safe sauté pan over medium-high heat and allow it to come to temperature. Add the chicken thighs to the pan, leaving a bit of space between each one, searing in batches if necessary.
- Sear skin-side down first for about 3 minutes without jostling or moving, then flip and sear for about 2 minutes more on the other side. Remove from the pan and repeat the searing process with any remaining chicken thighs. Remove chicken from the pan and set aside.
- Add in the soy sauce-honey mixture, using a wooden spatula to stir and scrape up any browned bits from the bottom of the pan.
- Once the mixture reaches a simmer, use a fork to whisk together cornstarch and water in a small bowl. Add the cornstarch slurry to the pan and stir. Allow the sauce to simmer for about 2-3 minutes, and as soon as it has slightly thickened, remove it from the heat.
- Add the chicken to the sauce and turn to coat. Transfer to the oven and bake for 30 minutes, basting the chicken with the sauce from the pan every 10 minutes or so.
- Remove from the oven, allow to cool slightly, and garnish with chopped cilantro and green onions before serving, if desired.
Nutrition
Sources: Eatingwell.com
Andrew says
I made it for a free lab in culinary arts in my school and it tasted very good, among the best chicken I ever had
Tammy says
My son and I love this chicken.
Paul Houser says
Always delish. I usually add a little lemon juice or Frank's to make it a little more pungent.