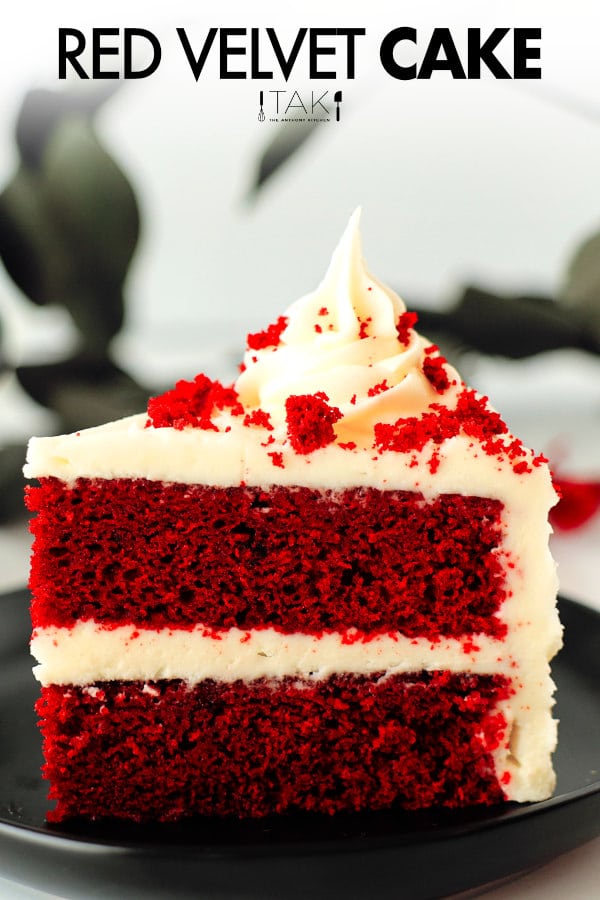
This Red Velvet Cake 100% lives up to its name with its smooth and velvety texture. It's incredibly soft and pairs perfectly with the fluffy cream cheese frosting we are going to be making. This cake is unique in that both vanilla and chocolate flavors are present in every bite and that must be why it's such a crowd-pleaser!
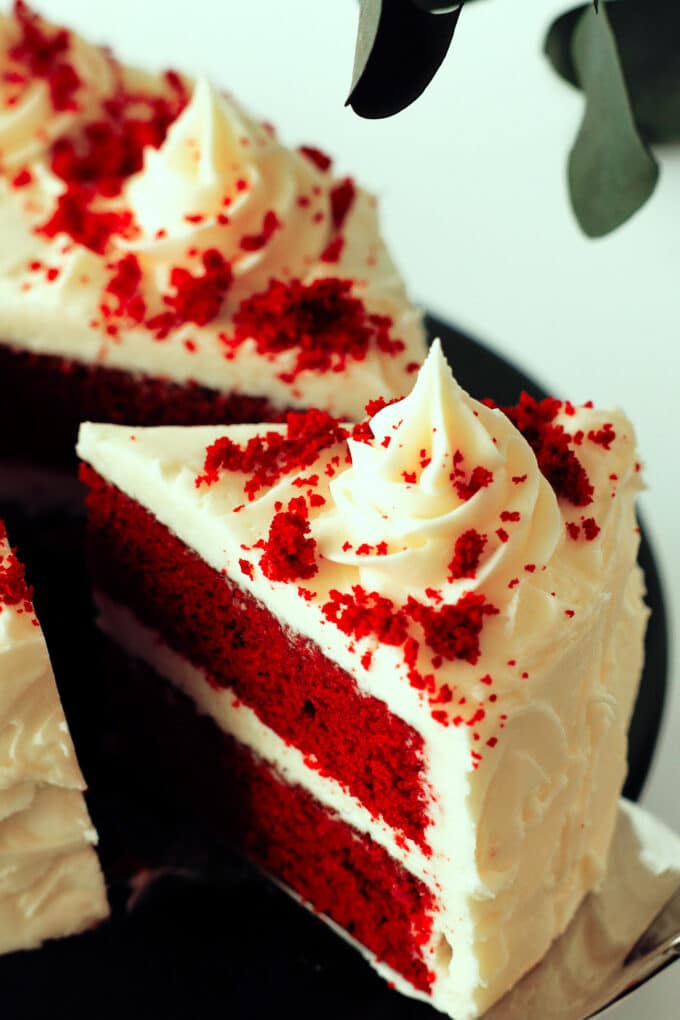
When you slide a forkful of this beauty into your mouth, you'll not only get a killer flavor combo and a tender crumb, but we can't forget to mention that signature Red Velvet Cake tang. It's just the right amount of pizzaz to brighten up the flavors and set it apart from so many other desserts.
We cannot emphasize enough how much better this will be than anything you could make from a box. But don't worry, that doesn't mean it's complicated or hard to follow! We have thorough, easy-to-read instructions ready to guide you through every step and ensure you get it right on the first try! For more mouth-watering, easy-to-follow recipes take a look at our Cake Recipes!

This cake is of course, perfect for birthdays, but it is such a fan favorite that we highly recommend it for holidays and parties as well! And while you've got baking on the brain... go ahead and add our Red Velvet Cookies and Red Velvet Bars to your baking lineup for next time!
HOW TO MAKE RED VELVET CAKE
To kick off your homemade red velvet cake, you'll want to go ahead and get your oven preheating right off the bat! Preheat your oven to 350°F and have ready two greased, 9-inch cake pans, that have been lined with parchment paper on the bottom.
Now you can move on to your dry ingredients. To start, you will need cake flour. Be sure that you use cake flour and not all-purpose flour. Cake flour has fewer proteins, making for a lighter and fluffier bite of cake! In addition to the cake flour, you will also need unsweetened cocoa powder, baking powder, baking soda, and salt.

Now add your dry ingredients to a sifter or a fine mesh sieve placed over a medium size mixing bowl, and sift the ingredients together. Sifting the ingredients also helps to ensure your red velvet cake bakes up light and fluffy!
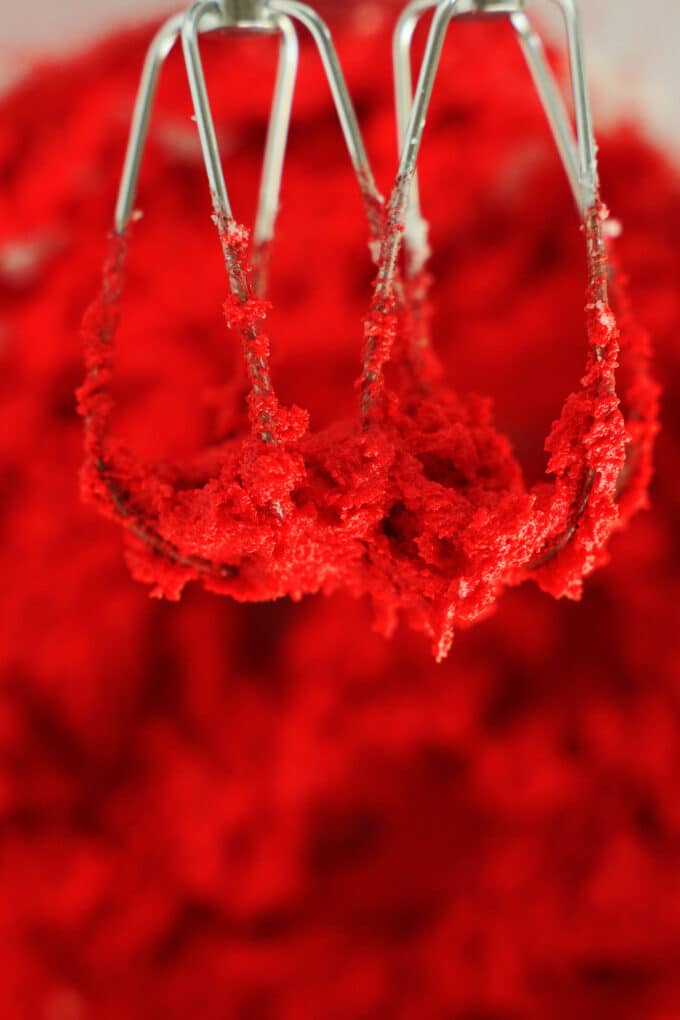
Once you have your dry ingredients measured out and sifted, it's time to cream some butter and sugar! For this task, your butter must be at room temperature.
Add unsalted, room-temperature butter and granulated sugar to a large mixing bowl or the bowl of a stand mixer fitted with a paddle attachment. If you are not using a stand mixer, you will want to have a hand-held mixer ready to go!

Mix your butter and sugar on medium-high speed for about 3 to 5 minutes, until the mixture appears fluffy and pale yellow. Then, add in your red food coloring.
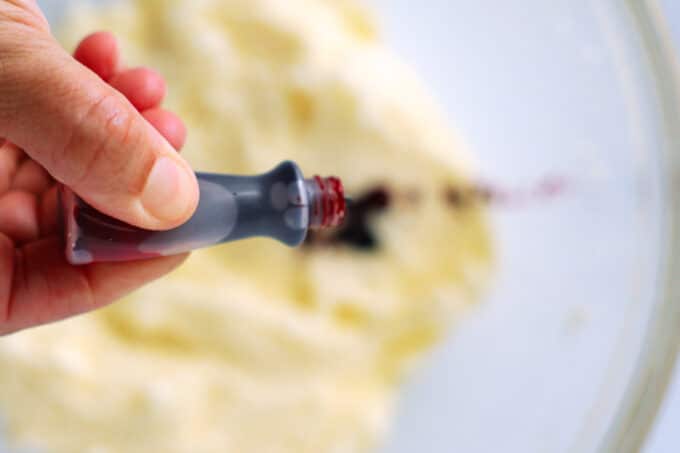
Our recipe calls for regular food coloring and to get a bright vibrant red with red food coloring, you will need about 1 tablespoon. If you'd like to use less food coloring, consider going with red gel food coloring instead. If you have gel food coloring on hand, you only need about 2 teaspoons.
Begin mixing in your food coloring on low to avoid splatters and stains. Mix until the food coloring is evenly distributed, and set aside.
Time to address the remaining wet ingredients! Two key ingredients, aside from the red food coloring, in a homemade red velvet cake are buttermilk and vinegar. These are the ingredients that not only give this Red Velvet Cake its signature tang but also account for how perfectly soft and fluffy it is.
Basically, buttermilk and vinegar both possess an acidic quality which allows them to break down the gluten that would have otherwise made the baked good tough or chewy. So these ingredients are essential when it comes to the tenderizing process that needs to happen in some cakes to achieve the right texture, as well as adding a little bit of tang.
Combine the buttermilk, vinegar, vanilla, and eggs in either a 2-cup measuring pitcher or a small bowl and whisk until combined.

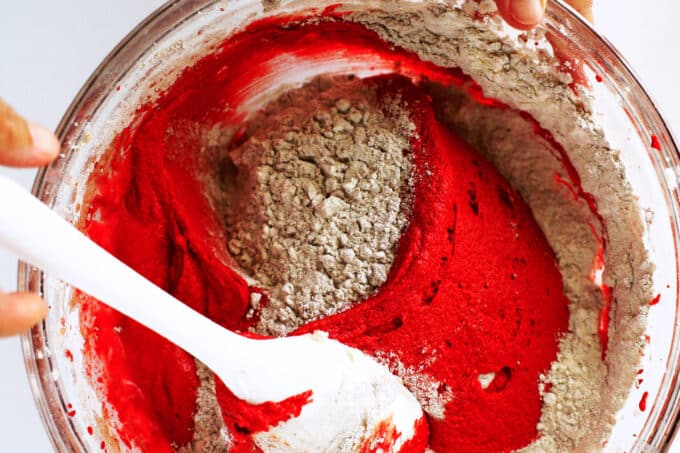
All of the elements of your red velvet cake are ready to go, and it's time to bring this cake batter home! Add the dry ingredients to the creamed butter and sugar mixture in three separate additions, alternating with the buttermilk mixture in two separate additions.

As you add in the dry ingredients, take care to mix on low so that you do not overdevelop the gluten in the batter, which could result in a tough texture. To take extra precautions, you might even want to fold in the last round of dry ingredients using a silicone spatula, rather than using an electric mixer.
Divide the red velvet cake batter between the two prepared pans and bake them on the center rack of your oven for 28 to 32 minutes. Begin checking your cakes for doneness at the earliest given bake time.

The cakes are ready to pull from the oven once you can gently poke the center of the cake with your finger and it bounces back ever so slightly upward. You can also determine the doneness of your cake by using either a cake tester or a toothpick. If the toothpick inserted in the center of the cake comes out clean or with just a few crumbs clinging to it, consider your cake done.
Remove the cakes from the oven and allow them to cool completely on a wire rack. While the cakes are cooling, you can whip up your cream cheese frosting!

To make the cream cheese frosting, you will need cream cheese, unsalted butter, powdered sugar, vanilla extract, and fine sea salt. For a smooth and fluffy frosting, your cream cheese and butter must be at room temperature.
You will begin by mixing the butter and cream cheese together at medium-high speed for about 2-4 minutes in a large mixing bowl or in the bowl of your stand mixer fitted with a paddle attachment. Next, add in the remaining ingredients and mix until smooth. Set the cream cheese frosting aside and get back to the cakes!

Once the cakes have cooled, remove them from the pans and trim away any uneven tops and sides if desired. If you'd like to decorate your finished red velvet cake with any red crumbles, be sure to reserve your cake trimmings at this point.
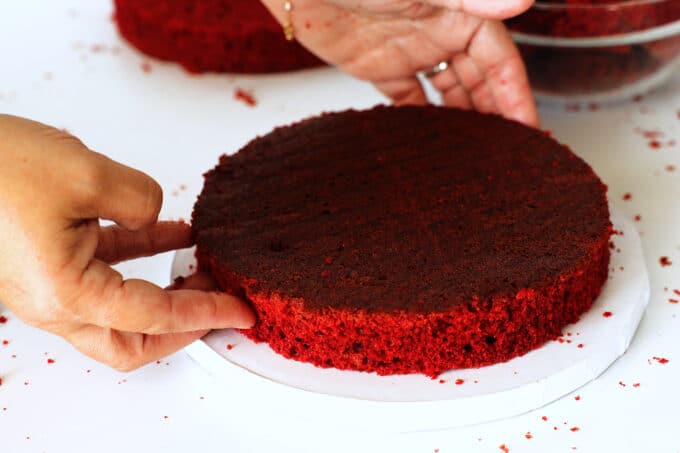
Place one of your cake layers on either a cake stand or a serving dish and top with a large dollop of frosting. You could also pipe on the frosting using a large round tip and a piping bag for a slightly more level-looking layer of cream cheese frosting in the center.

Place the second cake round over the frosting and use about ⅓ of the remaining frosting to add the crumb layer over the sides and on top of the cake.
Refrigerate the cake for 30 to 45 minutes, then pull it out and add your final layer of frosting. Decorate as desired, and serve immediately or refrigerate for up to 24 hours.

HOW TO STORE RED VELVET CAKE
Because this cake has cream cheese frosting, it will need to be stored in the refrigerator. According to the FDA, any food containing cream cheese needs to be refrigerated within 2 hours. But... we get a little extra time, and here's why: Yes, we know that cream cheese needs to be chilled, but we also know that sugar acts as a preservative, and there is plenty of sugar in this frosting! So, we feel that this Red Velvet Cake should be stored in the fridge for sure, but you don't have to rush to get it there within 2 hours. Getting it into the fridge within 8 hours should do just fine. For more recipes that leave your crowd asking for seconds, be sure to check out our Desserts!

6 MORE SOUTHERN CAKES YOU’LL LOVE
- German Chocolate Cake
- Caramel Cake
- Praline Sheet Cake
- Butter Pecan Cake
- Kentucky Butter Cake
- Texas Sheet Cake

Texas Sheet Cake Recipe

German Chocolate Cake

Caramel Cake
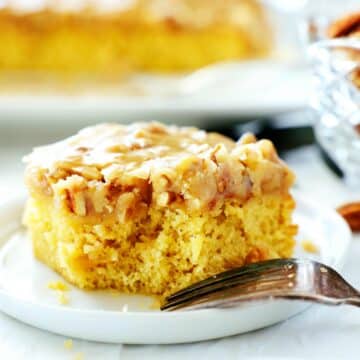
Praline Cake
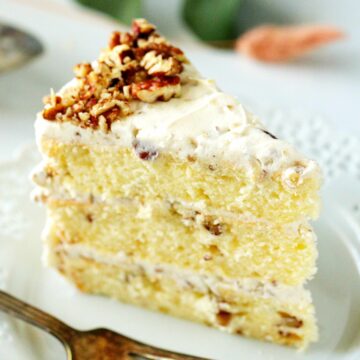
Butter Pecan Cake

Kentucky Butter Cake

Red Velvet Cake
Ingredients
For the Cake:
- 2 ⅓ cups cake flour
- 3 tablespoons unsweetened cocoa powder
- ½ teaspoon baking powder
- ¼ teaspoon baking soda
- ¾ teaspoon fine sea salt
- 1 ¼ cup unsalted butter, room temperature
- 1 ½ cup granulated sugar
- 1 tablespoon red food coloring
- 1 ¼ cup buttermilk, room temperature
- 1 tablespoon distilled white vinegar
- 1 teaspoon pure vanilla extract
- 3 large eggs, room temperature
For the Icing:
- 2 (8-ounce) packages cream cheese, room temperature
- ¾ cup unsalted butter, room temperature
- 4 cups powdered sugar
- 1 teaspoon pure vanilla extract
- ¼ teaspoon fine sea salt
Instructions
To Make the Cake:
- Preheat the oven to 350°F and have ready 2 greased 9" baking pans, lined with parchment paper on the bottom.
- Sift the cake flour, cocoa powder, baking powder, baking soda, and salt over a medium-sized mixing bowl. Set aside until ready to use.
- Add the butter and sugar to a large bowl and using a handheld mixer, mix until fluffy and pale yellow in color (about 3-5 minutes). You could also use a stand mixer fitted with a paddle attachment for this task. Once the butter and sugar have been creamed, add in the food coloring and mix until combined. Set the mixture aside.
- Add buttermilk, vinegar, vanilla, and eggs to a 2-cup measuring pitcher or small bowl and whisk to combine.
- With the mixer on low, add the dry ingredients in 3 rounds, alternating with the buttermilk mixture (adding it in 2 rounds). Scrape the sides and the bottom of the bowl, and mix once again.
- Divide the batter among the prepared pans, and smooth over the top. Bake for 28-32 minutes. Set the cake aside to cool completely on a wire rack before icing.
To Make the Icing:
- For the frosting, you will need a large mixing bowl and a handheld mixer or a stand mixer fitted with a paddle attachment. Add the cream cheese and butter to the bowl and mix on medium-high speed for 2-4 minutes, until very smooth.
- Add the powdered sugar, vanilla, and salt and begin mixing on low. Once the sugar is mostly incorporated, you can begin mixing on medium-high. Mix for 2 minutes more, until light and fluffy.
- Level out your cake layers using a long, serrated knife. Reserve cake trimmings for decorating later, if desired.
- Place one of the cake layers on a cake stand or serving dish, and top with a large dollop of frosting. Spread the frosting to the edges and repeat with the second layer. Use the remaining frosting to frost the top and sides of the cake. Use any remaining cake trimmings to crumble and decorate the top of the cake if desired.
Notes
HOW TO KNOW WHEN THE CAKE IS DONE:
The cake is ready when the center of it springs back ever so slightly after a gentle poke or a toothpick inserted in the center comes out with only a few crumbs clinging to it.Nutrition
Sources: Sun Flour Baking Company |Recipe adapted from Cooks Illustrated | Storage guidelines from Cooks Illustrated
Leave a Reply