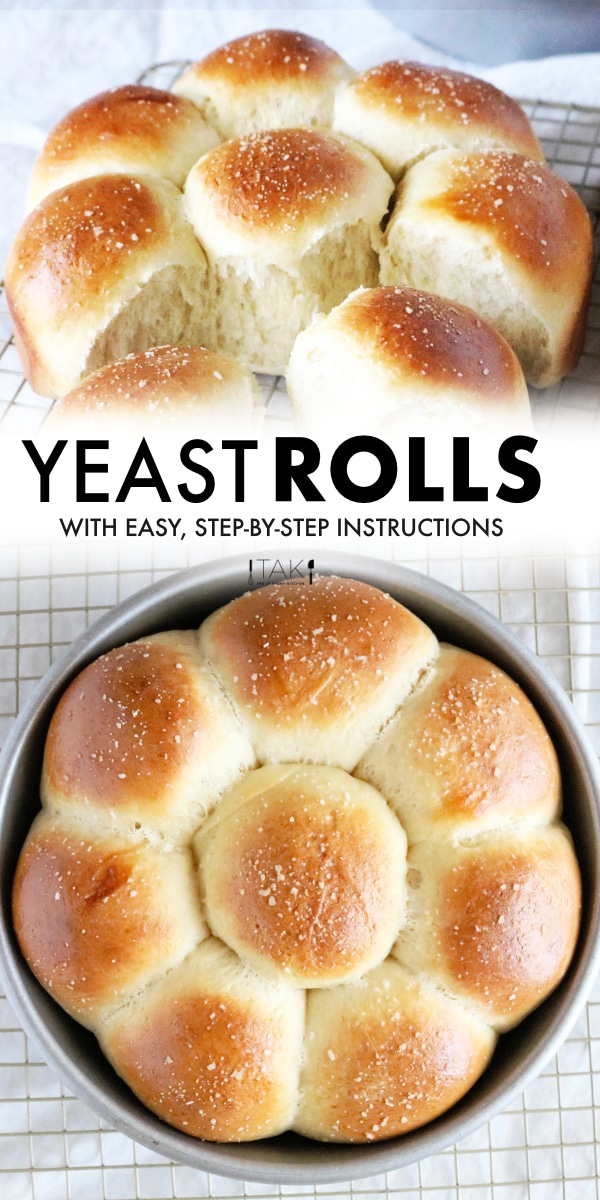
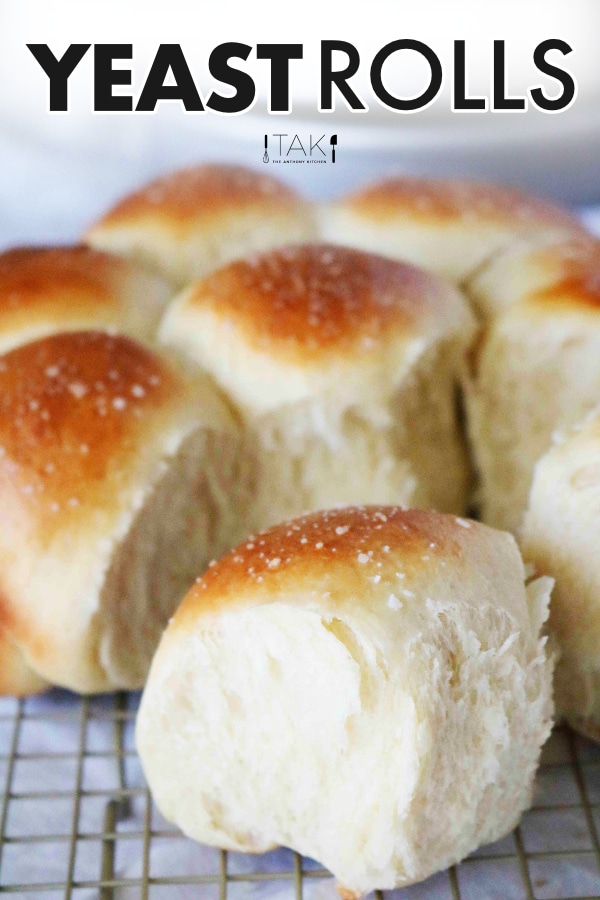
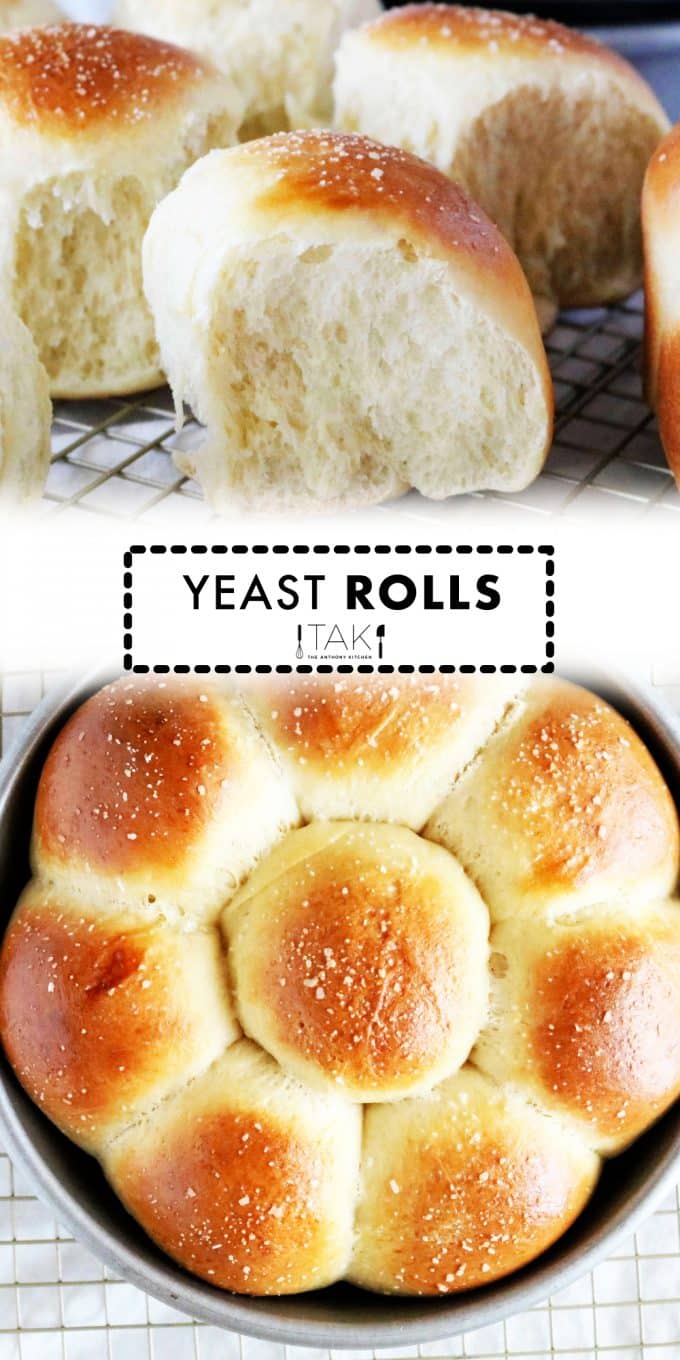

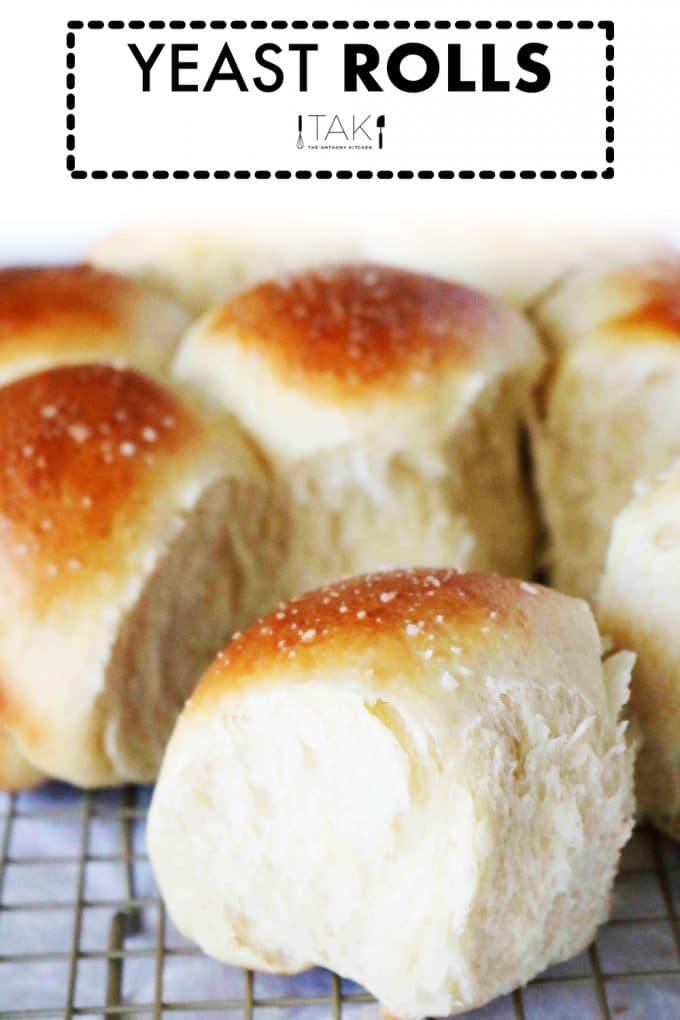
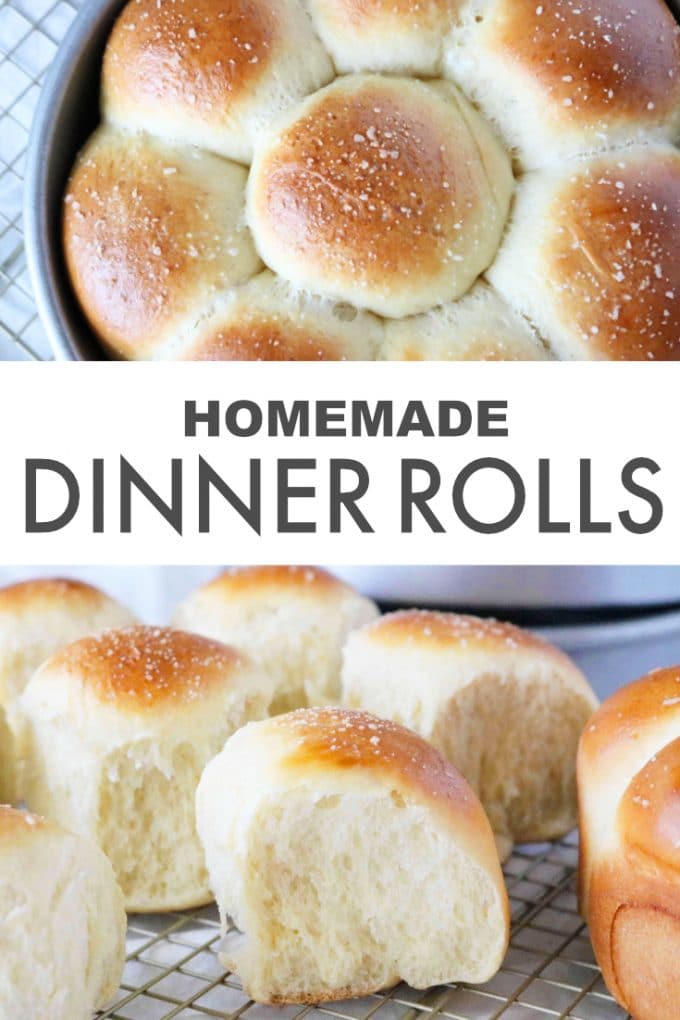
There's nothing quite like the taste of freshly baked, super soft homemade dinner rolls, and if you've ever tasted one, you know they're worth taking the time to make from scratch. While dinner rolls from scratch may at first seem intimidating, rest assured, with this recipe for Easy Yeast Rolls, a baker of any experience level will be well-equipped to make an incredible batch of dinner rolls.
There will be no hiccups along the way, and you'll soon find yourself sailing through a smooth and seamless baking process, and in the end, serving up a golden, fluffy batch of the best dinner rolls.

In addition to a simple, easy-to-follow yeast roll recipe (with pictures and video), we'll also cover essential tips for beginners, when to refrigerate the dough for make-ahead dinner rolls, how to store and freeze your rolls, and so much more. This is your ultimate guide to homemade dinner rolls!
If you love bread making, be sure to add these authentic, pillowy soft Texas kolaches or great-for-beginners potato buns to your baking lineup!
HOW TO MAKE EASY YEAST ROLLS
Yeast rolls can be an intimidating dish for a first-time baker. Actually, working with yeast, in general, can prove intimidating. However, with these foolproof yeast rolls, you can rest assured, because you are guaranteed a successful batch of beautiful, soft and fluffy dinner rolls.
In fact, this is not only the best dinner roll recipe for beginners, it's the best dinner roll recipe -- period. Loaded with tips and simple ways to make sure you're moving on to the next step when you're actually supposed to be moving on to the next step.

TWO ESSENTIAL TIPS FOR BEGINNERS
- Don't let baking yeast rolls become a stressful process. Give yourself more than enough time to prepare the rolls, and keep in mind you will need time for (1) preparation, (2) two proofs, and (3) baking the rolls. See below for make-ahead instruction, if needed.
- Remember to read the recipe, start to finish, before you begin. This will help you to prevent any hiccups along the way.

Today, we'll go through the process of making yeast rolls for beginners, covering all the steps and answering any questions you may have. Let's begin with a quick recipe overview.
RECIPE AND INGREDIENT OVERVIEW
The ingredients in this recipe were kept as minimal and simple as possible, and there is no need to go out and buy a special type of flour. All you will need for light and fluffy homemade dinner rolls is all-purpose flour, milk, butter, honey, eggs, salt, and of course, yeast.
- Proof the Yeast
- Knead
- First Rise
- Form Rolls
- Second Rise
- Bake
PROOFING THE YEAST FOR DINNER ROLLS
Proofing the yeast means you will dissolve it in warm water. The temperature of the water matters, as the yeast will proof best in a warm (but not scalding) environment.
The liquid goes in a large bowl (I use the bowl of my stand mixer), and the yeast is sprinkled across the top. Give it a gentle stir, and step away for 5-7 minutes, until the yeast is foamy and resembles the photo below. Once it has reached this point, you can move on to the next stage.

ALL ABOUT KNEADING DOUGH FOR DINNER ROLLS
The remaining ingredients for Easy Yeast Rolls are as follows: All-purpose flour, fine sea salt, and eggs. You'll add the milk, butter, honey, all-purpose flour, salt, and slightly beaten eggs to the bowl, and mix to combine.
KNEAD WITH A MIXER OR BY HAND
A stand mixer will make very easy work in the way of kneading, however, if you don't have a stand mixer, you can certainly still make these yeast rolls. If you need a little more "how-to" when it comes to kneading the dough by hand, here is a very straightforward "how-to" by King Arthur Flour:
YOU'RE DONE KNEADING WHEN...
To determine whether or not your dough is ready to move on past the kneading stage and onto the first rise, perform a simple Window Pane Test. To perform the test, pinch off a portion of the dough. Hold it up against a light source, and gently pull on it to see if it forms a translucent window. If the dough remains intact as you pull and you can see a small amount of light pass through it, the dough is ready.
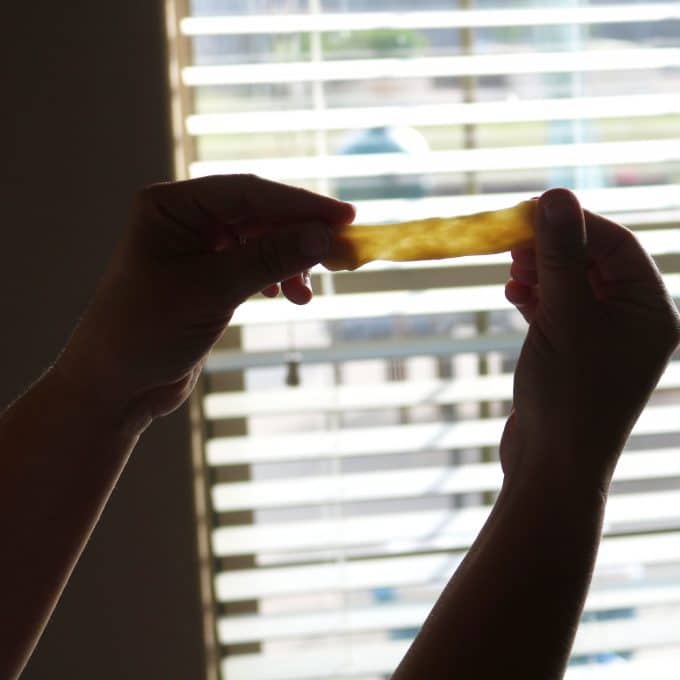
If the dough tears and is shaggy in appearance, continue kneading for 2-3 minutes longer, adding flour as needed. Keep with this process until dough is no longer shaggy, and does not easily tear when gently stretched.
WHY ARE MY YEAST ROLLS DENSE?
Overkneading your yeast rolls can cause them to be dense, so be sure if you're kneading by hand, to stop as soon as the dough is ready.
THE FIRST RISE
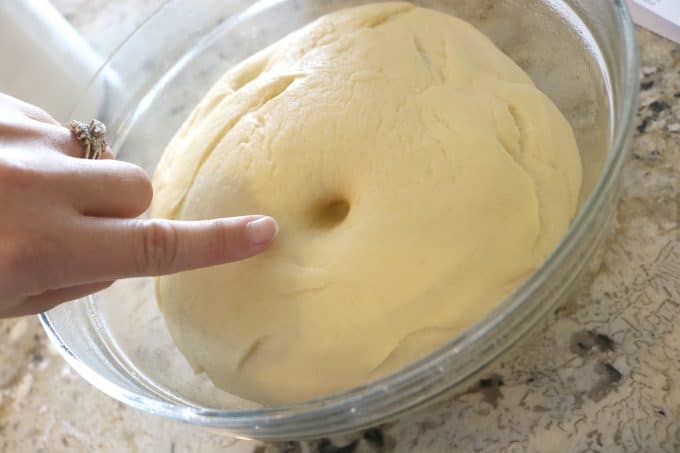
Once the dough is properly kneaded, it goes into a great big, oiled bowl, giving the dough room to double in size and preventing it from sticking to the sides. Cover the bowl and keep it in a warm, draft-free spot in your kitchen. After about 1 ½ - 2 hours, the dough should have doubled in size, and you are ready to move on to the next stage.
If you want to be absolutely sure your dough is ready to move on to the next stage, poke with your finger. If the indentation remains, proceed. If the finger mark fills back in, cover and check again in 15-20 minutes.
WHY DIDN'T MY YEAST ROLLS RISE?
If your yeast rolls did not rise, one of three things could be the culprit. Either the yeast was old, and because of this, did not activate properly. Checking the "use by" date before using an older package of yeast is always a good measure.
Another issue could be that the yeast was not properly proofed, and lastly, the area in which your first rise was taking place was not warm enough.
FORM THE ROLLS
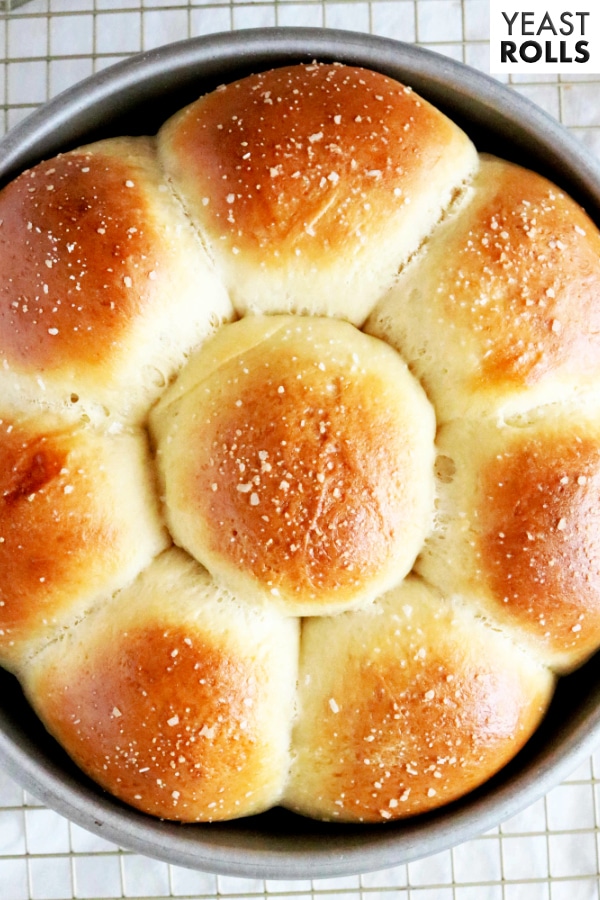
The easiest way to form these Easy Yeast Rolls is to divide the dough in half on a floured work surface, and then continue dividing each section of dough in half until you have a total of 16 pieces of dough. Roll each piece into a ball and place in the prepared baking pans.
THE SECOND RISE
Now it's time for each individual roll to double in size. Cover each pan loosely with a kitchen towel, and place them in a warm, draft-free spot. After about 45 minutes, poke the dough with your finger, and if the indention mark springs back just ever so slightly, you are ready to bake!
MAKE -AHEAD YEAST ROLLS | HOW TO RISE OVERNIGHT IN THE REFRIGERATOR
After you've formed the yeast rolls, you can actually allow the second rise to take place in the refrigerator overnight. Simply over the pan loosely with plastic wrap, and transfer to the refrigerator. Set out at room temperature for about 30 minutes prior to baking to remove the chill.
TIPS FOR BAKING THE BEST DINNER ROLLS
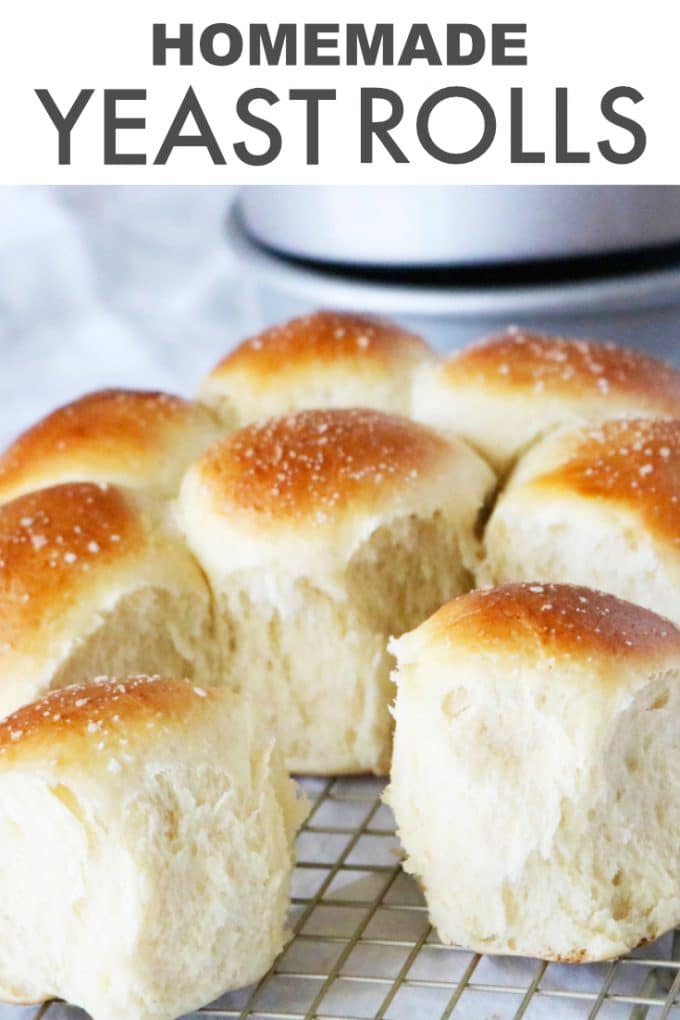
Have your oven preheated and ready to go. For perfectly golden dinner rolls, brush them with an egg wash and sprinkle lightly with Kosher salt for an extra special touch. Your rolls will be ready after just 22 minutes in the oven.

STORAGE FOR HOMEMADE DINNER ROLLS
The only downside to homemade yeast rolls is the shelf life. They really are best, fresh out of the oven, and they tend to get stale quickly after just a couple of days at room temperature.
The best bet for preserving the quality of your homemade dinner rolls is to freeze them and reheat them in the oven as needed. To do this, place cooled rolls in a freezer safe, ziptop bag and remove as much air as possible. I'll actually close as much of the bag as possible and leave a tiny opening for a straw. Then, I suck out all of the excess air. This will prevent you from smooshing the rolls and easily removes the majority of the air, helping to prevent freezer burn as well.
HOW TO REHEAT FROZEN DINNER ROLLS
Your rolls will stay top-notch in the freezer for up to 2 months. To reheat them, simply preheat the oven to 325°, place frozen rolls on a baking sheet, and bake for 12-15 minutes, just until warmed through and toasty.

That concludes everything you need to know to create your very own batch of soft and fluffy, perfectly golden brown, homemade yeast rolls. No bread machine, fancy ingredients or extra steps required. A few simple ingredients and one foolproof recipe is all you really need. Happy baking and please, enjoy!
Are you adding your Easy Yeast Dinner Rolls to your holiday menu? Consider making our Sweet Potato Souffle as a side dish to go with your rolls!
5 MORE BREAD RECIPES YOU'LL LOVE
- Homemade Garlic Bread is quick and easy to make, and the perfect accompaniment to pasta night! Featuring a simple spread made up of butter, oil, garlic, and Parmesan cheese.
- Easy Homemade Cornbread feeds a crowd and makes for one impressive presentation ballooning out of its cast iron pan, and always bakes up perfectly tender and moist!
- Homemade Southern Biscuits come together seriously fast for an easy morning treat. They're perfectly golden on the outside, flaky and buttery on the inside.
- Easy Drop Biscuits with Cheddar and Chives are perfect for a quick weeknight side dish, and an all-time savory favorite to pass around the table!
- Homemade Cinnamon Rolls are super soft and fluffy, loaded with an ooey-gooey cinnamon filling, and come well equipped with everything you need to know to bake up a foolproof batch!

Easy Yeast Rolls Recipe
Ingredients
Materials:
- two 9” cake pans
- pastry brush
Ingredients:
- 2 ½ teaspoons (or 1 package) active dry yeast
- 3 large eggs room temperature, separated
- 1 cup whole milk, room temperature
- ½ cup unsalted butter, room temperature - cut into tablespoons
- ⅓ cup + 1 tablespoon honey
- 5 ½ cups all-purpose flour separated
- 2 teaspoons fine sea salt
Instructions
- Add a ¼ cup warm water to a large bowl or the bowl of a stand mixer fitted with the dough hook attachment. Sprinkle in yeast, gently stir and allow to sit for 5 minutes or until foamy.
- In a small bowl, beat 2 large eggs and set aside. Also, have 1 cup of flour set aside in a small bowl.
- Once the yeast is ready, add the room-temperature milk, butter, and honey, 4 ½ cups of flour, salt, and the beaten eggs to the bowl. Mix on low speed until the dough comes together.
- Increase the speed to medium-low/medium (speed 3 or 4 on a Kitchen Aid stand mixer), and knead for 5-7 minutes. Add the extra flour as needed, a tablespoon at a time to prevent the dough from sticking to the sides of the bowl. Otherwise, knead by hand adding flour as needed. Note, you may not need all of the extra flour. The dough is ready once it is soft to the touch and no longer super sticky.
- Have ready a large, greased bowl. Form the dough into a ball and place it in the greased bowl. Loosely cover with plastic wrap and allow to rise in a warm area for 1 ½-2 hours, until doubled in size.
- Have ready a large floured work surface and two greased 9” cake pans. Punch down the dough and transfer to work surface. Using a knife or a bench scraper, cut the dough in half. Divide each half into 8 equal pieces and roll into a ball.
- Place dough balls in pans, spacing evenly apart. Cover loosely with plastic wrap and allow to proof in a warm area once more, for another 45 minutes.
- Preheat the oven to 375°.
- To make the egg wash, whisk together the remaining egg and 1 tablespoon of water in a small bowl. Lightly brush the top of the rolls with the egg wash, and sprinkle with salt (preferably Kosher, if you have it).
- Bake for 22 minutes, or until the rolls are cooked through and golden in color. Do not over bake. Place on a cooling rack for 10 minutes. Serve and enjoy.
Nutrition


Aimee Shugarman says
Oh my gosh these are the fluffiest yeast rolls ever. Don't be afraid to try them!
Justine Howell says
So easy is right...paired with baked chicken and was perfect.
Kelly Anthony says
Amazing! Thanks so much for the feedback, Justine!
Ellen says
These rolls look amazing! Thinking they will be on my Thanksgiving table this year!
Danielle says
They look like some delicious dinner rolls. Would be so good dipped in bread!
danielle says
This is the best post ever!!! I am always scared to make any kind of yeast bread, but the step by instructions and tips you provided were just awesome. Totally pinned this to try!
Lizzie says
I usually use a bread maker but your guide looks so comprehensive!
Kelly Anthony says
Thank you so much, Lizzie!
ali randall says
You had me at beginners. I struggle with making bread. It can be such a precise science. This looks soft and delicious and I am tempted to give it another try. YUM
Sandie says
Does the UNBLEACHED flour vs regular flour make a difference, as long as it's self rising flour? The honey sounds awesome..
Kelly Anthony says
You can actually use all-purpose flour and that should work fine. Self-rising flour should definitely NOT be used in this recipe...or really any recipe that does not specifically call for it. It is equipped with a leavener and salt in addition to flour. This recipe already has both of those things covered 😉
Gloria says
Kelly, this recipe was wonderful! My friend and I are NOT bakers and we have started a zoom bake together one day a week. We chose yours because you give great description for those of us who never baked from scratch. I cooked half a batch that night and refrigerated the other to cook the next morning for thanksgiving. Everyone loved them!!!
Kelly Anthony says
That is such a day-maker! Thank you for sharing that, Gloria! Such a wonderful idea and a great way to spend time with your friend. LOVE IT!
Barbara says
I did the recipe but didn't have quite enough all purpose flour had to use some self rising with it is that ok the rolls turned out AMAZING just wanted to make sure it was ok to use both flours together since it had yeast in it
Kelly Anthony says
If it works, it works! I'm so glad it turned out well for you, Barbara 🙂
ANN says
JUST DOWN LOADED THIS RECIPE HOPE IT IS AS EASY AS IT SOUND.
THANKS
Chris says
I am getting ready to try this recipe. Can I use bread flour instead of regular flour?
Kelly Anthony says
No, the proteins in the flours are different. I would recommend sticking to all-purpose!