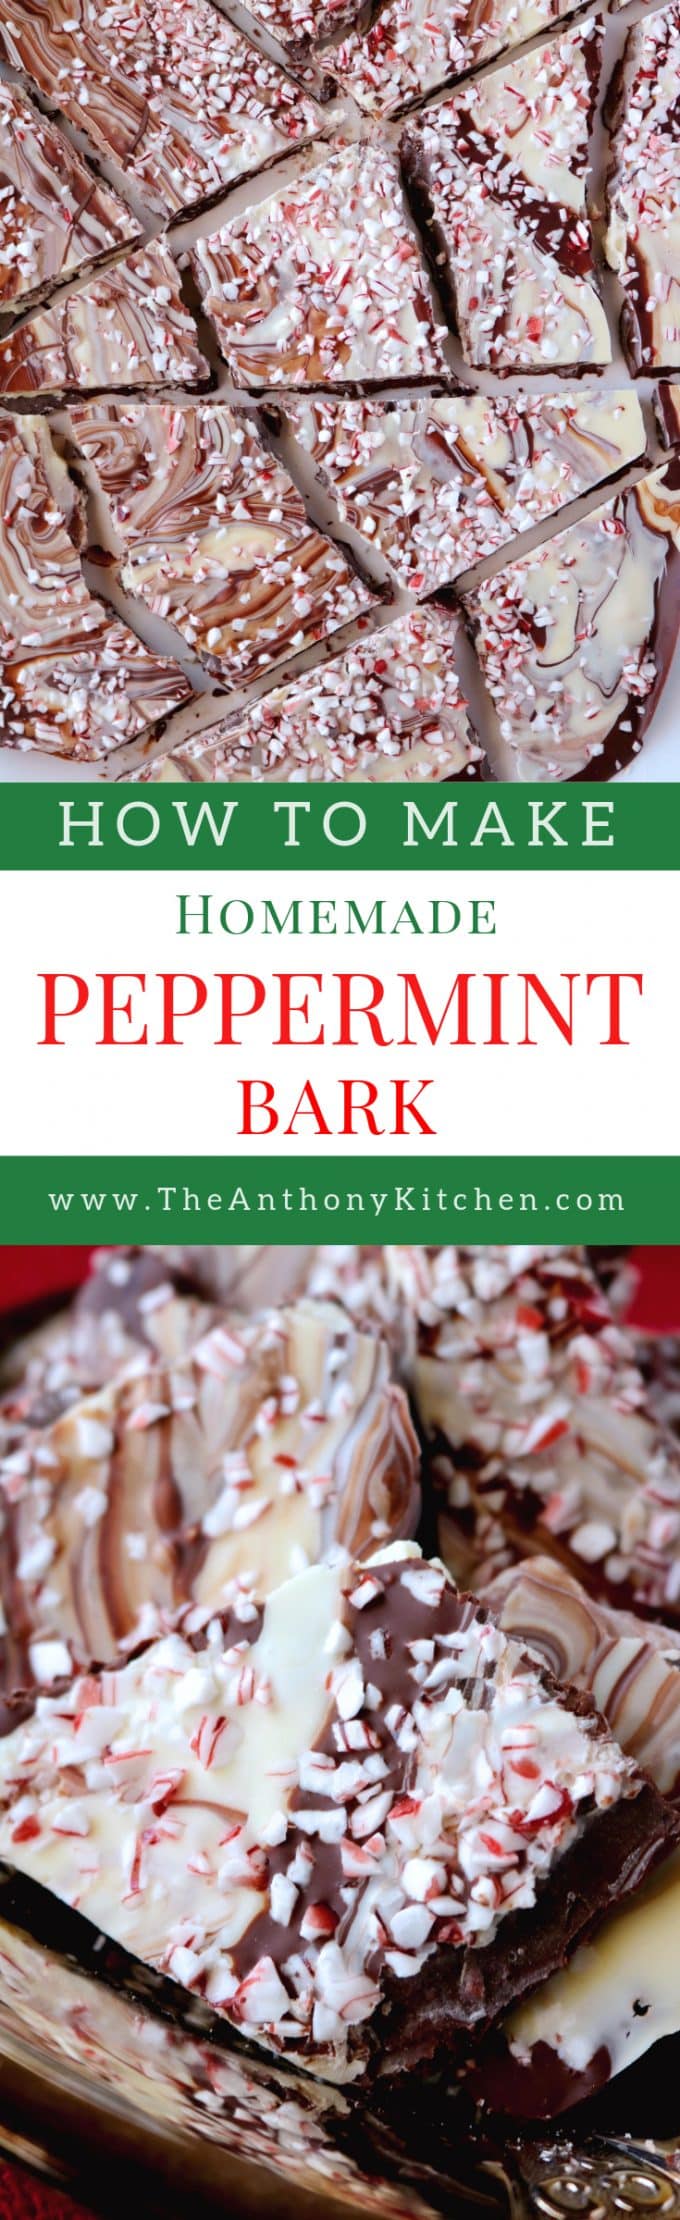
There are two different ways to make your homemade Chocolate Peppermint Bark taste just like Williams-Sonoma's -- with chocolate wafers or with real chocolate. One's about as simple as it gets, the other -- a tad more complicated. Below, you'll find recipes for both, along with foolproof tips for perfect two-toned Chocolate Peppermint Bark.
PEPPERMINT BARK | VIDEO TUTORIAL
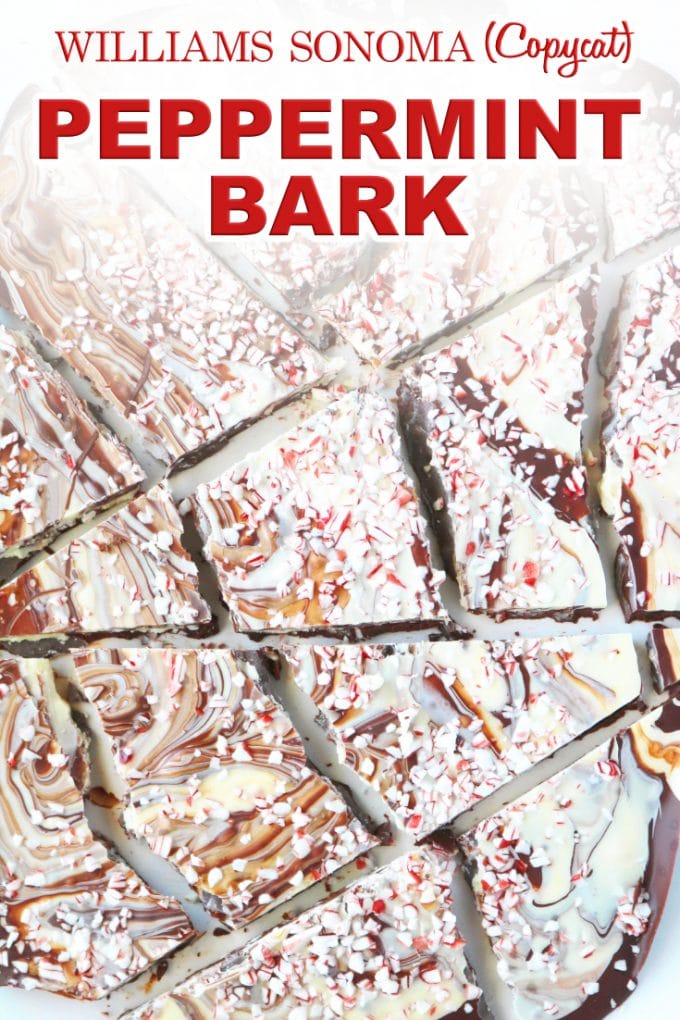
WILLIAMS-SONOMA PEPPERMINT BARK
I can still remember the first time I was gifted the glory that is Williams-Sonoma's chocolate peppermint bark. It was true obsession at first bite. Mint and chocolate have always been one of my favorite combinations, but the contrast in texture from those tiny little bits of peppermint against the smooth and creamy chocolate was absolute perfection.
I was addicted, and I wanted more. At least enough to see us through the holiday season. However, when I went to pick up a package from my favorite store, I was stopped dead in my tracks. Williams-Sonoma was proud of that Chocolate Peppermint Bark. Real proud. And, rightfully so, as it was completely heavenly.
Alas, I just couldn't bring myself to shell out those kinds of bucks for a tin of chocolate, and I left the store empty-handed -- yet completely full of new-found determination.
SAVE MONEY | MAKE IT AT HOME
It took some trial and error, but friends, that determination most certainly paid off...in more ways than one. The recipe I eventually landed on with not only became a Christmas-time favorite for my own family, but rapidly became a best seller (and remained a best seller) every single Christmas throughout the span of The Anthony Kitchen's bakery days.
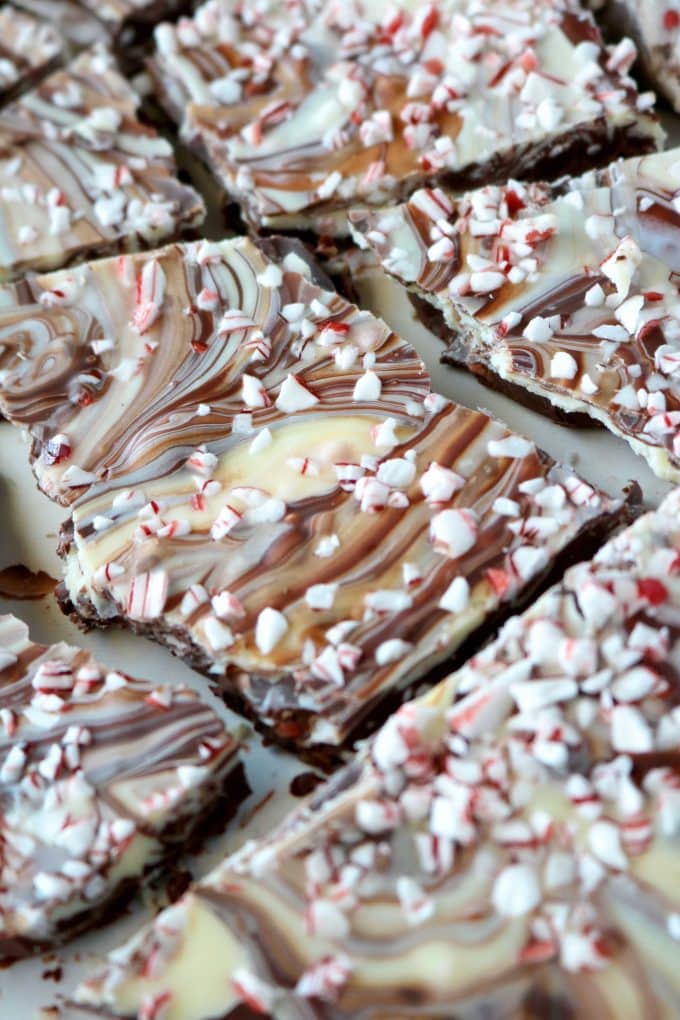
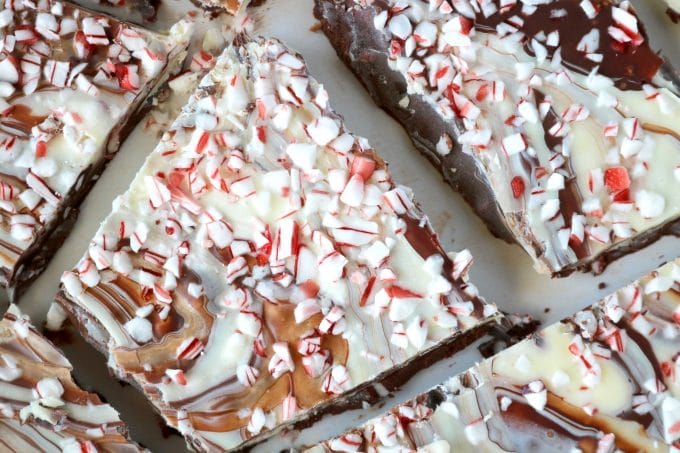
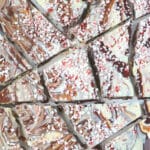
It was the perfect balance of sweetness, with the just right amount of peppermint flavor and crunchy layers of crushed peppermint all throughout the bark. Beautiful and festive, this is without a doubt the perfect homemade Chocolate Peppermint Bark.
Before you dive right into Chocolate Peppermint Bark, I think there are a few important things you should know. The first thing being you can totally use melting chocolate wafers instead of real chocolate and save yourself time. For that method, just keep scrolling.
Below, you'll find just about every mistake I made when it came to making homemade Chocolate Peppermint Bark for the first time. The chocolatier of the Chocolate Gallery in Bryan, Texas, Chef Joshua Neubauer, also has some wonderful chocolate pro tips for you.
THINGS TO AVOID WHEN WORKING WITH CHOCOLATE
SEIZING CHOCOLATE
So, what is seized chocolate? It's the pits. But more specifically (and in layman's terms) the ate goes from liquid to solid almost immediately.
I've had chocolate seize up on me for the following reasons: (1) I stirred with a spoon that had some form of moisture or condensation on it. (2) I melted the chocolate in a double boiler over the stove top. Steam rose up from the bottom pot and got into my chocolate. (3) Using peppermint extract rather than oil.
THE FIX
Be very careful when it comes to any water on bowls and stirring utensils, moisture, and steam when working with melted chocolate. And, use peppermint oil, rather than peppermint extract.
GRAINY OR SPLOTCHY PEPPERMINT BARK
If your peppermint bark begins to look a little rough come day two, with splotches across the top or becomes grainy in texture, you likely did not properly temper your chocolate.
THE FIX
Properly temper the chocolate. But how? There are three basic elements to tempering chocolate: (1) Melt the chocolate until it reaches the proper temperature, (2) seed the chocolate and (3) stir until the chocolate is at "working" temperature.
(1) HOW TO REAL MELT CHOCOLATE
I personally think the easiest way to melt chocolate is to finely chop it and microwave it at 30-second intervals, stirring well after each stint in the microwave. You could also melt chocolate via a double boiler.
If you are going to use the double boiler method, Chef Joshua recommends you bring a couple of inches of water to a boil in a small saucepan. Remove the saucepan from the heat, and place a heat-proof bowl with chopped chocolate over the saucepan. Do not allow the bowl to touch the hot water. Stir the chocolate until melted.
Continue with preferred heating method until the chocolate has reached the correct melting temperature. For this recipe, you'll want to melt/heat the dark chocolate until it reaches a temperature of 122° and the white chocolate until it reaches 105°.
(2) HOW TO SEED THE CHOCOLATE
Chocolate seeds are bits of chopped chocolate (or chocolate chips) set off to the side to temper the melted chocolate, and bring it down to "working" temperature.
For this concept, Chef Joshua says to think of chocolate as a vinaigrette. For the vinegar and oil to emulsify, the two must be properly mixed, or the dressing will soon separate. The same goes for working with chocolate. If the chocolate is not properly tempered with enough seeds, cocoa butter eventually rises to the top and separates.
HOW MUCH SEED TO USE
The general rule of thumb for how much seed to use to properly bring chocolate from melting temperature to working temperature is to have 25% of your total chocolate weights in seeds. So if you have a total of 4 ounces of chocolate, 3 ounces would be melting chocolate, and 1 ounce would be seed chocolate.
However, Chef Joshua says tempering small batches of chocolate is considerably more difficult than tempering large batches, and advises that you have more seeds on hand than you think you might need.
(3) STIRRING THE CHOCOLATE
Ok guys, in order to get that chocolate to proper working temperature, your going to have to add seeds...and stir...add some more seeds...and stir some more. Until finally your chocolate has reached the proper temperature to be turned into...TADA! Chocolate Peppermint Bark.
So what is the proper working temperature for this recipe? For the semi-sweet chocolate layer, the proper working temperature is between 86° and 90°. The proper working temperature for the white chocolate layer is 84°-86°.
COOL CHEF TIP
For this recipe, in particular, you will first be working with the dark chocolate, then move on to the white. If your dark chocolate layer happens to set before you have finished seeding your white chocolate for the second layer, all you gotta do is pull out your handy-dandy blow dryer and blow it over the dark chocolate layer right before you add your white chocolate. The heat from the dryer will melt the dark chocolate just enough so that the layers bind beautifully.
And that, my friends, is how you perfectly temper chocolate for perfect homemade Chocolate Peppermint Bark! I know it's a lot to take with all that pesky temperature taking and stirring, so just in case you're overwhelmed, don't worry. There's an easy way out.
HOW TO MAKE EASY CHOCOLATE PEPPERMINT BARK WITH CHOCOLATE WAFERS
Rather than using real, chopped chocolate for peppermint, try using dark melting Ghirardelli Dark Melting Wafers in place of the dark chocolate and Ghirardelli White Chocolate Coating Wafers in place of the white chocolate.
This little exchange is perfect for the home chef lacking the proper equipment to temper chocolate, and also the home chef that doesn't feel like tempering chocolate. However, [I know, there it goes again] Chef Josh warns that the texture will be completely different.
Chocolate Peppermint Bark made with the wafers will be much softer, and without any snap when compared to bark made with properly tempered chocolate.
So there you have it, guys. Whether you choose to go the real chocolate route or take the easy way out via melting wafers (don't worry, no judgment here), this recipe is worth your time and your efforts.
You can make it at home for a fraction of the cost, and provide your loved ones with a festive treat to munch on throughout the holiday season without breaking the bank. Life just doesn't get much sweeter than that. Please, enjoy.
Easy Chocolate Peppermint Bark (with Chocolate Wafers)
Ingredients
- 12 ounces Ghirardelli Dark Melting Wafers
- ½ teaspoon peppermint oil separated
- 3 tablespoons crushed peppermint separated
- 12 ounces Ghirardelli White Chocolate Coating Wafers
Instructions
- Instructions
- Have ready a rimmed, 9x13" pan lined with parchment paper.
- Add the Ghirardelli Dark Melting Wafers to a large microwave-safe bowl. Melt the chocolate at 30-second intervals, and melt according to package instructions.
- Once melted, stir in a ¼ teaspoon of the peppermint oil, and 2 tablespoons of crushed peppermint. Transfer the chocolate to the prepared pan and spread into a thin layer. Set aside until ready to use.
- Add the Ghirardelli White Chocolate Coating Wafers to a large microwave-safe bowl. Melt according to package instructions.
- Once the white chocolate has melted, stir in a ¼ teaspoon of the peppermint oil and pour over the semi-sweet chocolate.
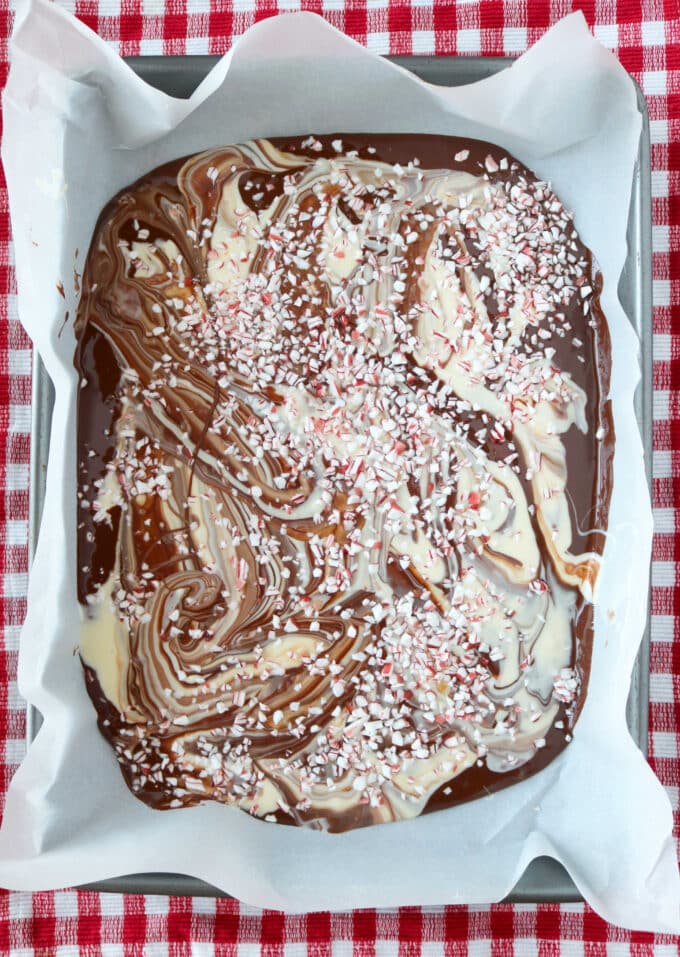
- Use a small, offset spatula spread the white chocolate evenly across the dark chocolate. Sprinkle with the remaining crushed peppermint and transfer to the refrigerator to set, about 30 minutes.
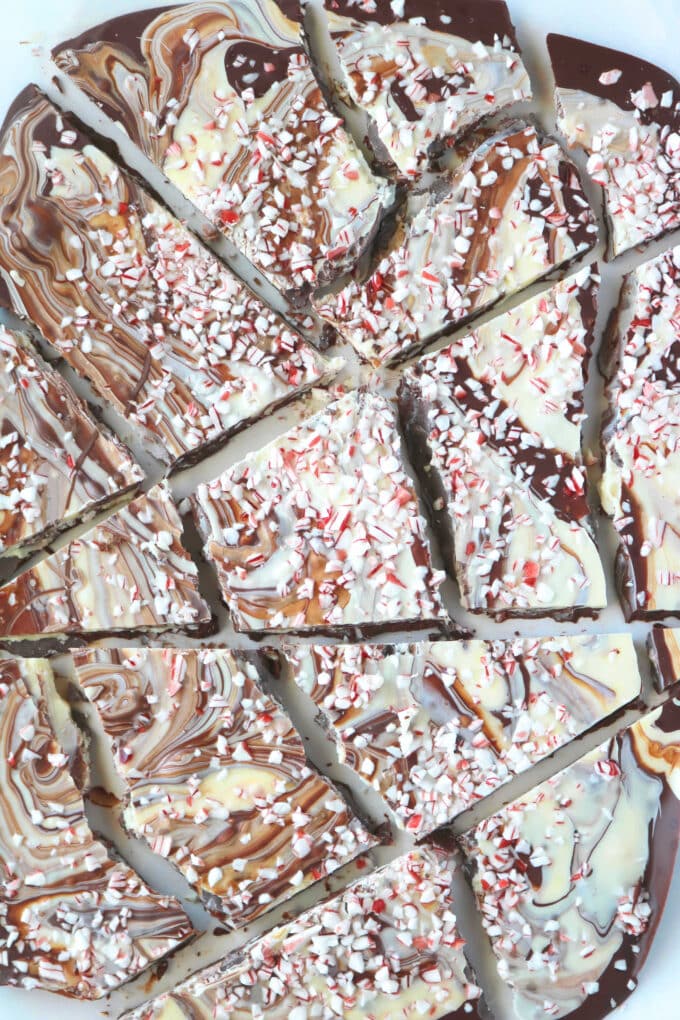
- Break apart, serve and enjoy.
Nutrition
Chocolate Peppermint Bark (with Tempered Chocolate)
Ingredients
- 9 ounces semi-sweet chocolate (for melting) finely chopped
- 3-5 ounces semi-sweet chocolate (for seeding) finely chopped
- ½ teaspoon peppermint oil separated
- 3 tablespoons crushed peppermint separated
- 9 ounces white chocolate (for melting) finely chopped
- 3-5 ounces white chocolate (for seeding) finely chopped
Instructions
- Have ready a rimmed, 9x13" pan lined with parchment paper.
- Add the 9 ounces of chopped, semi-sweet melting chocolate to a large microwave-safe bowl. Melt the chocolate at 30-second intervals, stirring after each stint in the microwave, until it has reached a temperature of 122°.
- Begin adding semi-sweet seed chocolate a handful at a time, stirring until melted after each addition. Take the temperature after each addition to gauge when you are close to working temperature, 86°-90°.
- Once the semi-sweet chocolate has reached working temperature, stir in a ¼ teaspoon of the peppermint oil, and 2 tablespoons of crushed peppermint. Transfer the chocolate to the prepared pan and spread into a thin layer. Set aside until ready to use.
- Add the 9 ounces of chopped white melting chocolate to a large microwave-safe bowl. Melt the chocolate at 30-second intervals, stirring after each stint in the microwave, until it has reached a temperature of 105°.
- Begin adding white seed chocolate a handful at a time, stirring until melted after each addition. Take the temperature after each addition to gauge when you are close to working temperature, 84°-86°.
- Once the white chocolate has reached working temperature, stir in a ¼ teaspoon of the peppermint oil and pour over the semi-sweet chocolate. (see note below if semi-sweet chocolate has already set).
- Use a small, offset spatula spread the white chocolate evenly across the semi-sweet chocolate. Sprinkle with the remaining crushed peppermint and transfer to the refrigerator to set about 30 minutes.
- Break apart, serve and enjoy.
Notes
Nutrition
Leave a Reply