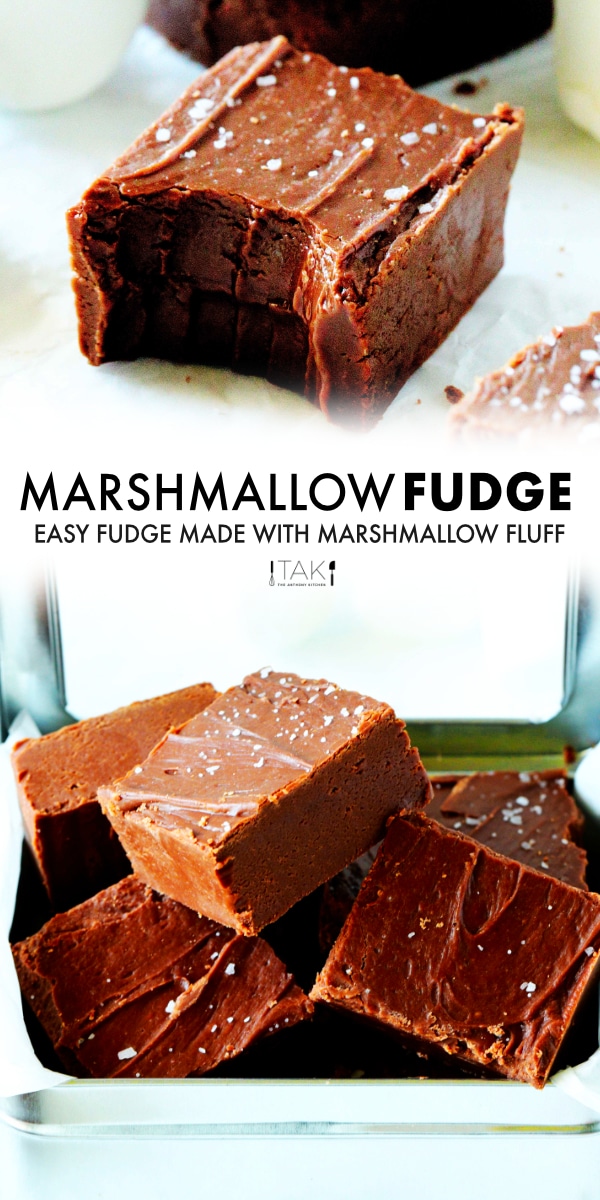
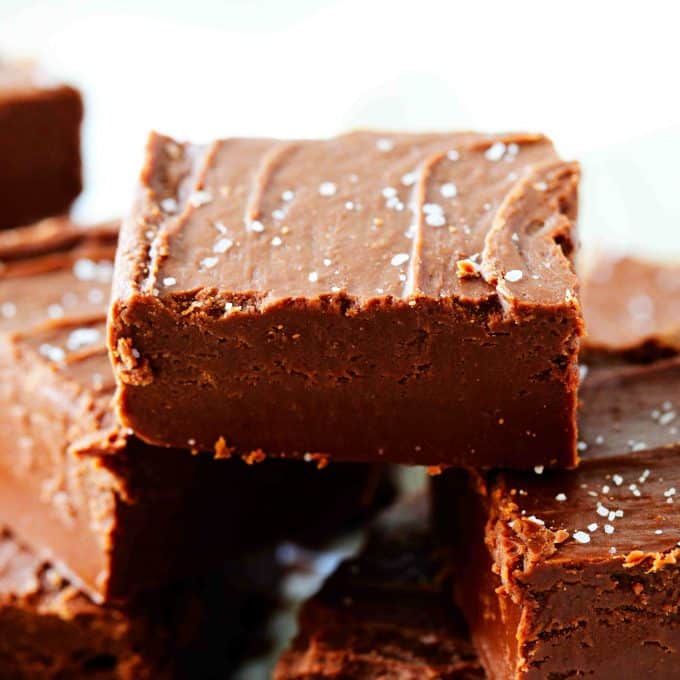
So you want a fudge recipe that doesn't call for a pinch and a swirl of added stress? Marshmallow Fudge, it is. It's far easier than whipping up a batch of old-fashioned fudge, yet just as tasty. With a smooth and creamy center and rich chocolate flavor, you'll find this fudge made with marshmallow creme is not only perfectly balanced in sweetness, but undeniably addictive.
It's the ultimate nibble for satisfying chocolate cravings, and the perfect way to treat the chocolate lovers in your life come the holidays!
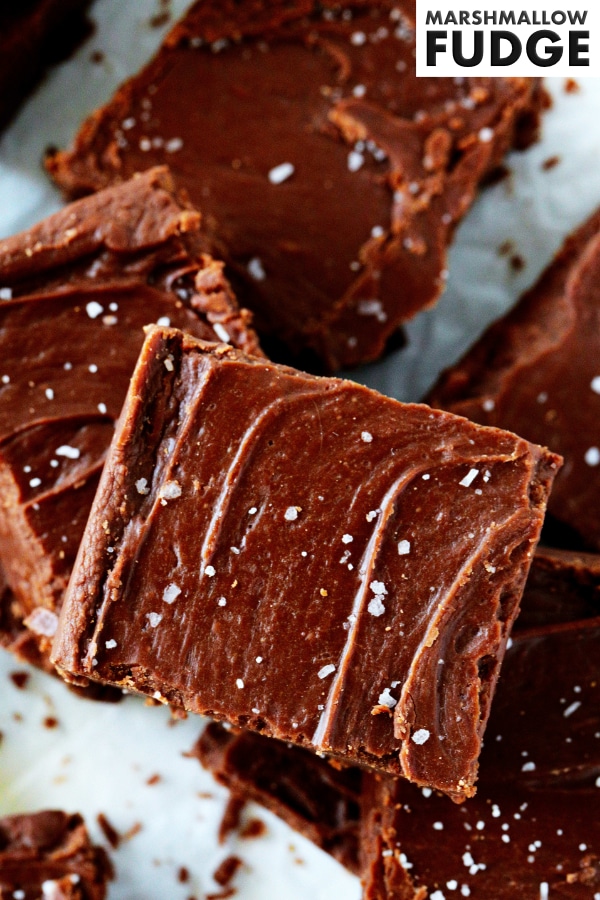
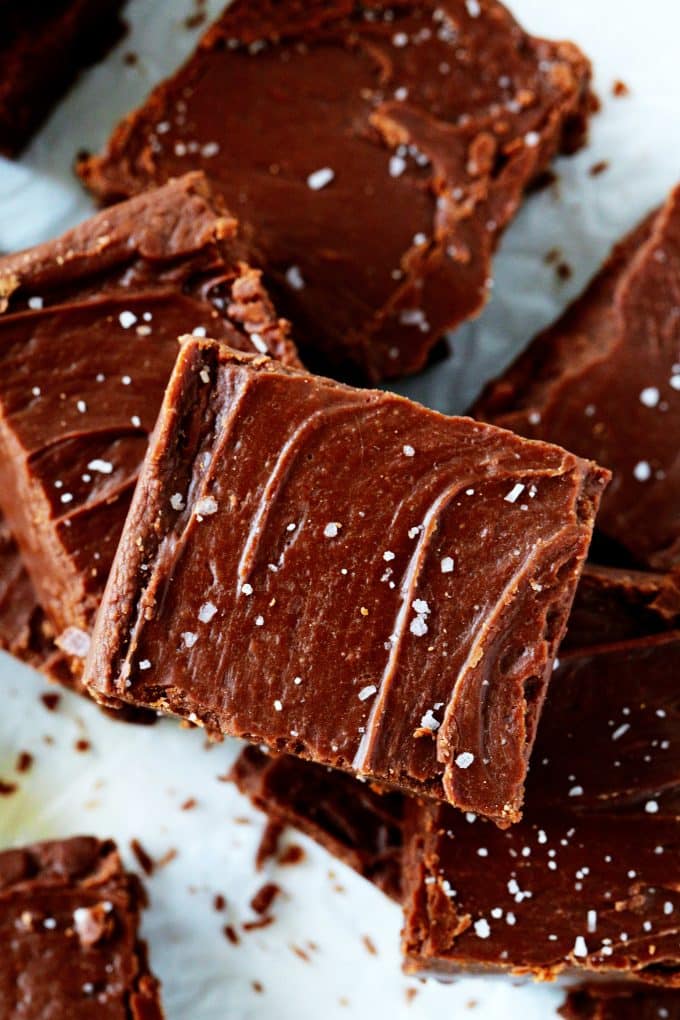
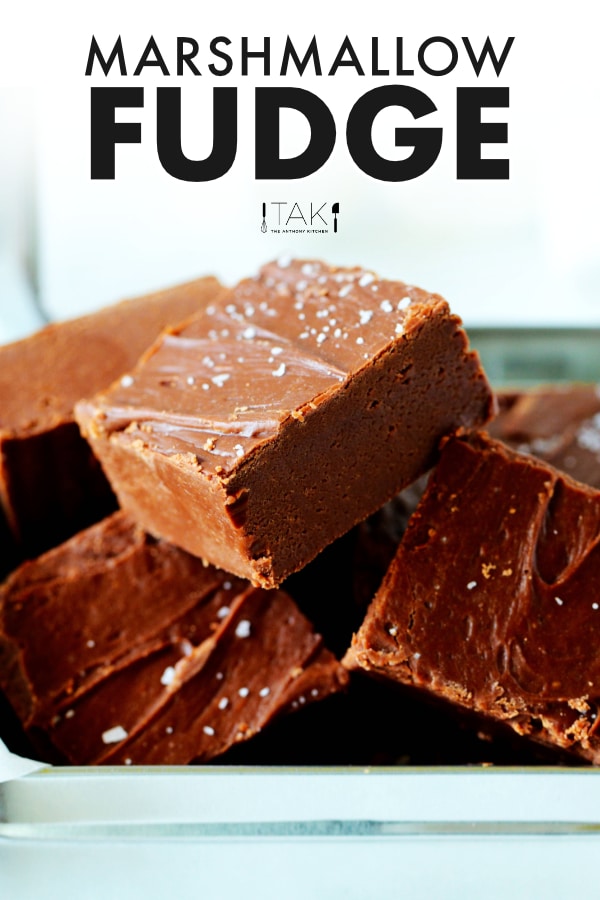
Love a good salty-sweet combo? Sprinkle your fudge with a pinch of salt to finish it off!
WHY USE MARSHMALLOW CREME IN FUDGE?
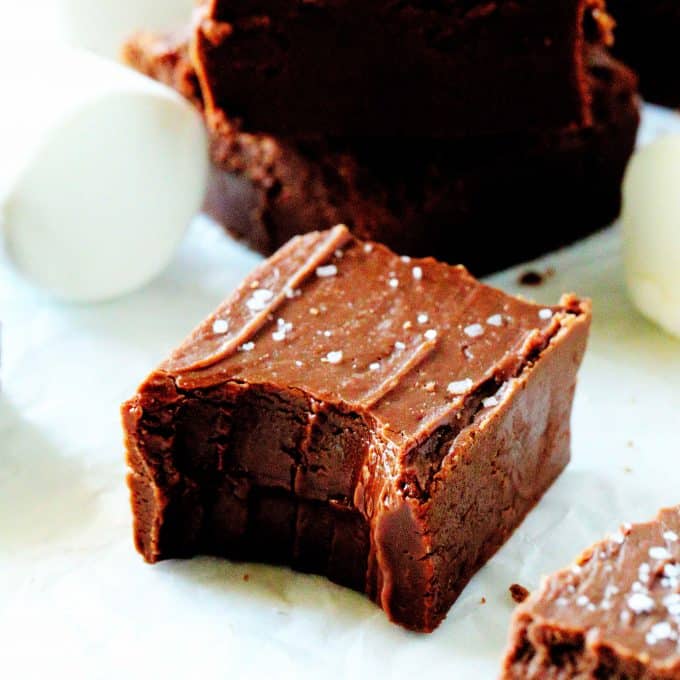
Marshmallow creme (a.k.a. marshmallow fluff) is the secret weapon when it comes to making a smooth fudge the easy way! Sugar crystals control the consistency and texture of fudge. Make them too big, and your fudge will end up with a grainy, unappetizing texture.
That lovely little jar of whipped, spreadable marshmallow keeps the fudge from crystallizing into large particles and adds both creaminess and body to the fudge. Yes, please.
HOW TO MAKE MARSHMALLOW FUDGE
- Line the Pan - The first thing you'll want to do when it comes to whipping up a decadent batch of Marshmallow Fudge is prep a 9"x9" pan. Nonstick aluminum foil is best for this task as it molds easily onto the pan, and the fudge comes right off once set! As an extra precaution, spritz the foil with nonstick cooking spray as well.
- Combine Ingredients - To start the fudge, combine the granulated sugar, butter (make sure it is at room temperature), evaporated milk, and salt in a saucepan over medium-high heat. Stir until the sugar has dissolved.
- Boil - Allow the mixture to boil until it reaches 234°F. Do not overheat. As you might have guessed, you'll want to have a thermometer on hand when making fudge. We'll talk more on that below!
- Stir In Chocolate and Marshmallow Creme - Lastly, you'll remove the saucepan from the heat and add in the chocolate chips, marshmallow creme, and vanilla to the saucepan. Stir until the fudge has reached a consistency similar to thick frosting and it loses its sheen. A wooden spoon is best for this task! This should take about 2 to 3 minutes.
- Set - Pour the fudge into the prepared dish and spread it to the edges using an offset spatula or spoon. Smooth over the top and sprinkle with Kosher or Falk salt, if using. Set aside for about 3 hours, until set up completely, or up to overnight.
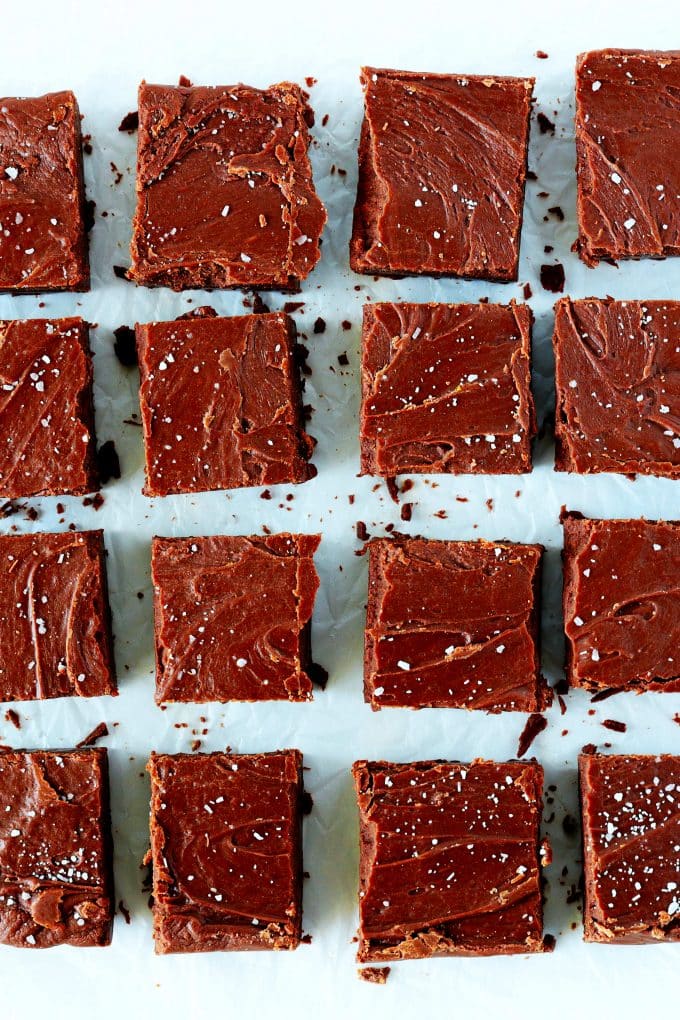
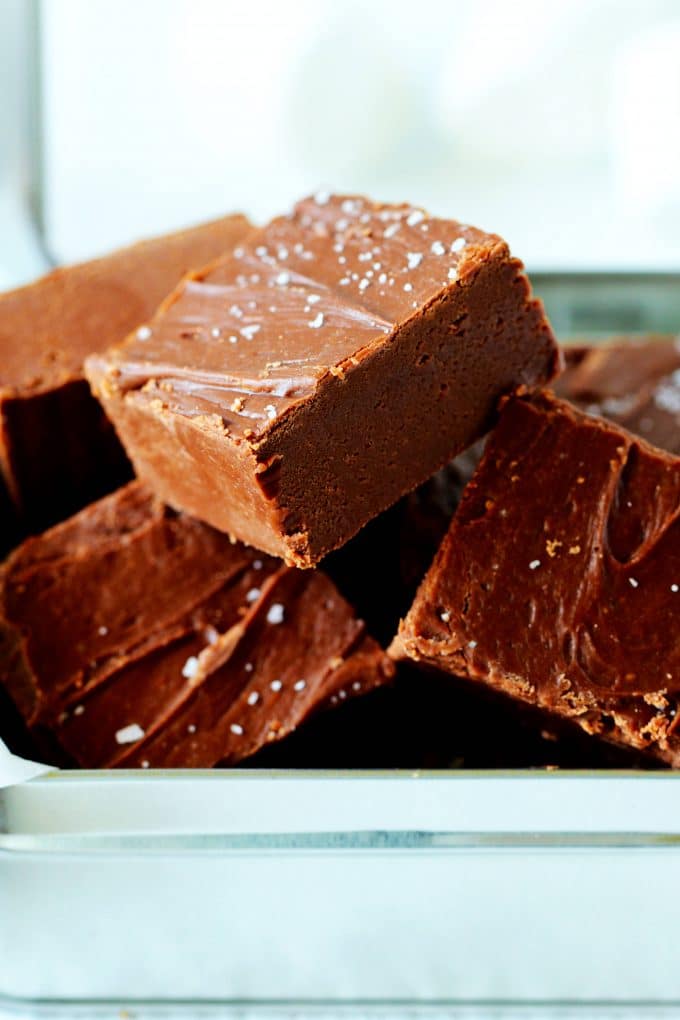
- Cut - Once the fudge has set up completely, remove it from the pan and cut it into 16 larger squares or into 1" squares for bite-sized pieces!
DO I REALLY NEED A CANDY THERMOMETER FOR MAKING FUDGE?
Cook times will often vary depending on your environment and your stovetop. This is why thermometers are so very important when it comes to candy making. Even when it comes to easy recipes, like this Marshmallow Fluff Fudge.
Candy thermometers are long, skinny thermometers with a clip attached to the back, which makes them easy to attach to a saucepan. Because knowing temperature is the key to success when it comes to making candy (i.e. fudge), it's best to have one on hand.
However, there is another way to determine if your Marshmallow Fudge is finished with one step, and ready to move on to the next! This is called the "Cold Water Method."
NO THERMOMETER? TRY THIS -- THE COLD WATER METHOD.
To enlist this method, you'll need to have a spoon and a bowl of cold water next to your saucepan. Then, every few minutes, drop a scant, small spoonful of the boiling sugar mixture into the bowl.
Once your fudge reaches the point where it maintains a shape (not just strings) in the water, and you can roll it into a ball between your fingers, you can remove the pan from the heat. This is called the softball stage of candy making.
Note, if you are using this method (and anytime you're working with boiling sugar, really), you should take extra caution not to touch the sugar while hot.
Once you've reached the softball stage, you can add in the chocolate, marshmallow creme, and vanilla, and proceed with the recipe!
If you're a fan of that chocolate and marshmallows combo, you've got to try our S'mores Dip next!
HOW TO KNOW WHEN MARSHMALLOW FUDGE IS READY
There are three important stages in this recipe, and you need to know when one is properly complete before you can move on to the other.
- When is the sugar/evaporated milk mixture ready for the chocolate and marshmallows?
- When is it time to stop stirring and add the fudge to the pan?
- When can you slice into it?
HOW TO KNOW WHEN TO REMOVE THE POT FROM THE HEAT
As mentioned above, there are a few ways to determine when your sugar-evaporated milk mixture has reached the correct temperature.
- The actual temperature is the best indicator. You're looking for 234°F, and this is best gauged with a candy thermometer.
- You could also use the cold water method (as mentioned above).
- Another way to determine if it's time to pull the pot from the heat is by feel. Not with your hands, but with the spoon: When you get close to the proper temperature, you'll start to feel a slight resistance from the spoon as you're stirring.
HOW TO KNOW WHEN THE FUDGE IS READY TO GO INTO THE PAN
Once the chocolate chips, marshmallows, and vanilla go into the pan, you'll need to do quite a bit of stirring. But, not too much or you'll end up with an unspreadable, rock-hard ball of chocolate. So how do you know when to stop?
The Marshmallow Fudge is ready once the mixture takes on a consistency similar to a very thick frosting and loses its sheen. Stop stirring as soon as you reach this point and transfer it to the prepared pan.
HOW LONG DOES IT TAKE FOR FUDGE TO SET?
Fudge will take about 3 hours to set at room temperature. You can also cover it and let it set up overnight.
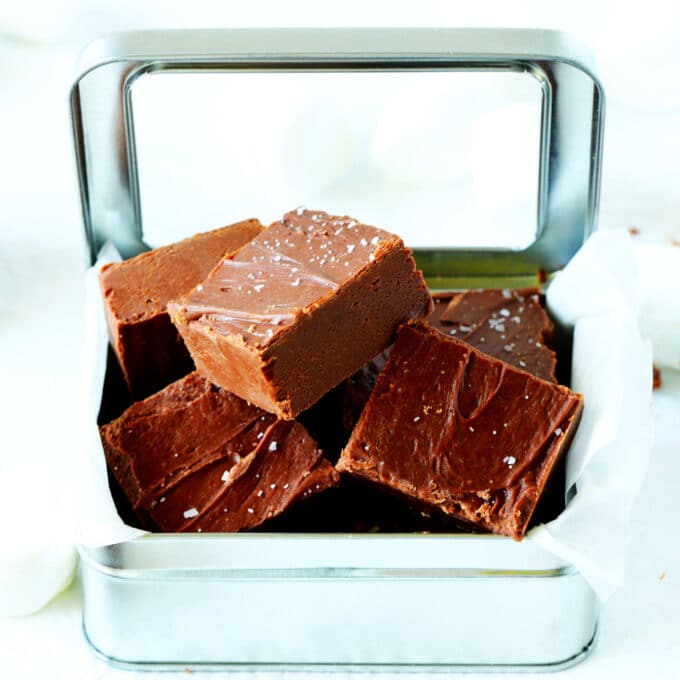
HOW TO STORE MARSHMALLOW FUDGE
Keep homemade fudge stored in a snug, airtight container at room temperature for up to two weeks.
You can also freeze fudge for up to three months. To do so, place it in a freezer-safe, airtight container, separated by sheets of wax paper.
TROUBLESHOOTING
- My Fudge Is Too Soft | If your Marshmallow Fudge is too soft, it either was cooked long enough or it did not get hot enough.
- My Fudge is Too Hard | If your fudge is too hard or grainy in texture, the fudge likely overheated or was cooked too long.
8 AWESOME TIPS FOR MAKING MARSHMALLOW FUDGE
- Make sure you use chocolate chips you actually like the taste of. This recipe calls for semi-sweet chocolate chips as it adds just the right amount of sweetness to the recipe and all the chocolate flavor you'd expect to find in fudge. However, this is going to be the predominant flavor in your fudge so make sure you pick a good, high-quality baking chip!
- Do not attempt to sub in marshmallows for marshmallow creme.
- Have all of your ingredients ready to go. Timing is important when it comes to making Marshmallow Fudge!
- Use a heavy-bottom saucepan with high enough sides so that your sugar mixture won't boil over and you don't have a difficult time when stirring.
- Use a candy thermometer and make sure it is reading properly. You can do this by inserting it into a pot of boiling water. The thermometer should read 212°F. If it doesn't, your thermometer is off.
- Raining outside? Save the fudge making for a not rainy day. Too much humidity in the air can keep your fudge from setting up properly.
- Allow your fudge to set and cool at room temperature. Transferring it to the refrigerator or freezer during the cooling process could negatively affect the consistency.
- When cutting the Marshmallow Fudge, use a sharp knife, and take care to wipe it clean in between cuts for smooth, pretty looking edges.
If you loved this sweet treat, browse our Dessert Recipes and add your favorites to your "must-make" list!
5 MORE MARSHMALLOW DESSERTS YOU’LL LOVE
- S'mores Cookies
- S'mores Brownies
- Haystack Cookies
- Homemade Marshmallows
- Chocolate Rice Krispie Treats
Marshmallow Fudge
Ingredients
- 2 ½ cups granulated sugar
- ¾ cup unsalted butter, room temperature
- ⅔ cup evaporated milk
- ¾ teaspoon Kosher salt (plus a ¼ teaspoon Kosher or Falk salt for sprinkling the top, if desired)
- 2 cups semi-sweet chocolate chips
- 1 (7-ounce) jar marshmallow creme
- 2 teaspoons pure vanilla extract
Instructions
- Line a 9x9" baking dish with nonstick aluminum foil, taking care to leave a slight overhand over the edges for easy removal. Spritz lightly with nonstick cooking spray. Set aside until ready to use. Have ready a candy or instant-read thermometer.
- Combine sugar, butter, evaporated milk, and salt in a saucepan over medium-high heat. Stir until the sugar has dissolved.
- Boil until the temperature of the mixture is 234°F, about 3-4 minutes. You are close when you start to feel pull or resistance from the spoon.
- Remove from the heat. Then, add the chocolate chips, marshmallow creme, and vanilla. Stir until your fudge has reached the consistency of very thick frosting and loses its sheen, about 2-3 minutes.
- Transfer to the prepared pan and use an offset spatula or the back of a spoon to spread it to the edges and smooth over the top. Sprinkle the top evenly with the ¼ teaspoon of Kosher or Falk salt, if desired.
- Set aside until the fudge has set up entirely, at least 3 hours. Remove fudge from the pan and cut into 16 squares or 1" pieces. Serve and enjoy!
Nutrition
David says
Recently made this fudge. Had not made any fudge since the 1960’s with my grandmother. This is similar to her recipe I think. I didn’t get her recipe book, but this taste like what we made together years ago. My wife also liked it.
Kelly Anthony says
I just loved reading that! Thank you, David!